This year, Adventures in Shadowland took center stage as part of the revitalization of Center Camp at Burning Man 2024. Created by Ace Makerspace’s very own Katie Harrell (she/her) and creative partner, Dan Bales (he/him), co-directors of Harmonic Drift, this immersive, puzzle-filled installation was designed to engage participants in a world where nothing is quite as it seems.
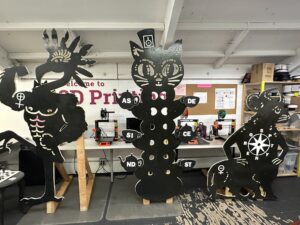
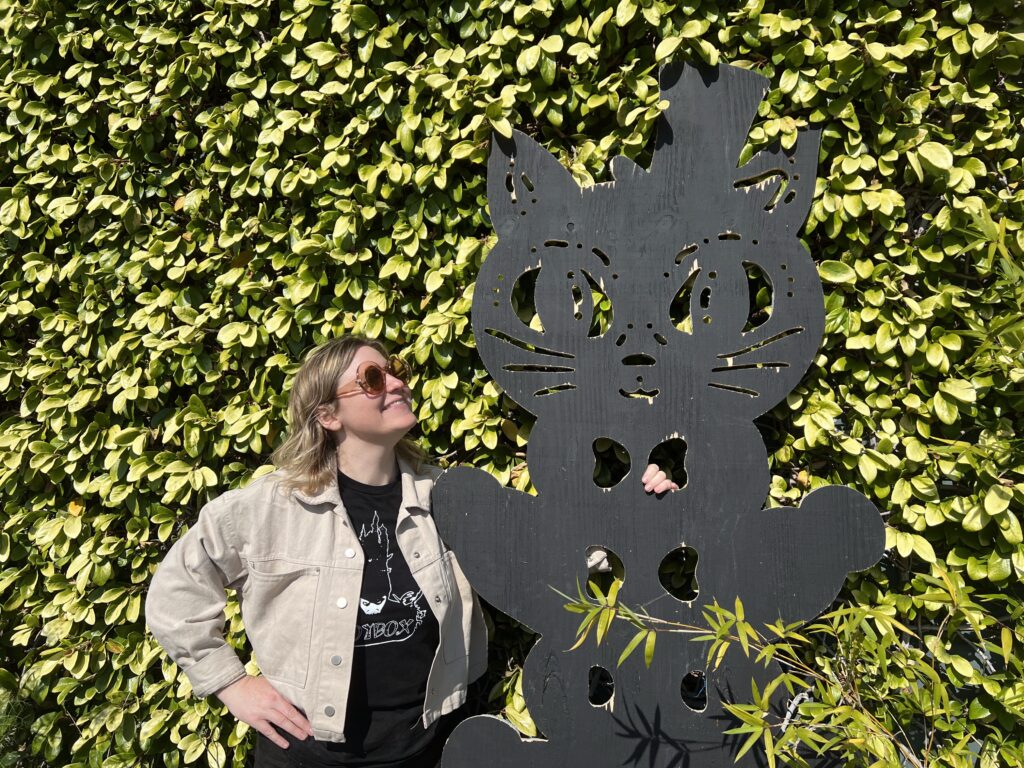
The story behind Adventures in Shadowland begins with the trash monster, Bric-a-bracken, wreaking havoc on the playa. It’s up to the participants, along with a host of shadowy dual creature hereos, to solve the mystery and end the madness. As they work through the installation, players must navigate riddles, symbols, and encounters with intriguing creatures, each offering a piece of the puzzle.
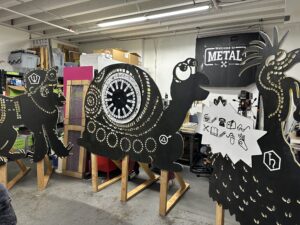
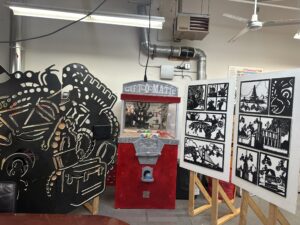
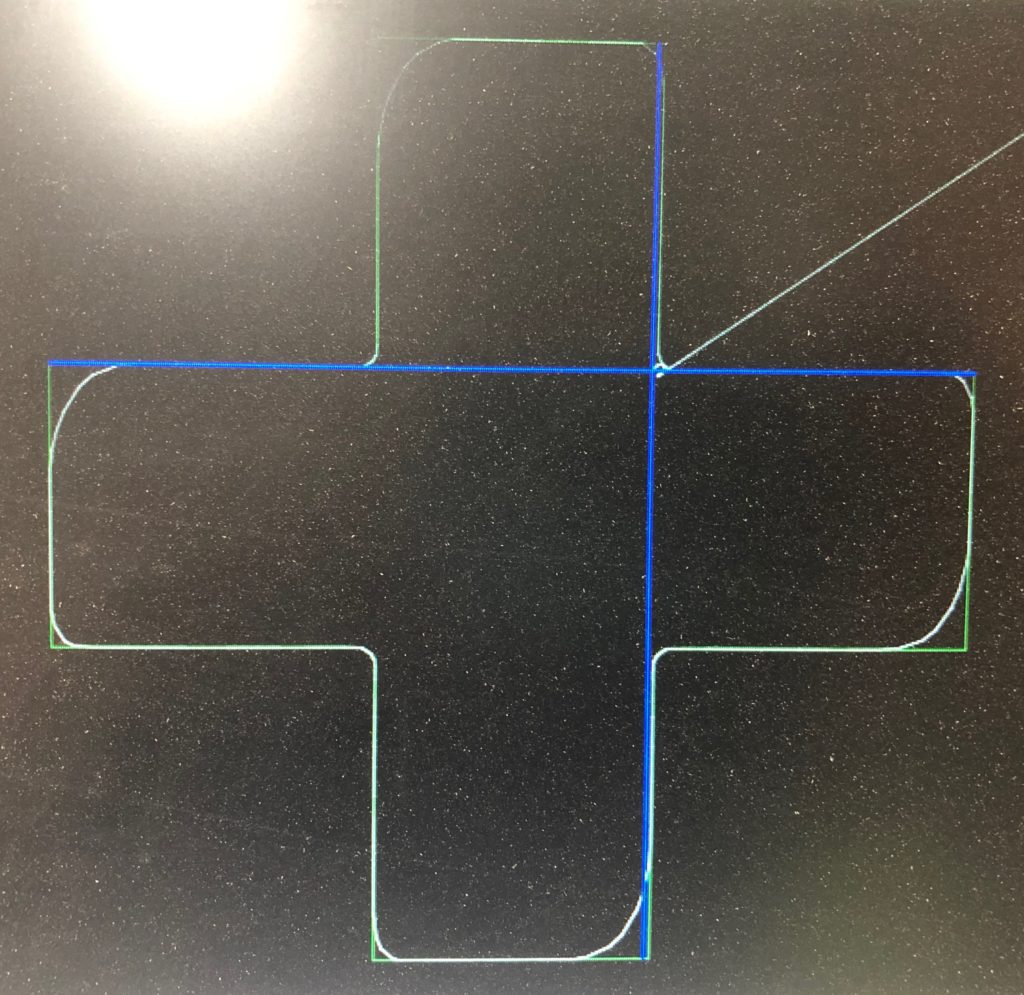
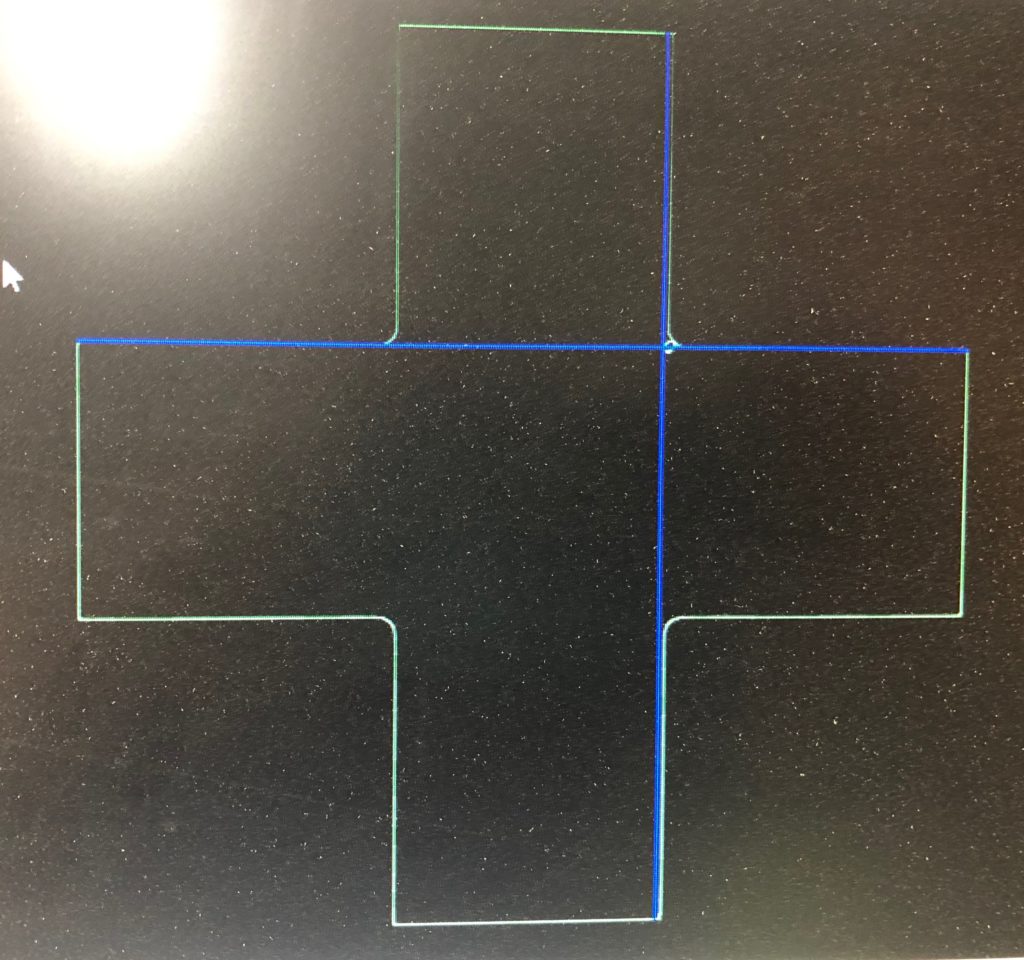
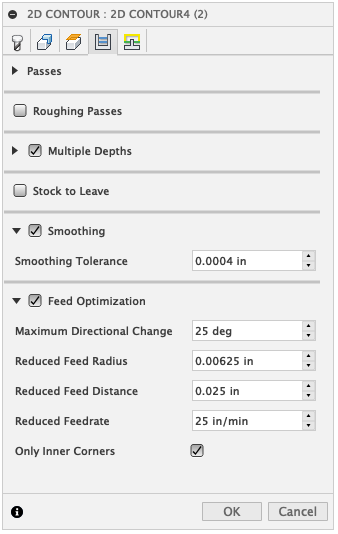
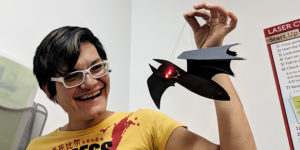
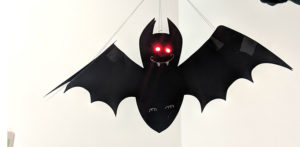
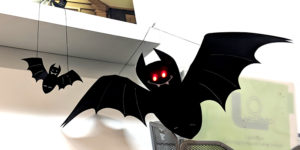
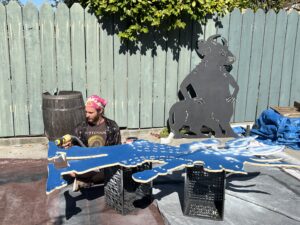
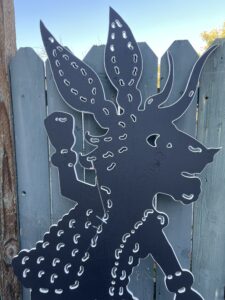
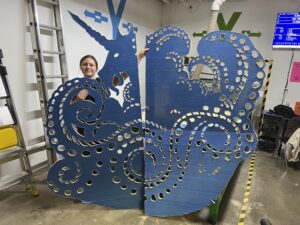
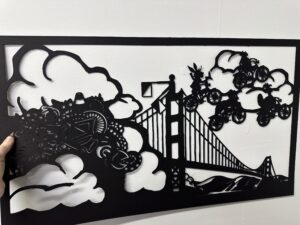
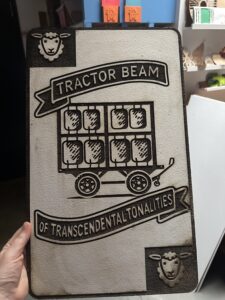
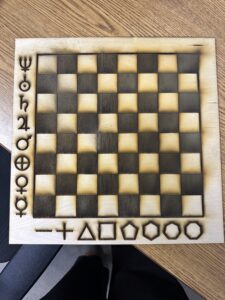
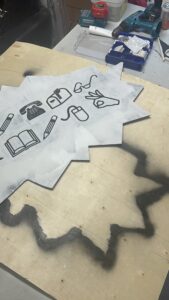
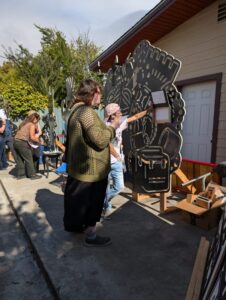
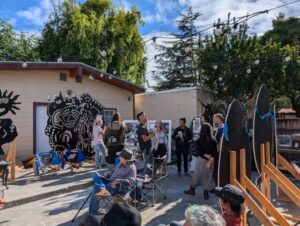
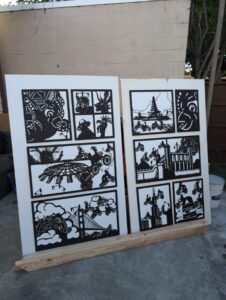
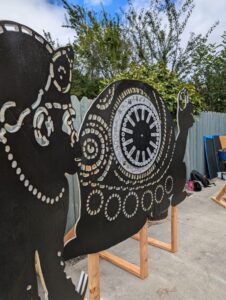
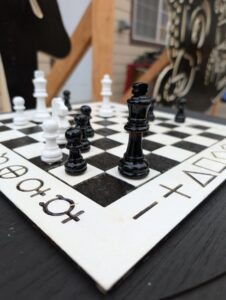
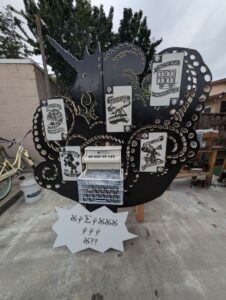
The journey began with the initial unveiling of the piece in a backyard at a friend’s house, where the community got an early look at the artwork before its debut on playa. The designs for the installation were inspired by Katie’s shadow puppet show, Wayang Earth (2023), which was also created using the Ace laser. The shadow puppet designs (as well as some new designs) were then adapted to create the giant shadowy creatures used in the installation, which were then modeled in Fusion, and cut at Ace using the CNC router. The many puzzle elements, including a giant cypher wheel, signs, a chess puzzle, and a myriad of speech bubbles, were designed with Photoshop & Illustrator and cut with the Ace laser.
At Burning Man, Adventures in Shadowland became an interactive puzzle story under the Center Camp Canopy, amplifying the Curiouser and Curiouser theme of the festival.
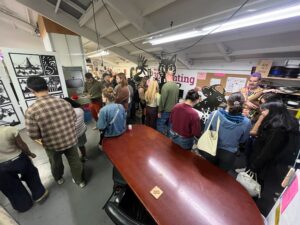
In January 2025, the experience culminated in a special maker social event at Ace Makerspace, where Katie and Dan presented on the making of Adventures in Shadowland, sharing stories about their time on playa, offering behind-the-scenes insights into the challenges and triumphs of creating such a large-scale, immersive experience. Guests then had the opportunity to interact with the installation firsthand, play through the puzzles, and experience the shadowy world for themselves.
Check out the photos from the unveiling, the artwork at Burning Man, and the special Ace Makerspace social event that brought Adventures in Shadowland back home.
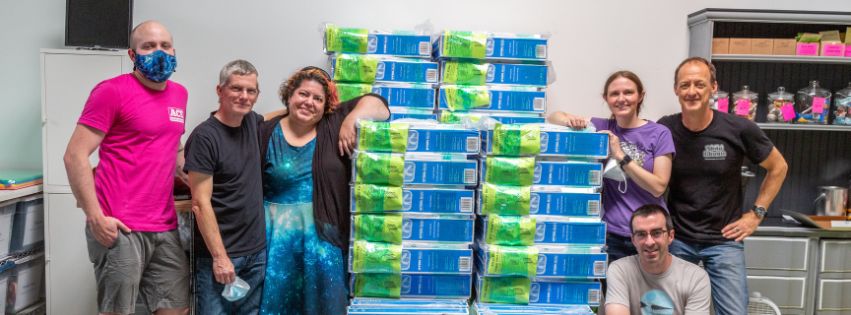
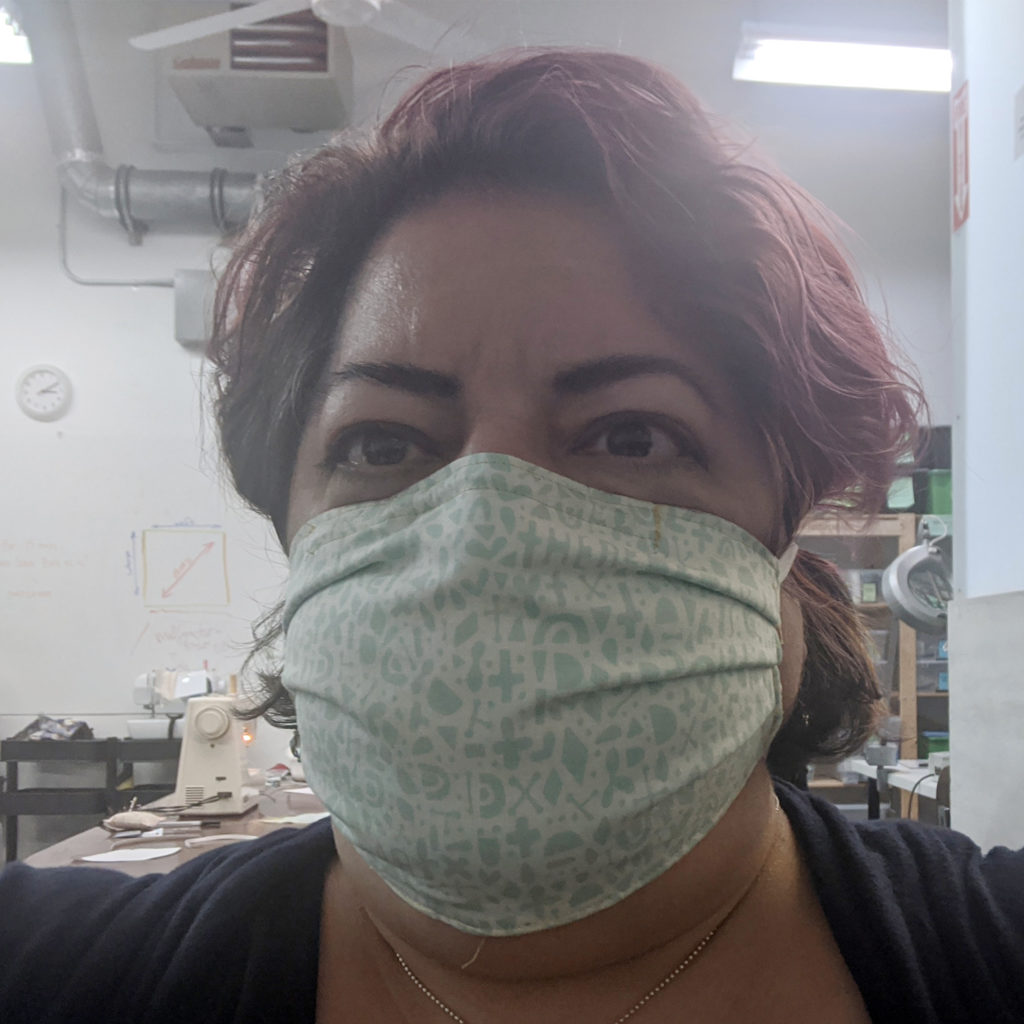
In-progress photos, June – August 2024
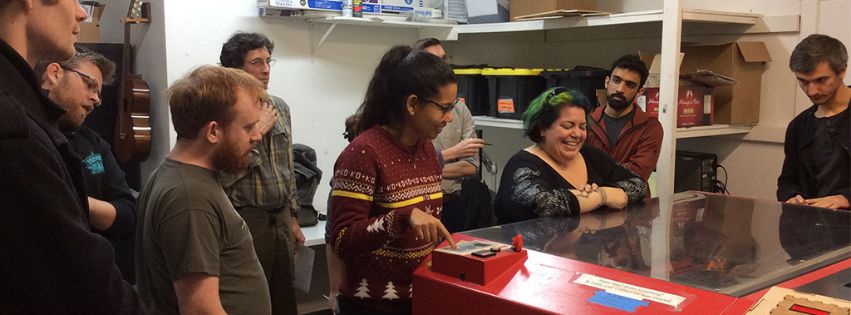
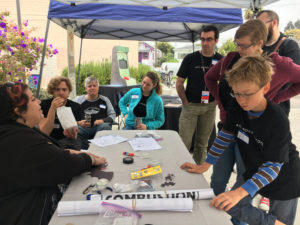
Pre-Playa Playthrough, August 2024
Adventures in Shadowland at Burning Man 2024, Center Camp Canopy
Adventures in Shadowland, Ace Maker Social, January 2025