The Ace Workshop is a community lead, driven, and maintained resource. As makers who share space, we all have a role to play beyond simply working on our projects and cleaning up after ourselves, we also work together to maintain and care for our tools. While routine tool repair and maintenance may not be the most glamorous part of woodworking, it’s essential for keeping the tools we love to use in good working order, safe, and ready for use.
In the past, tool maintenance often fell by default on a small group of expert users which lead to volunteer burnout, longer tool down times, and a pervasive bystander culture in the shop. To make this process more inviting and sustainable we realized we needed a way to:
- Build a more intentional woodworking tool maintenance culture
- Decrease barriers for folks interested in helping out who didn’t know where to start or who were experiencing the imposter phenomenon
- Create an inviting pathway for community members of all skill levels to get involved
- Make routine workshop care tasks in general more approachable, fun, and beginner-accessible
…and so Workshop Care Night was born; a new beginner-friendly social evening all about working together to care for our tools, make repairs, and practice concepts covered in our Shop Basics class like logging assets and finding information on the wiki.
Why it works:
- Maintenance and tool care is wayyyy more fun together!
- It’s a great way for new folks to meet people in the woodworking community
- Its a beginner-accessible way to get started with tool repair (no fix-it experience needed to help out, there’s tasks for all skill levels)
- Tools last longer and work better with regularly scheduled TLC
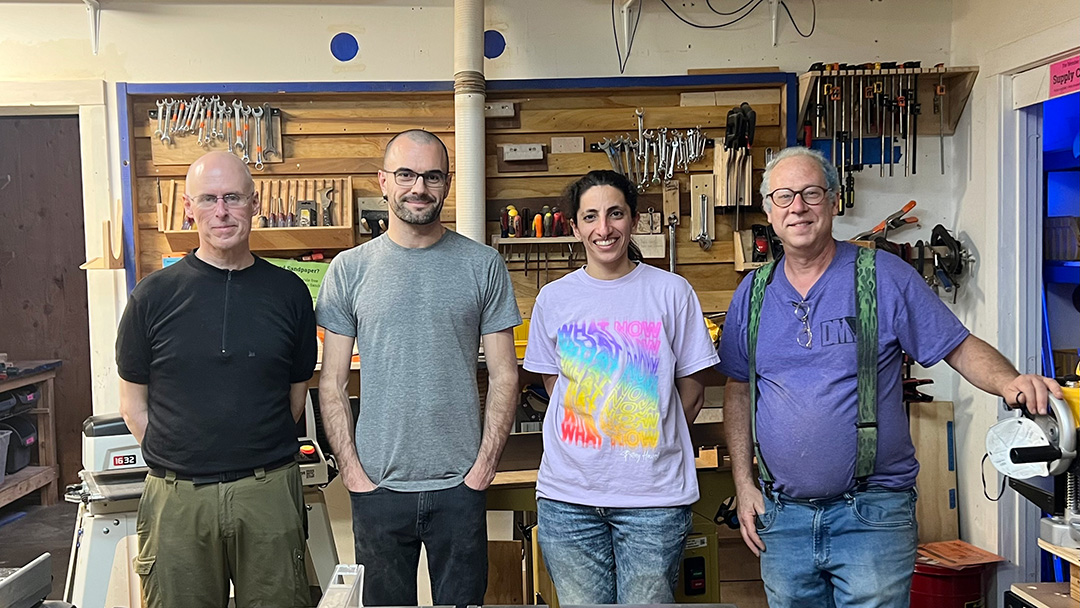
Highlights from Workshop Care Night in April

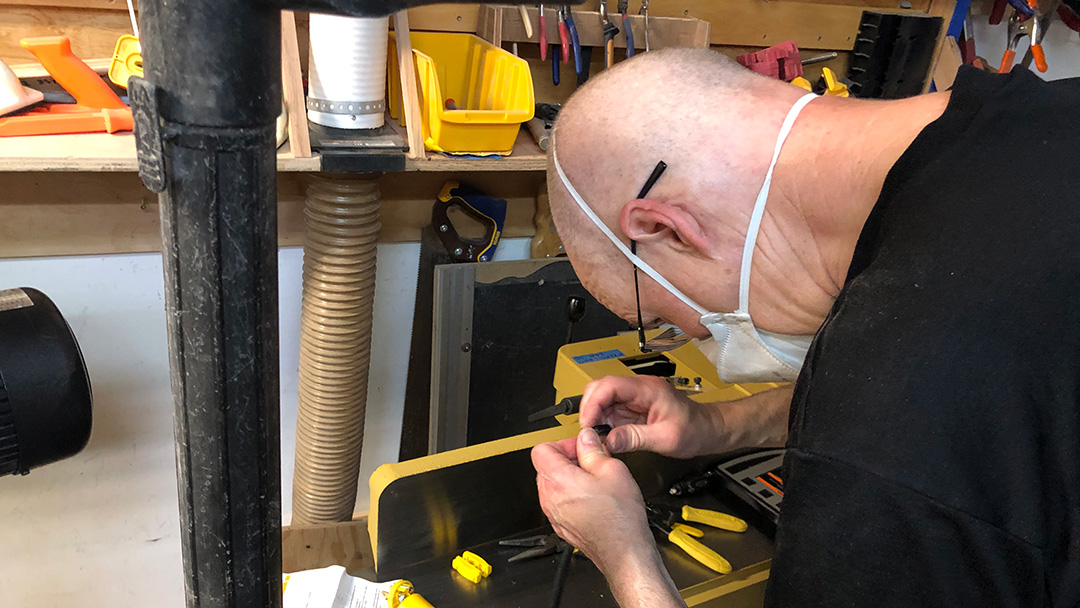
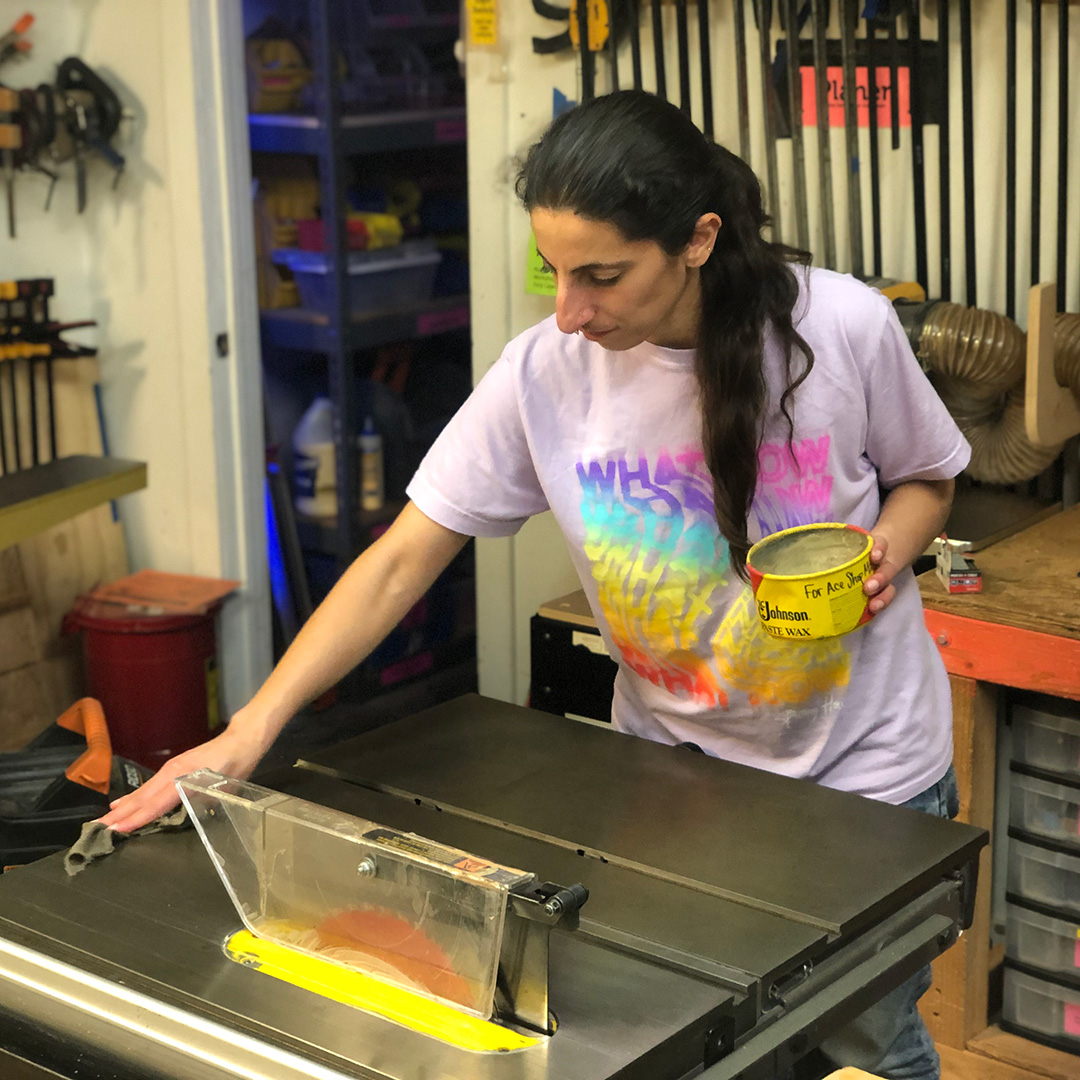
In April, a group of 5 volunteers rolled up their sleeves to tackle a list of maintenance tasks while getting to know one-another and jamming to Groove Salad! This group included folks with a mix of skill sets and experiences levels ranging from woodworking beginners to career professionals.
Here’s a look at just some of what they accomplished over the course of two hours working together:

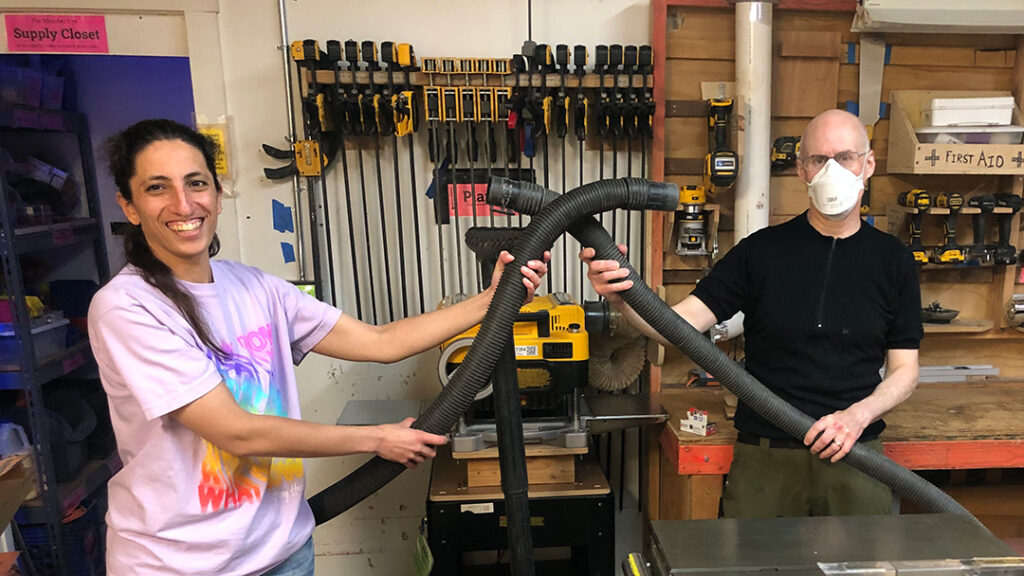
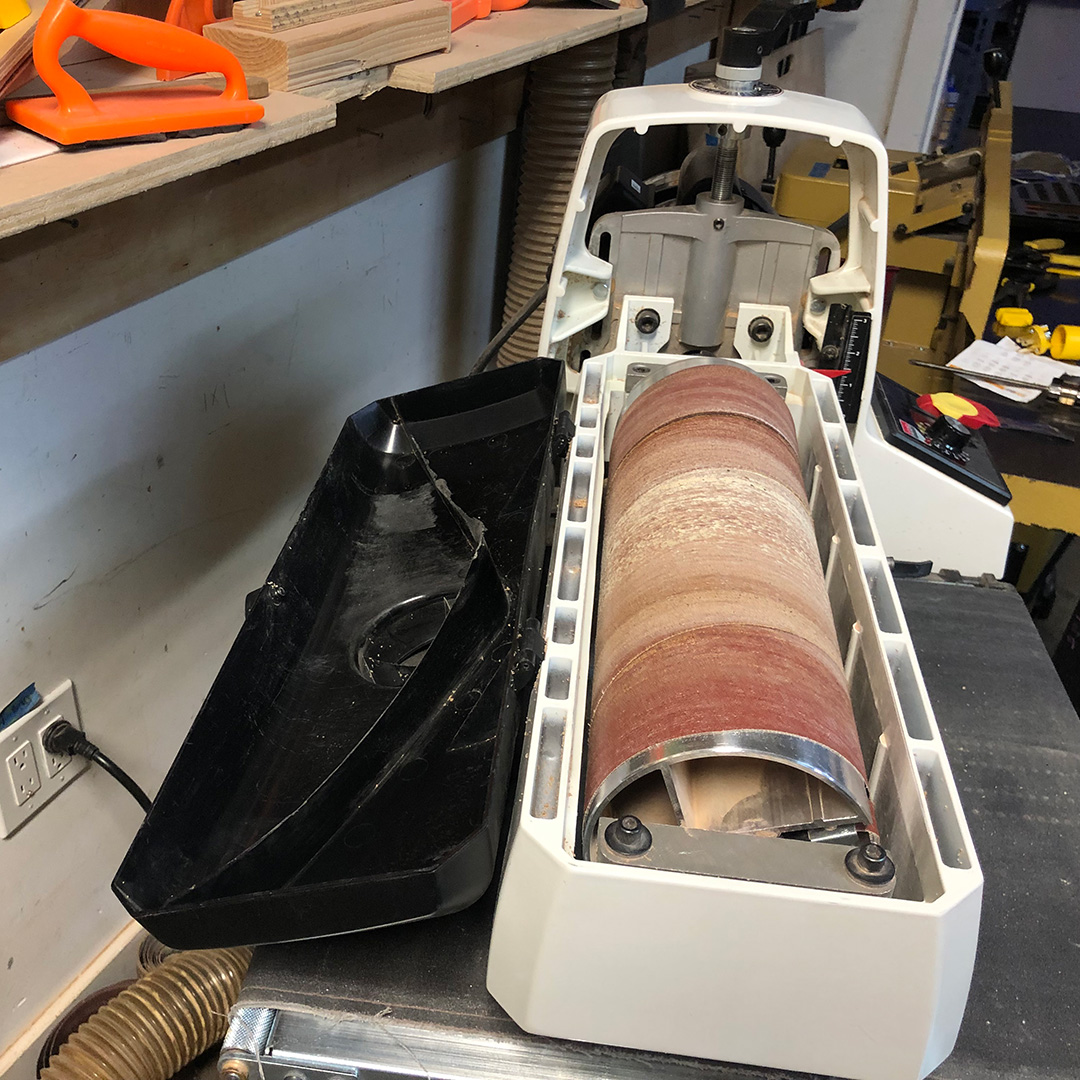
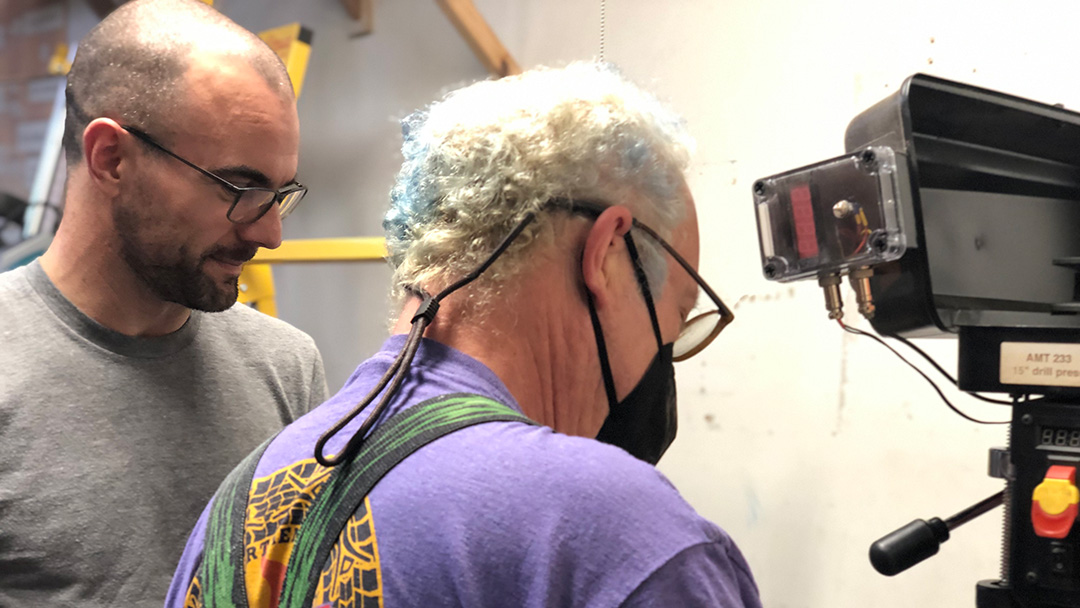
Tools that get heavy use in the Ace Shop like the Drum Sander, Jointer, Planer, Table Saw and Bandsaw need regular deep vacuuming to get particles deep inside the machine. Removing saw dust from harder to clean areas can lengthen a tools lifespan and helps prevent tool down time.
Team Shop* volunteer and experienced woodworker, Alex (he/him) showed Jacky how to open the top of the Drum Sander since they were unfamiliar with the tool. This kind of peer support and knowledge sharing is deeply embedded in Ace culture along with the belief that everyone has something to contribute of value to the community regardless of skill level.
It’s not about perfection, it’s about getting it to 90% – Howard
*Teams at Ace are groups of volunteers who organize projects, take care of tools, and drive decision making for programs they love. Teams are open to all members and are a fun way to get involved in the Ace Community.


 Rachel “Crafty” Sadd