The Ace Workshop is a community lead, driven, and maintained resource. As makers who share space, we all have a role to play beyond simply working on our projects and cleaning up after ourselves, we also work together to maintain and care for our tools. While routine tool repair and maintenance may not be the most glamorous part of woodworking, it’s essential for keeping the tools we love to use in good working order, safe, and ready for use.
In the past, tool maintenance often fell by default on a small group of expert users which lead to volunteer burnout, longer tool down times, and a pervasive bystander culture in the shop. To make this process more inviting and sustainable we realized we needed a way to:
- Build a more intentional woodworking tool maintenance culture
- Decrease barriers for folks interested in helping out who didn’t know where to start or who were experiencing the imposter phenomenon
- Create an inviting pathway for community members of all skill levels to get involved
- Make routine workshop care tasks in general more approachable, fun, and beginner-accessible
…and so Workshop Care Night was born; a new beginner-friendly social evening all about working together to care for our tools, make repairs, and practice concepts covered in our Shop Basics class like logging assets and finding information on the wiki.
Why it works:
- Maintenance and tool care is wayyyy more fun together!
- It’s a great way for new folks to meet people in the woodworking community
- Its a beginner-accessible way to get started with tool repair (no fix-it experience needed to help out, there’s tasks for all skill levels)
- Tools last longer and work better with regularly scheduled TLC
Highlights from Workshop Care Night in April

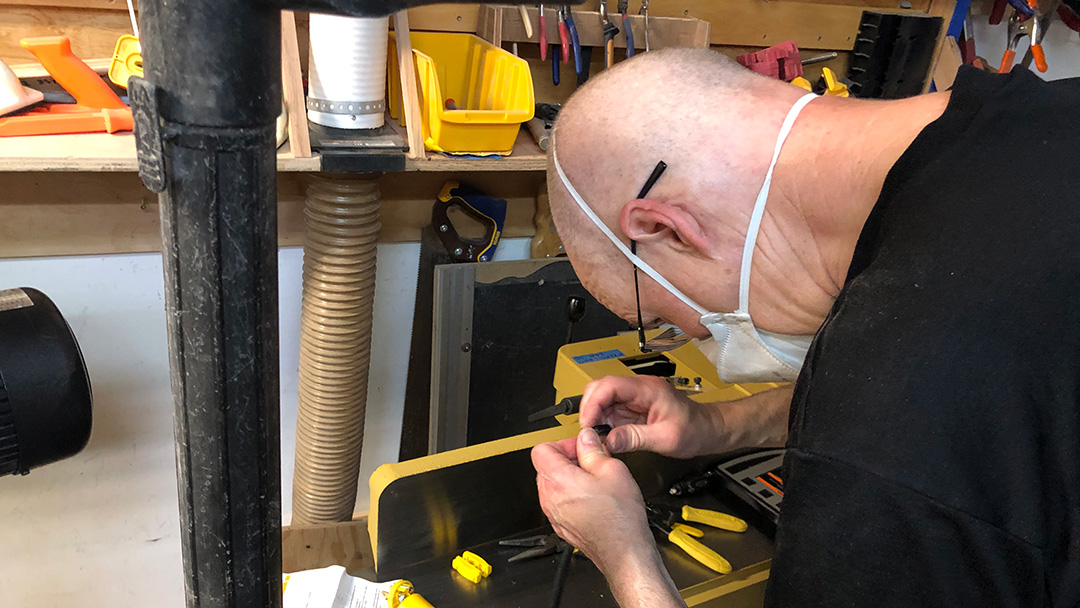
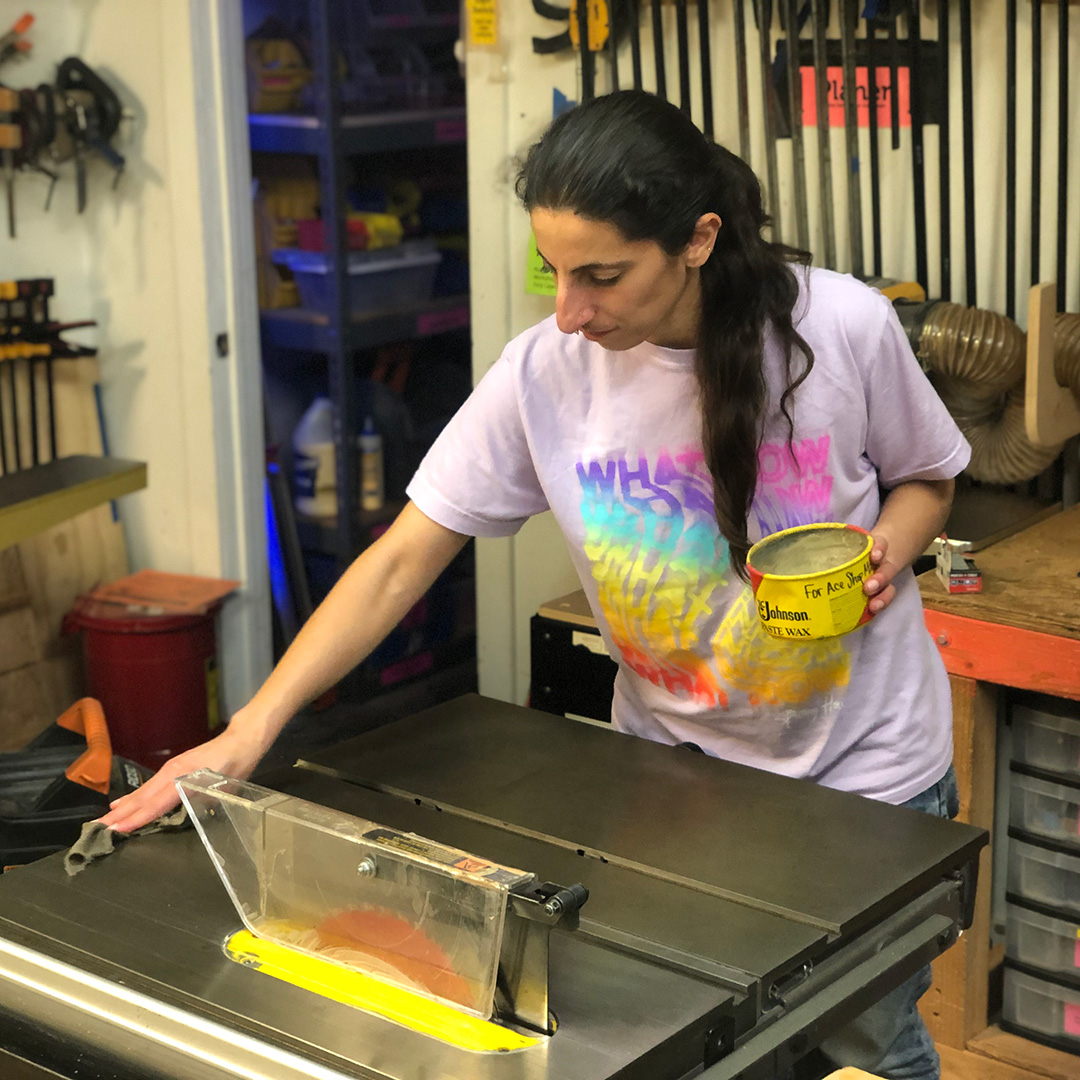
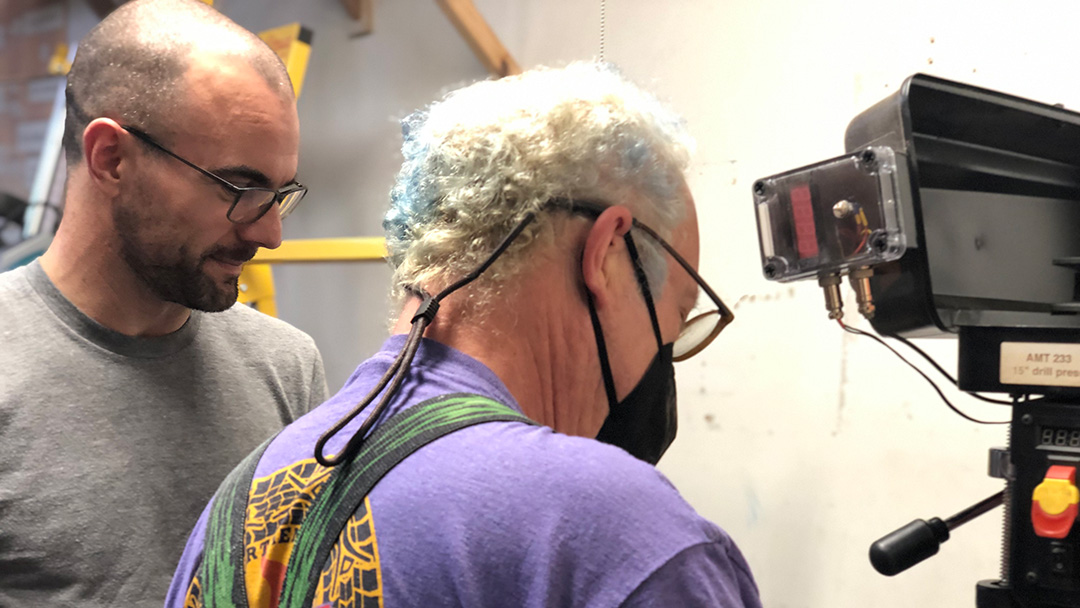
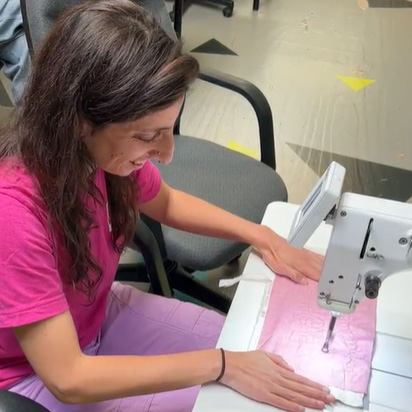
In April, a group of 5 volunteers rolled up their sleeves to tackle a list of maintenance tasks while getting to know one-another and jamming to Groove Salad! This group included folks with a mix of skill sets and experiences levels ranging from woodworking beginners to career professionals.
Here’s a look at just some of what they accomplished over the course of two hours working together:

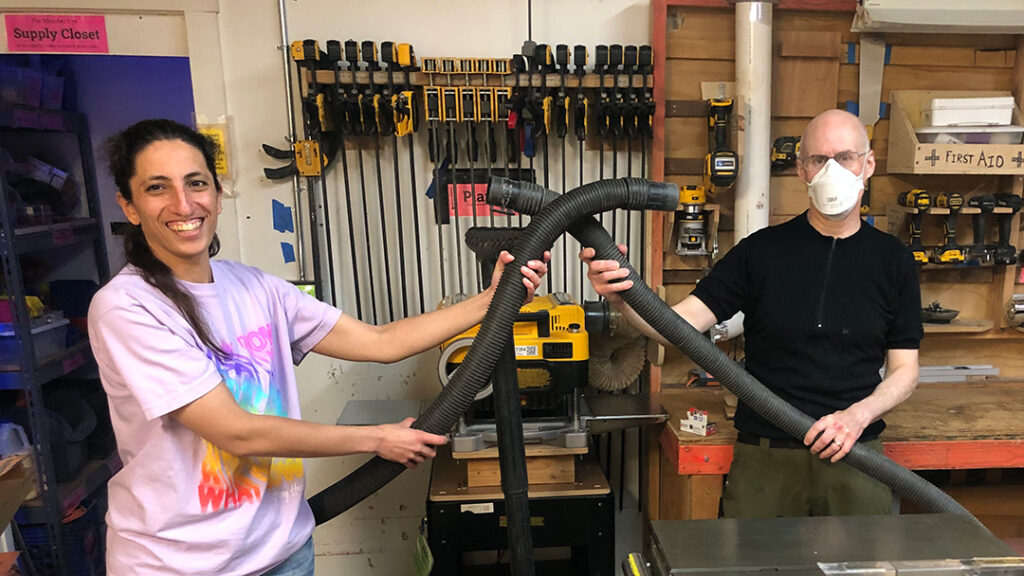
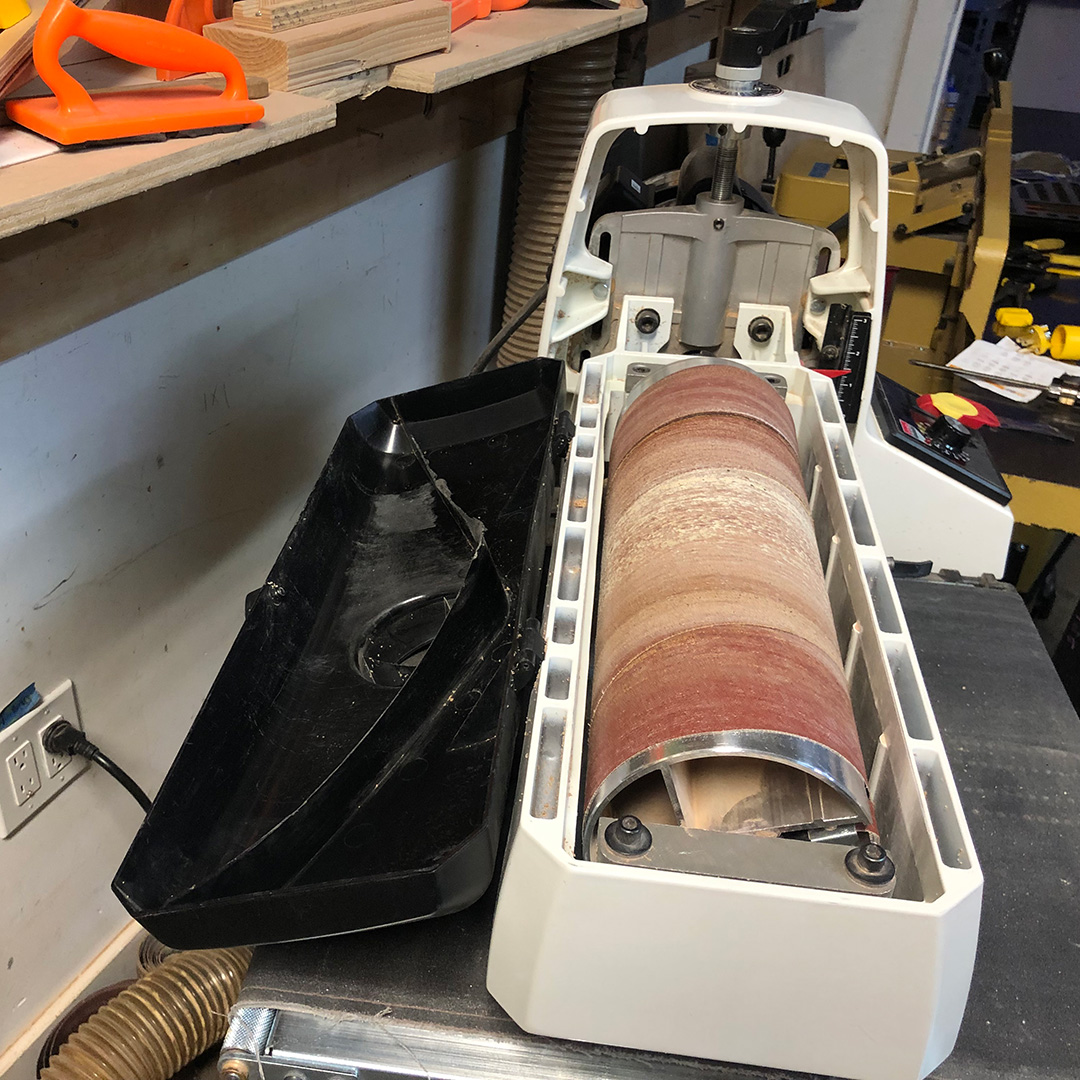
Tools that get heavy use in the Ace Shop like the Drum Sander, Jointer, Planer, Table Saw and Bandsaw need regular deep vacuuming to get particles deep inside the machine. Removing saw dust from harder to clean areas can lengthen a tools lifespan and helps prevent tool down time.
Team Shop* volunteer and experienced woodworker, Alex (he/him) showed Jacky how to open the top of the Drum Sander since they were unfamiliar with the tool. This kind of peer support and knowledge sharing is deeply embedded in Ace culture along with the belief that everyone has something to contribute of value to the community regardless of skill level.
It’s not about perfection, it’s about getting it to 90% – Howard

*Teams at Ace are groups of volunteers who organize projects, take care of tools, and drive decision making for programs they love. Teams are open to all members and are a fun way to get involved in the Ace Community.


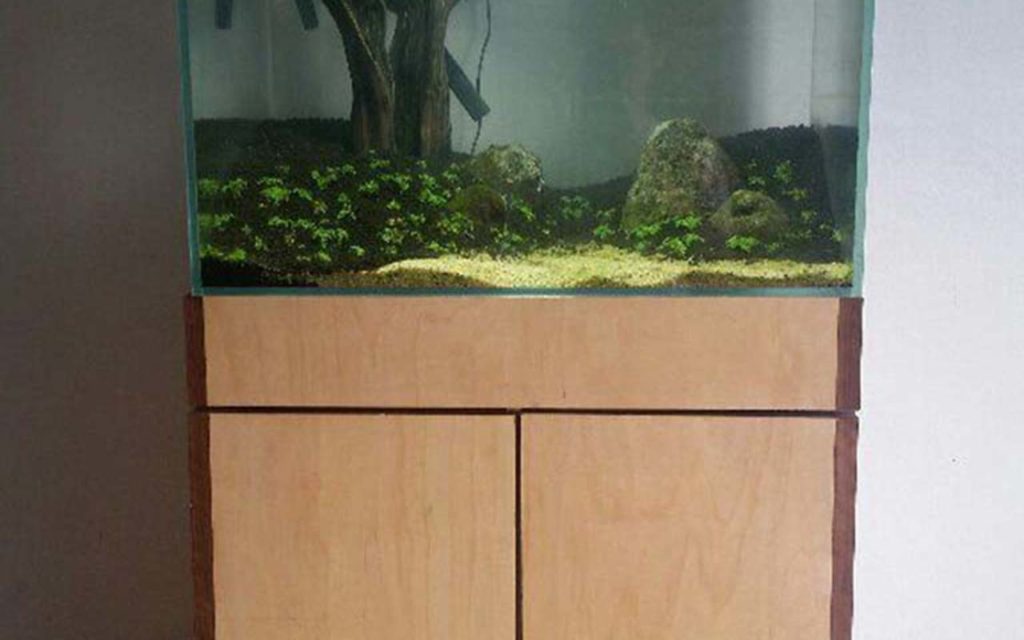
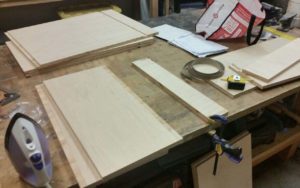
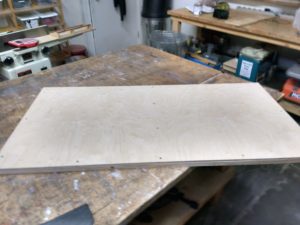
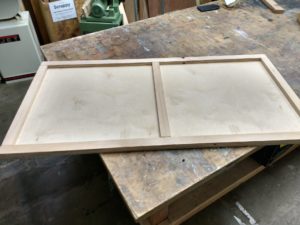
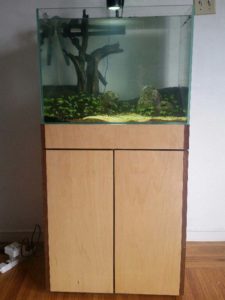 This is an aquarium stand that I built at Ace Monster Toys. It is made of maple 3/4 plywood and walnut edge banding. I used the old craftsman table saw and the ryobi router table to cut and shape the parts. If I had to do it over again I would use the CNC router. It would be far far safer, faster, and the results would be cleaner and more square. I would probably also use strips of 1/8″ walnut instead of the iron-on edge banding, because it would be much more durable and age better. After designing the piece in sketchup, I made some test pieces to practice edge banding on. The idea is to use the edge banding to hide the screws and the ugly edges of the plywood. It was a challenge to cut up the 4×8 sheet of plywood with a handheld power saw. A panel saw would have been better. After getting the pieces small enough to fit in my car, I took them to AMT and cut them to size on the table saw. The problem was that, even with my own brand new blade, the saw would not cut perfectly square, and the measurements on the fence were not accurate. It was very frustrating and the results were not perfect. I used the router table to cut dadoes and rabbets where the walnut strips would go. After assembling the box, I used an iron to iron on the walnut edge banding, which I trimmed with a razor. At this point I took the stand home for finishing, and added some wheels. The stand contains my canister filter and CO2 tank. I am very happy with the result, but if I had to do it over, I would use the CNC.
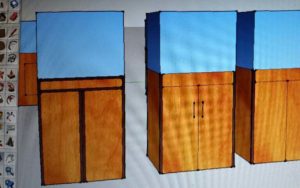
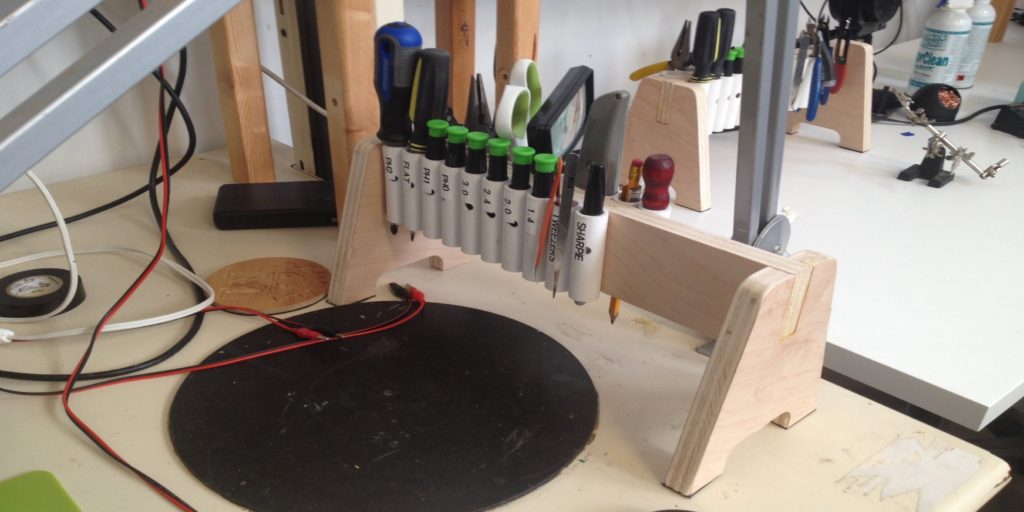
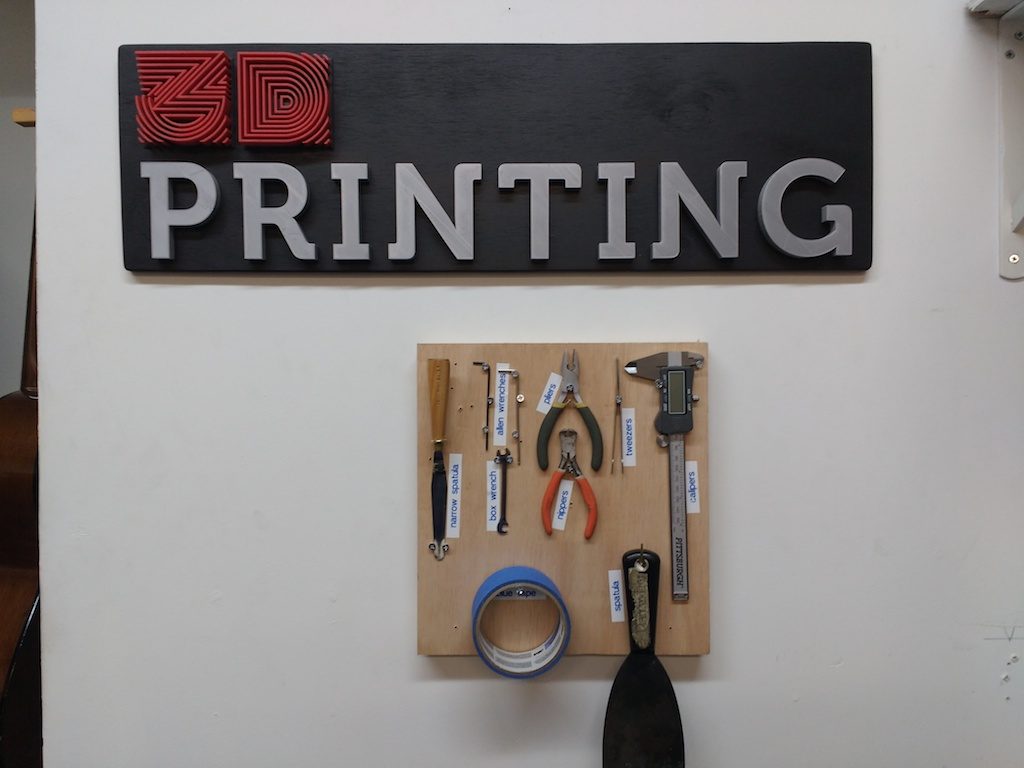
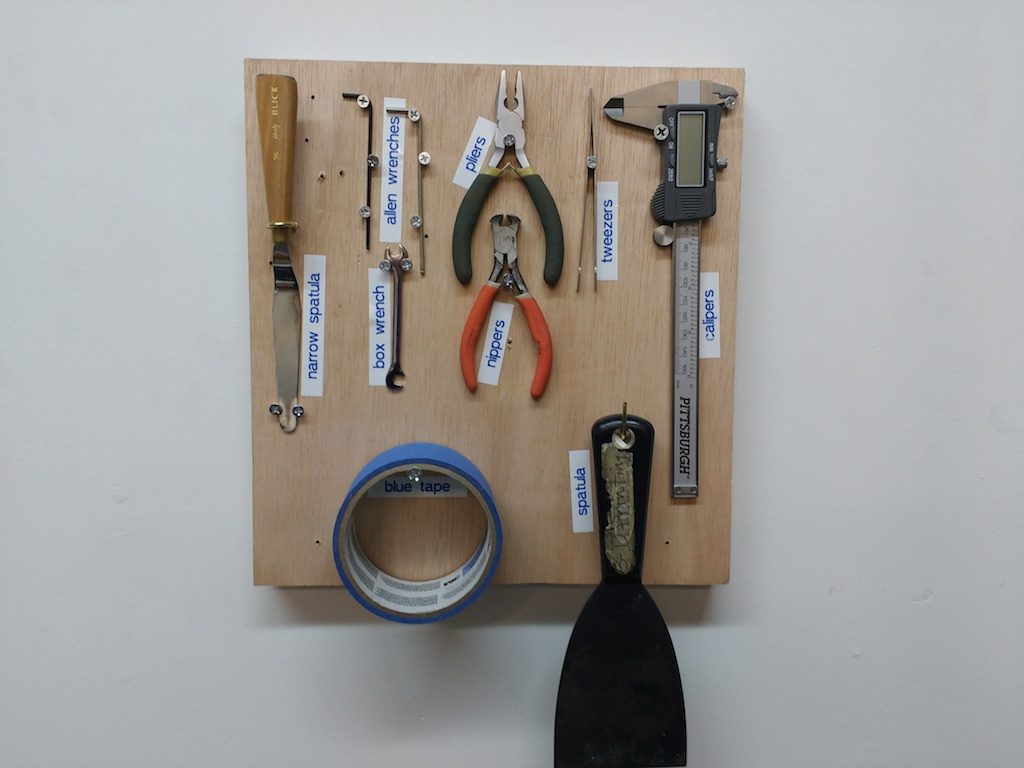
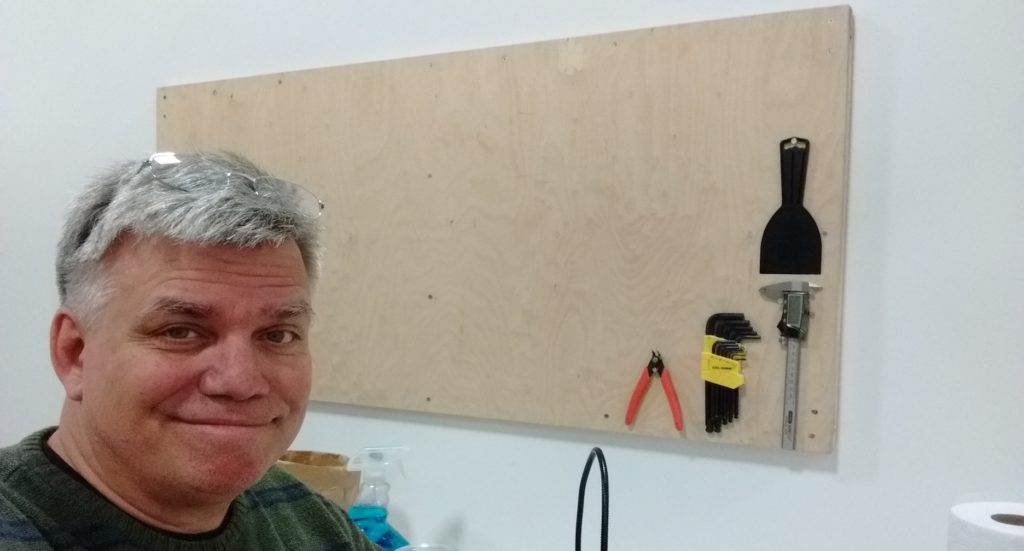
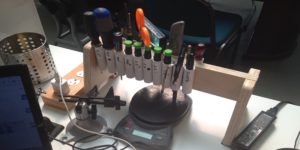 you put a collection of PVC tubing to hold whatever you want to hold. The trick is to have an idea of the tools you want to have on it and lay those out before hand, so you know what kind of tubing and how much you need. Some #6 screws, a drill press, bandsaw and CNC up the wood bits and away you go. Rubber feet on the bottom make sure it doesn’t slide away from you as you reach for that next screwdriver. The tools selected for the rack are based on my own experience in doing electronics and detail work. Precision screwdrivers are a must but so is a regular #2 Phillips and flathead. The #2 and #1 Phillips are probably used more than anything. From there it all makes sense to have enough tools but not too many. You can go crazy on the tool rack but it starts to get too large and would take over the tabletop if you let it. Keep it basic and know what you use.

 most recent purge of extraneous stuff. I borrowed a magnet from the fridge and hung it from a piece of string… which actually seemed to work better than the old stud finder. Two 3″ #8 screws hold my