Author: Damp Rabbit

Long time tinkerer, slacker, bass player and juggler. I tried to seriously be a guitar builder in the late 80s and early 90s. Now I want to make a few more just for fun.

3D printed fridge magnets

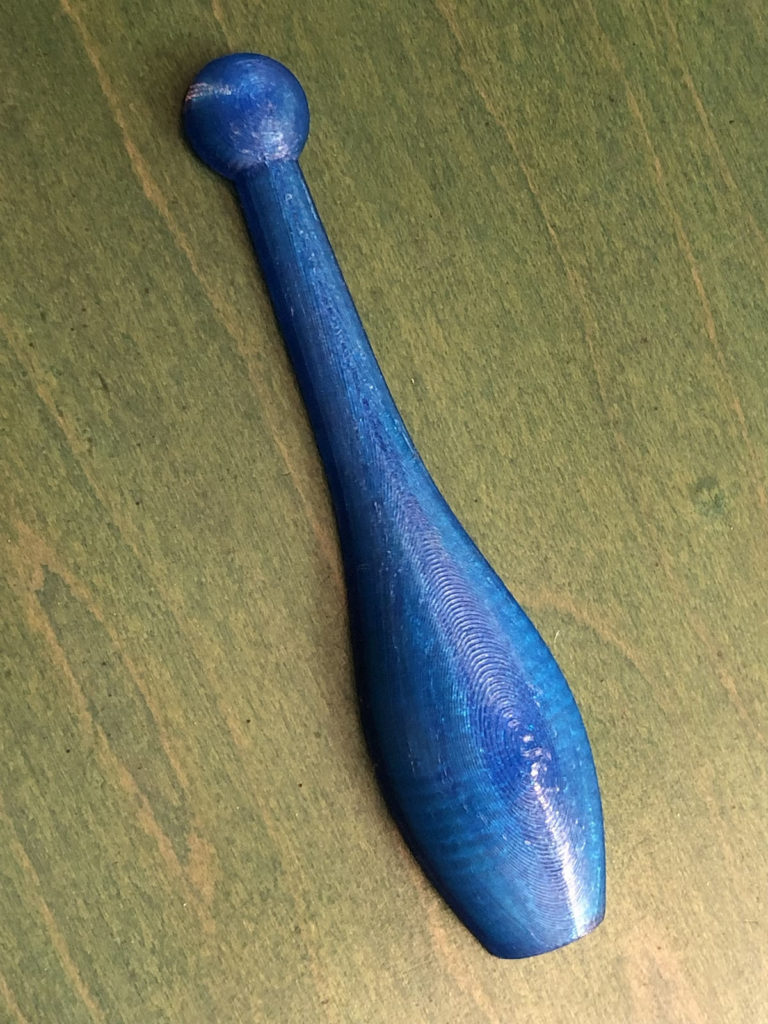
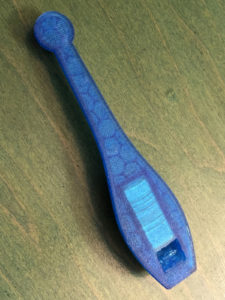
This is a 4 inch long juggling club model with a pocket for a neodymium magnet which transmogrifies it into a fridge magnet with enough power to hold a sleeping baby to the freezer door.

I spent more time on the pocket than the rest of it. When printed in pleasantly flexible TPU a 25x10x3mm magnet slips easily into the pocket and then stays there. There is .75mm of TPU between the magnet and the outer edge to temper the pull and prevent damage to the magnet. I used N52 strength magnets as they are stronger than the lower numbered ones.

I doubt many people want this exact shape so I’ve included some files to work from to make your own thing. Along with the completed club file I’ve uploaded the file just for the magnet pocket. You can use this to cut the magnet pocket in anything you want for your fridge. STL & STEP formats included in this zip archive.

FridgeClubParts

If you open these parts in Fusion360 or other app of your choice it should be obvious how to make this work for other shapes. If it’s not just post on Slack and ask for guidance.

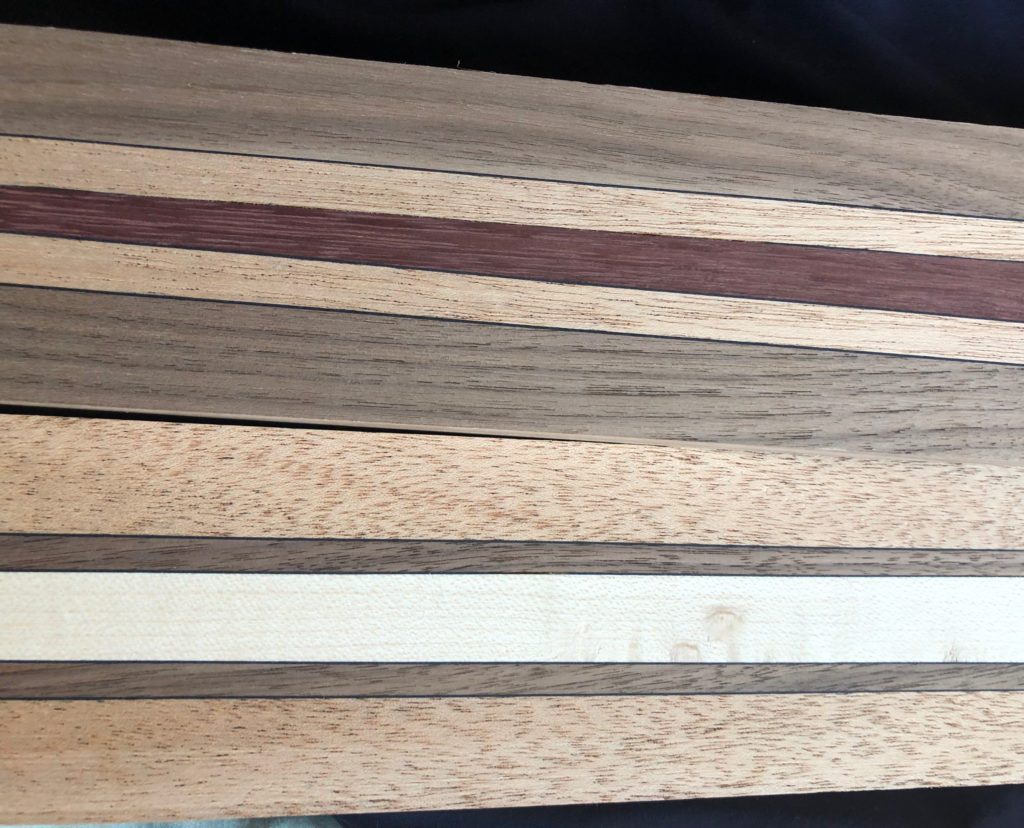
Wood Glue Laminates

How long do I need to keep my glue up in clamps?

30 minutes if it’s done with a woodworking glue like Titebond. Yes it’s often thought you have to leave it clamped up over night but in reality 30 minutes is enough. Though it is advised to wait 24 hours before stressing the joint.

After gluing up wood for guitars more than 30 years I have never had a glue joint fail. With a well prepped joint surface the glue line will always be stronger than the surrounding wood.

While it may take hours for big blobs of squeezed out glue to dry, the super thin layer in the glue joint dries much faster. If you can feel a skin on top of the big globs or see that a thin smear of glue has dried the glue in the joint is probably dried.


Here’s what Titebond has to say about it:

http://www.titebond.com/resources/use/all/faqs

What is the clamping and drying time of Titebond Wood Glues?

“For most of our wood glues, we recommend clamping an unstressed joint for thirty minutes to an hour. Stressed joints need to be clamped for 24 hours. We recommend not stressing the new joint for at least 24 hours. For Titebond Polyurethane Glue, we recommend clamping for at least forty-five minutes. The glue is completely cured within 6 hours.”


It is common to leave glue ups over night. This isn’t necessary and it can sometimes make the space cluttered for others and take the clamps out of use from the community.

What I try to do is once I get my last clamp on I check the time, and then do all my clean up and packing and loading of my car. Or you take this opportunity to do your monthly “little thing”. It’s easy to fill a 1/2 hour and then I can remove the clamps and put them back for someone else to use before I leave. It also makes anything I have to leave at Ace smaller and easier to store out of the way.

That said if you are going to do any milling or sanding over a glue joint using Titebond or other water based glues it’s good to leave a few days or even weeks to let all the water to fully evaporate from the glue joint. The joint is swollen from the water and if you level it before absolutely dry it can sink a bit when it fully dries leaving a low groove along the glue joint.
Fixing the CNC’s rounding of corners.

There have been some troubles with the CNC not following Gcode paths exactly and rounding corners.

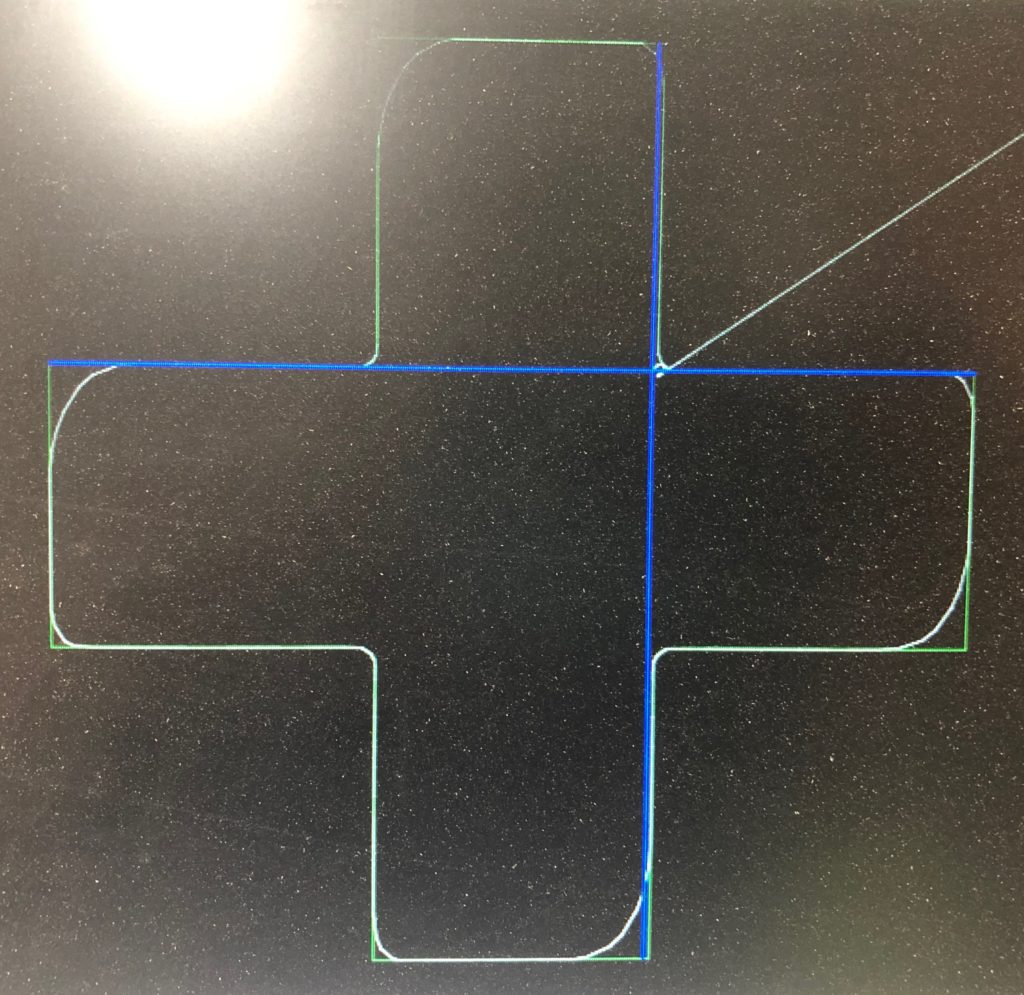
In this first picture of the Mach4 screen you can see the green lines which are the path the CNC should follow, and the white lines which are the path the CNC actually followed. (ignore the blue lines)

The problem is the CNC is rounding over the outer corners. This is a result of the CNC trying to move faster than it can manage. The max speed of our CNC is 200 inches per minute. In the above picture it is trying to cut at 150 IPM and can not handle that speed on the corners so it rounds them, which can ruin the piece. Even though the CNC can go faster in a straight line it can’t change directions that fast.

The solution is to use a slower feed rate. But this can greatly increase cut times and other issues such as tool dulling and excess heat.

Fusion360 has a solution called “Feed Optimization”. What it will do is reduce the speed in just the corners to 25% of the feed rate. In this example it reduces the corner feed speed to 37.5 IPM.

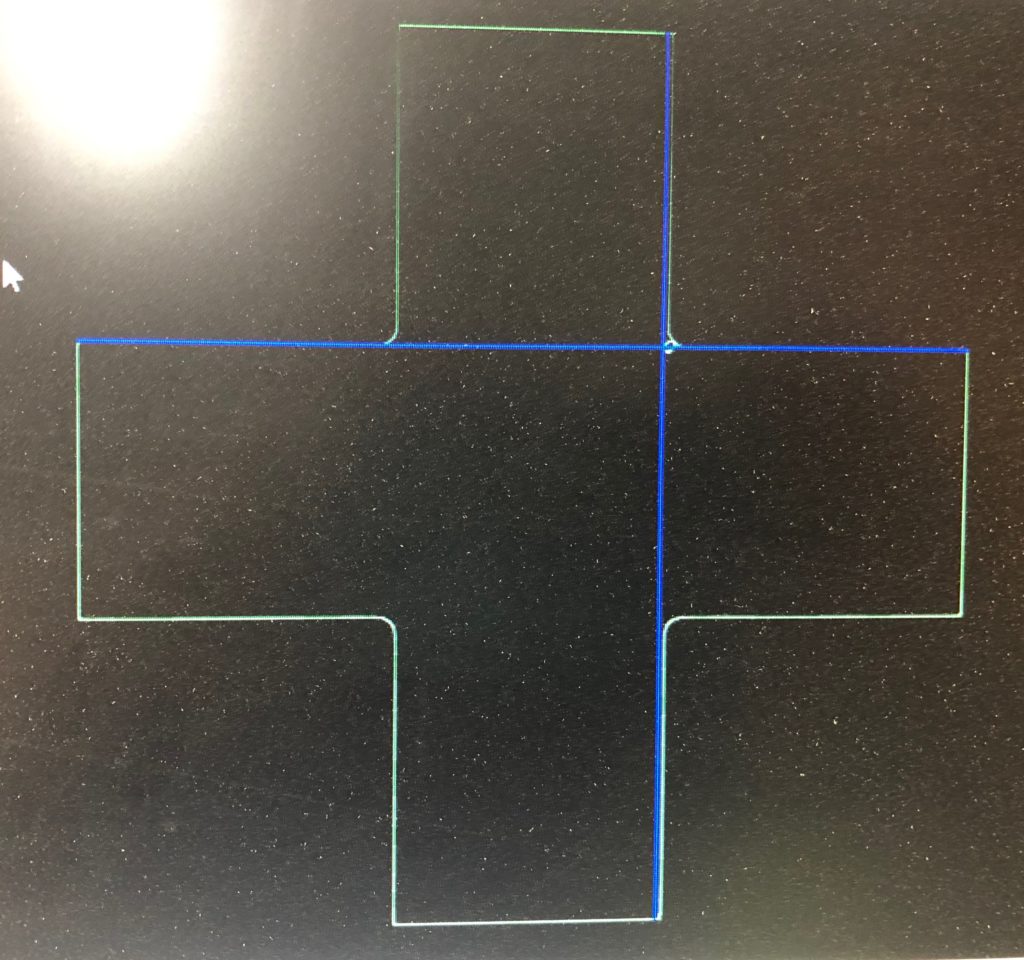
In this next picture you can see the white line of the actual cut path looks identical to the green Gcode path with Feed Optimization turned on.

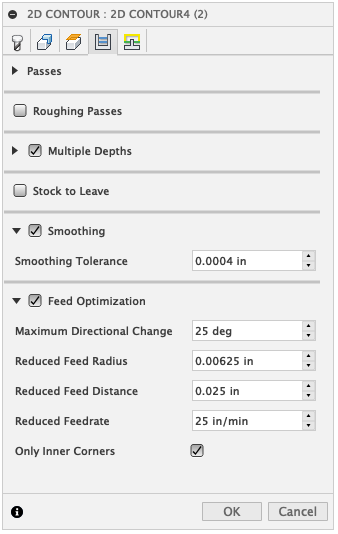
The Feed Optimization setting is found on the 4th tab (labelled Passes) of the Operations Dialog when you are in the Manufacture workspace.

In the bottom of this picture you can see the checkbox to turn it on. The defaults should be fine and will reduce your corner speeds to 25%. This only adds a small amount of extra time to the cut.

This project was set to 100 inches per minute so Feed Optimization reduced the corner speed to 25 IPM.

Mouse over each setting for an explanation of what it controls if you would like to fine tune even more from the defaults.