Category: Textiles

Everything to do with the textiles room at AMT: sewing, leatherwork, silkscreening, all that.

Close up on Mid-arm needle

Test Driving the Mid-Arm Free Motion Sewing Machine

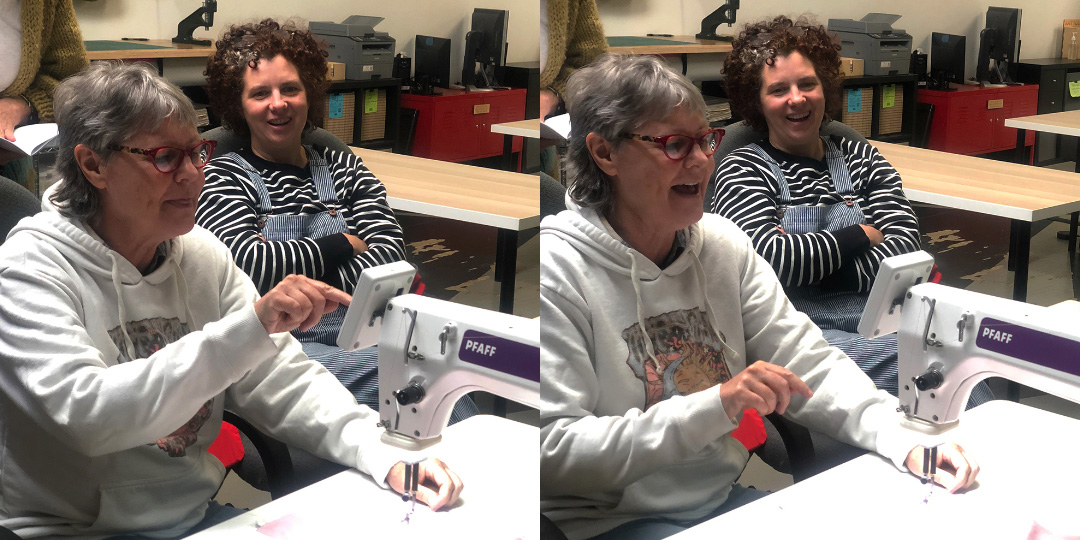
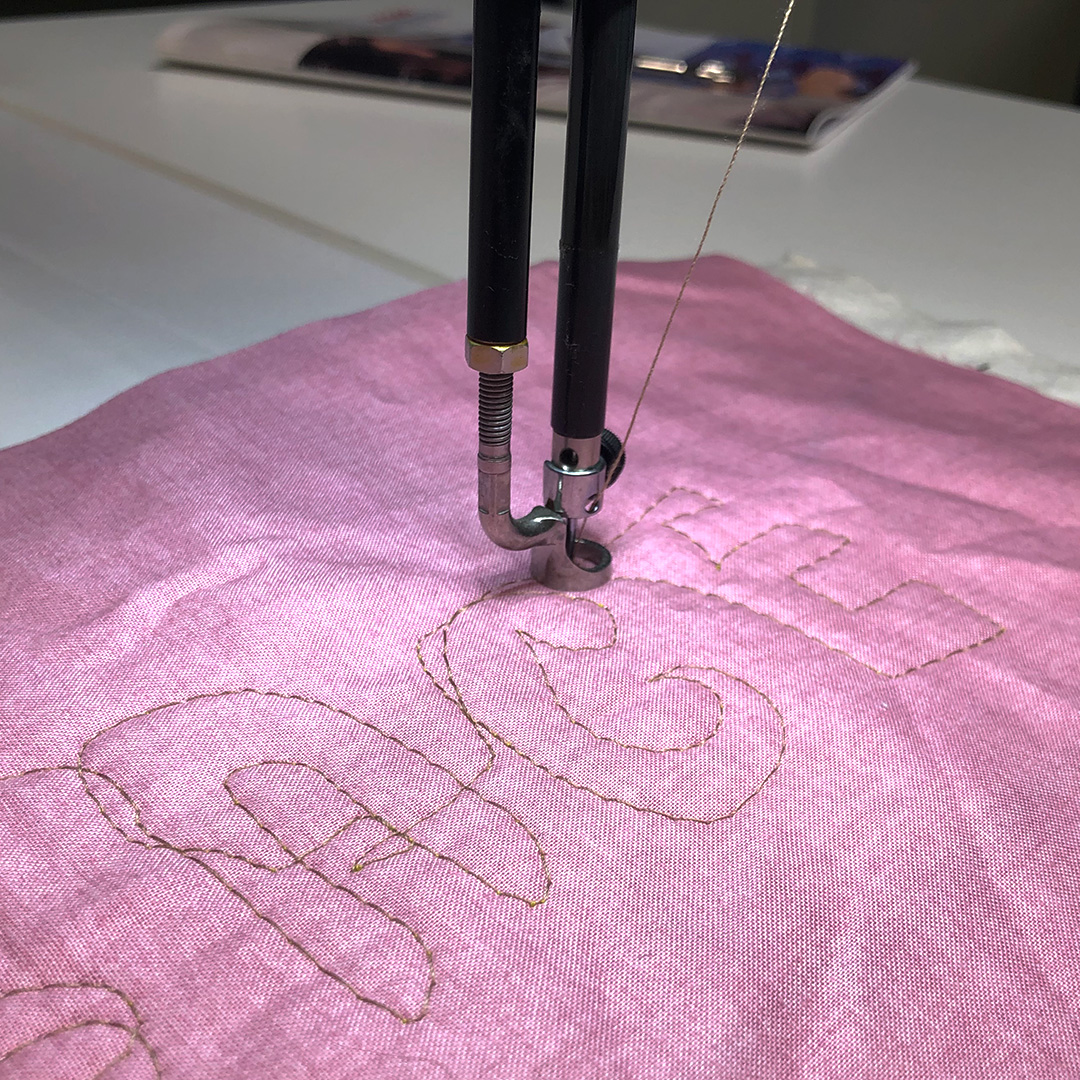
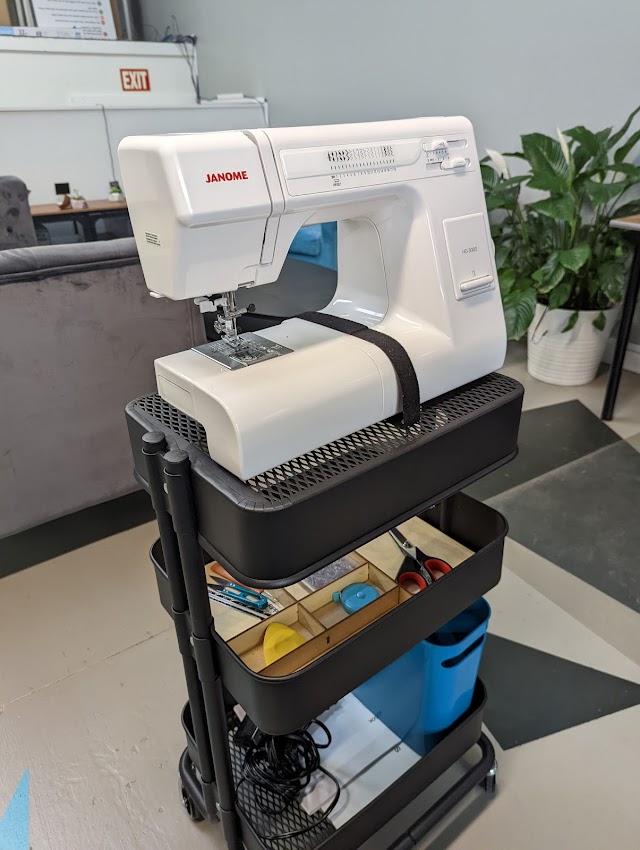
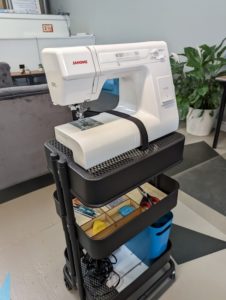
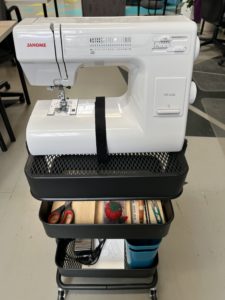
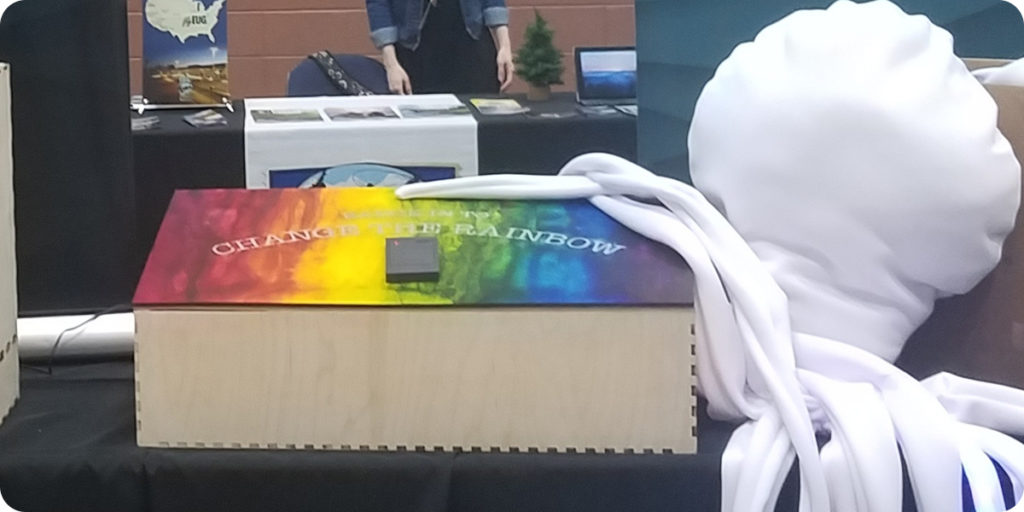
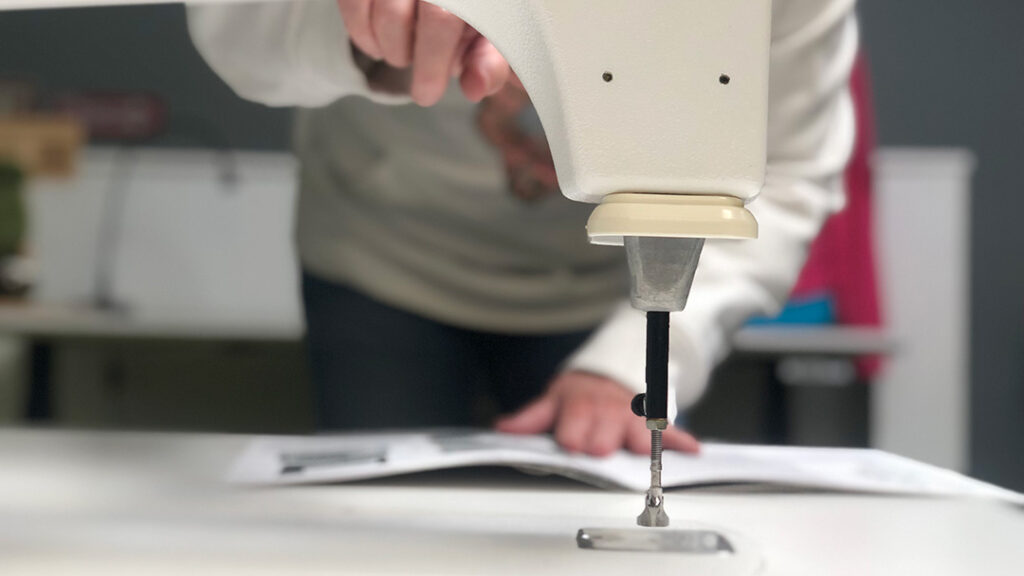
Ace Makerspace recently received a generous donation of a PFAFF Mid-Arm Free Motion Sewing Machine— unlike a standard sewing machine, the mid-arm doesn’t have a feed dog (a mechanism that controls the movement of the fabric underneath the needle) this allows the sewer to move the fabric in any direction to create intricate designs. Here’s a sneak peek at our first test drive and the process we go through when we introduce new tools into our programs.

Folks looking at manual
We always test new tools in teams and reading the manual together is always a good place to start.

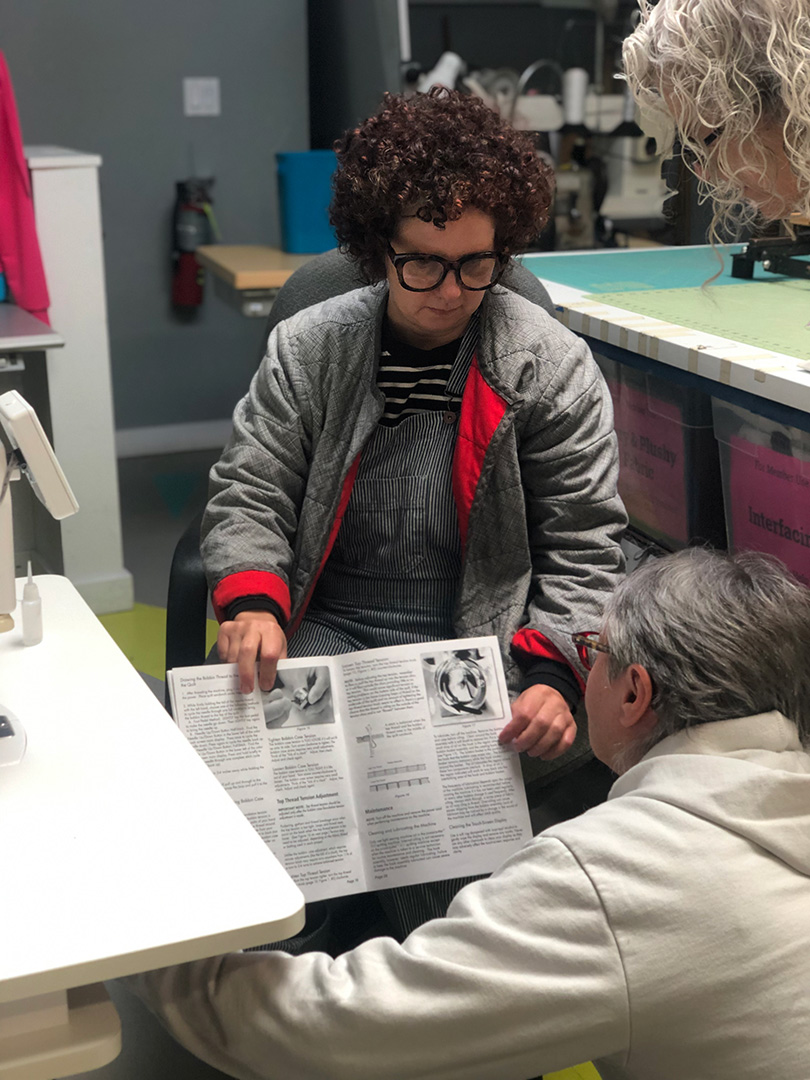
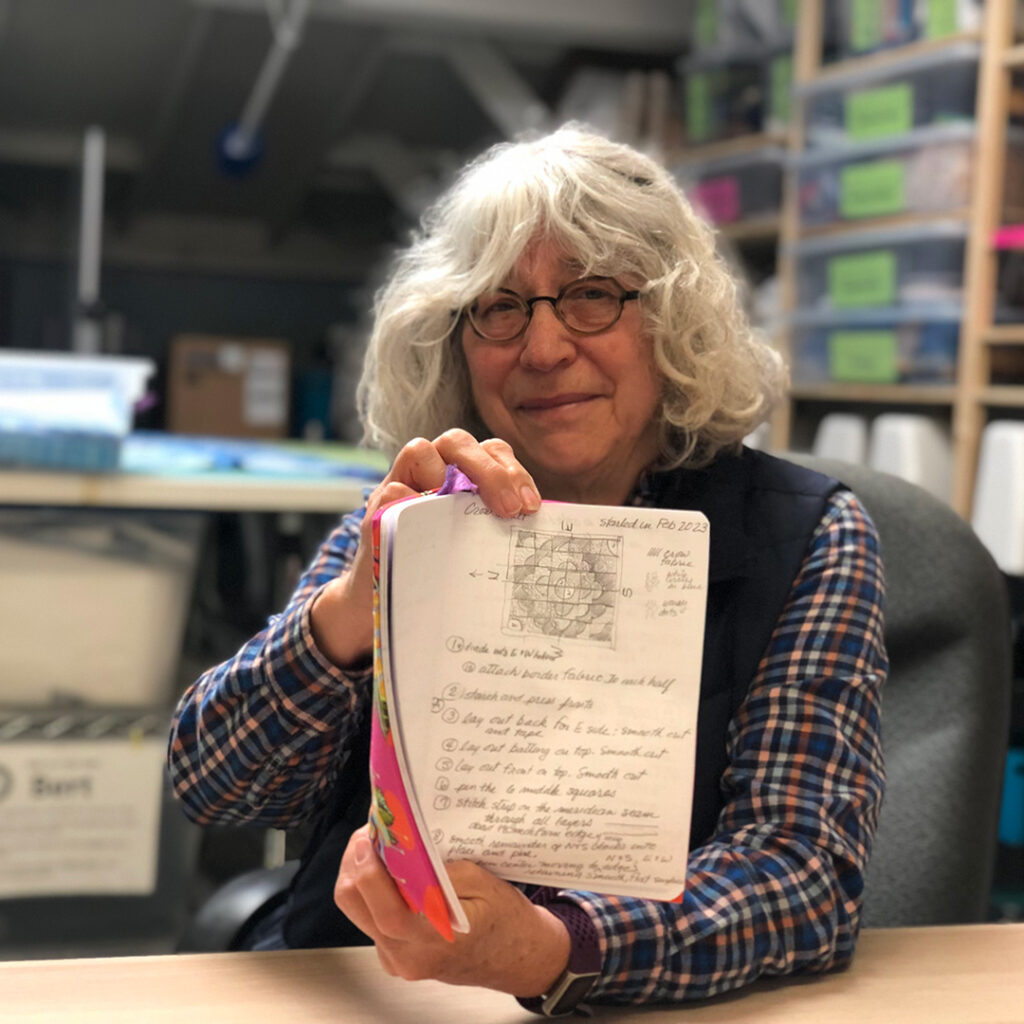
When we bring new tools into any of our programs we have a process in place to ensure that the tool is in good working order and that Ace Makers of all skill levels and identities have equitable access to both the tool and to learning opportunities. This work is often coordinated and/or performed by Stewardship Teams— Ace Community Members who volunteer to help lead their favorite Ace Programs— and involves testing the tool both for function and to determine what kind of training, user guides and resources need to be developed before it’s made available to the rest of the community. For this project, Textiles Stewardship Team Member, Liat (you may also know her from Hello Stitch) called in a couple of friends to help out.

After reading the manual they turned it on the machine to see if it worked. The sound it made was a little bit louder than they expected which can be a sign that it needs a little oiling. Since it this was a new machine for them, they debated the topic for the minute and decided to go for it.

Oiling the mid-arm
Oiling the Mid-Arm.

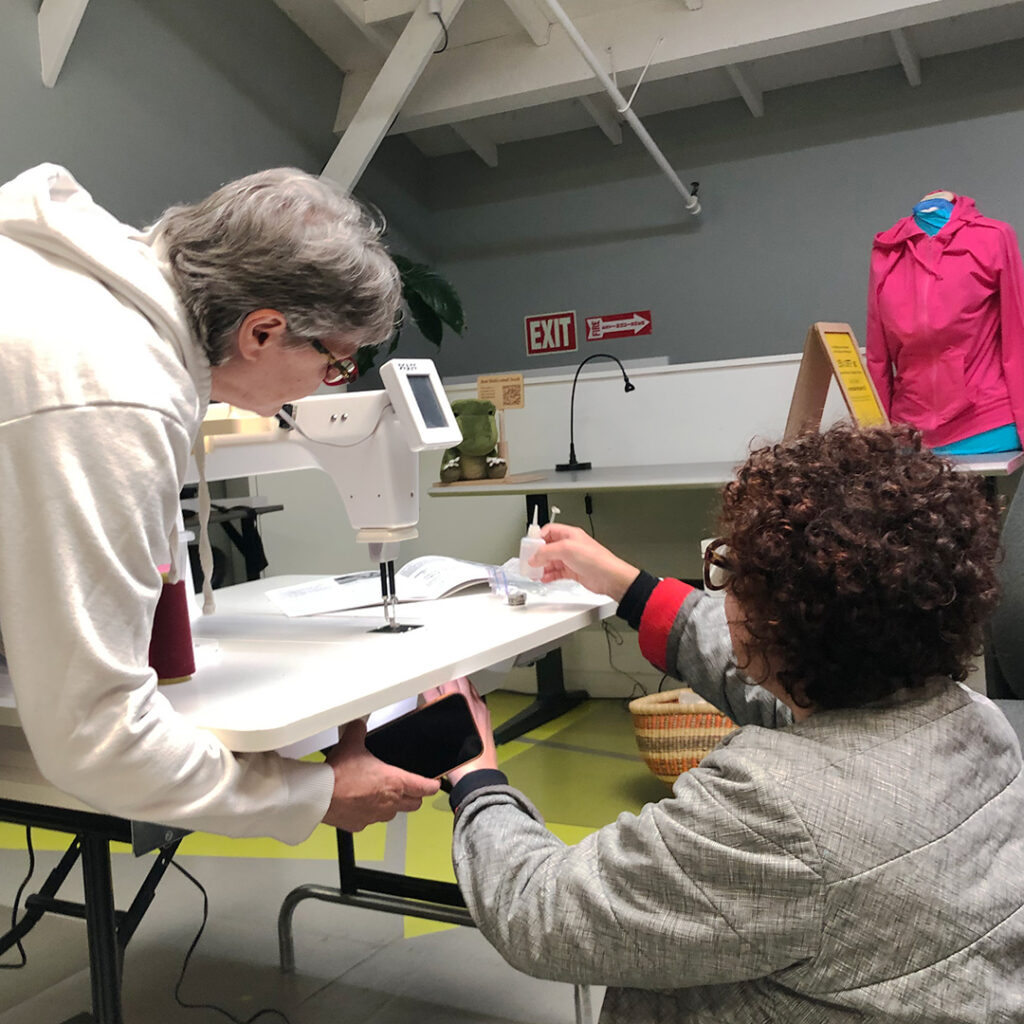
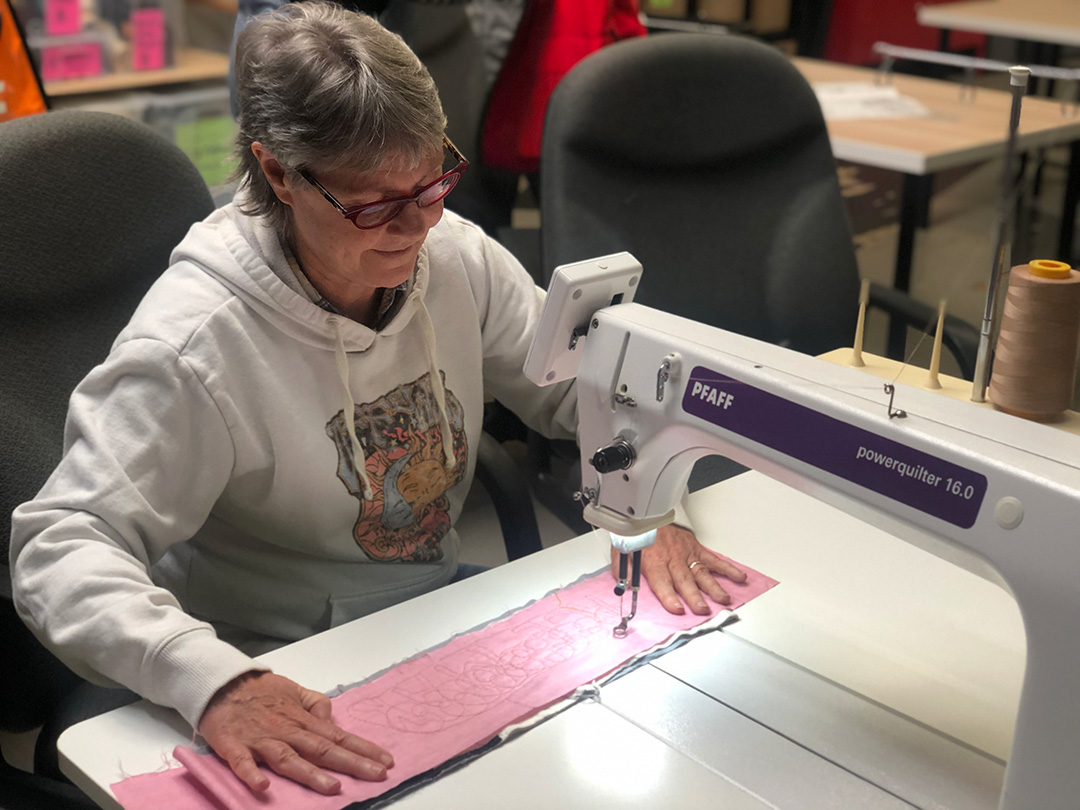
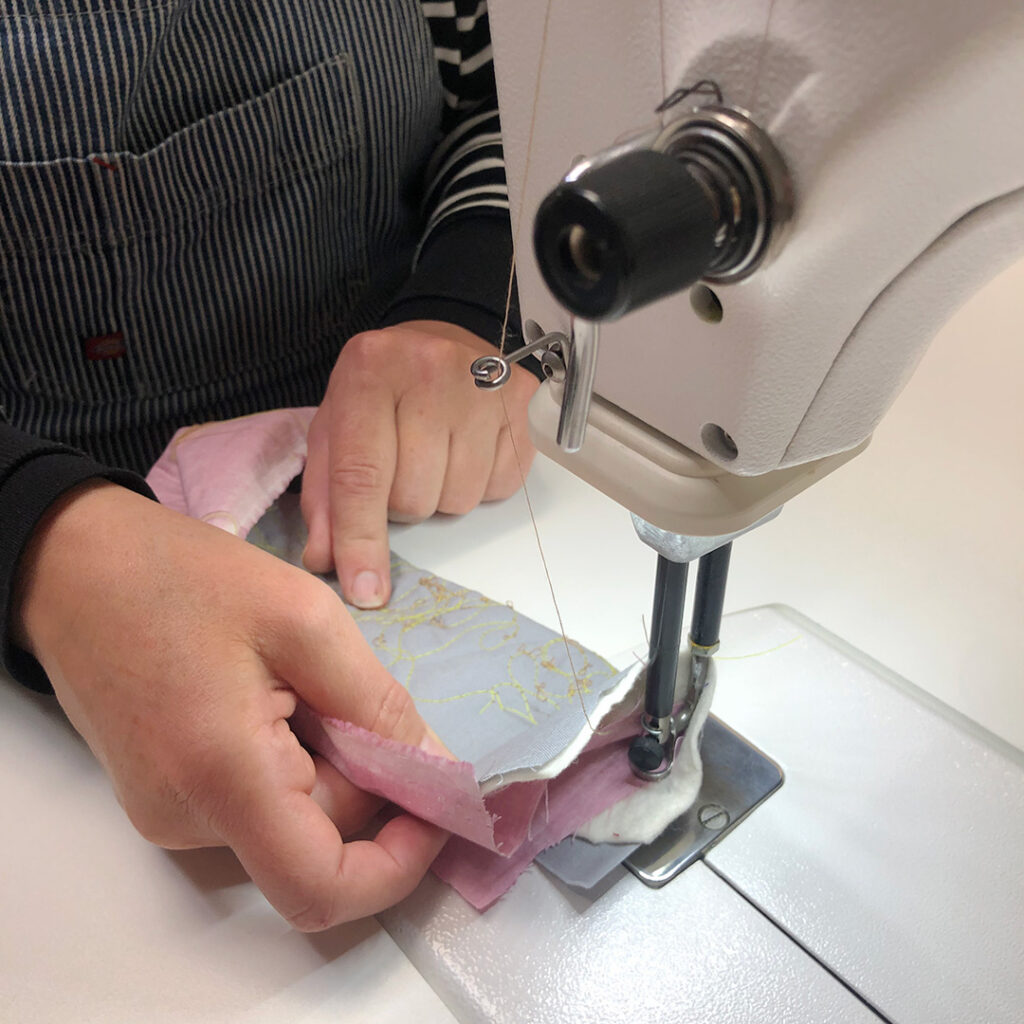
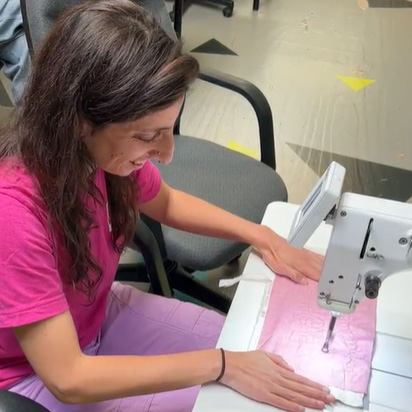
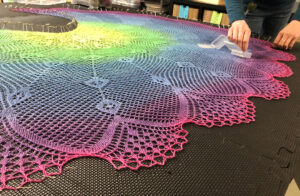
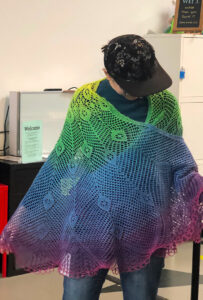
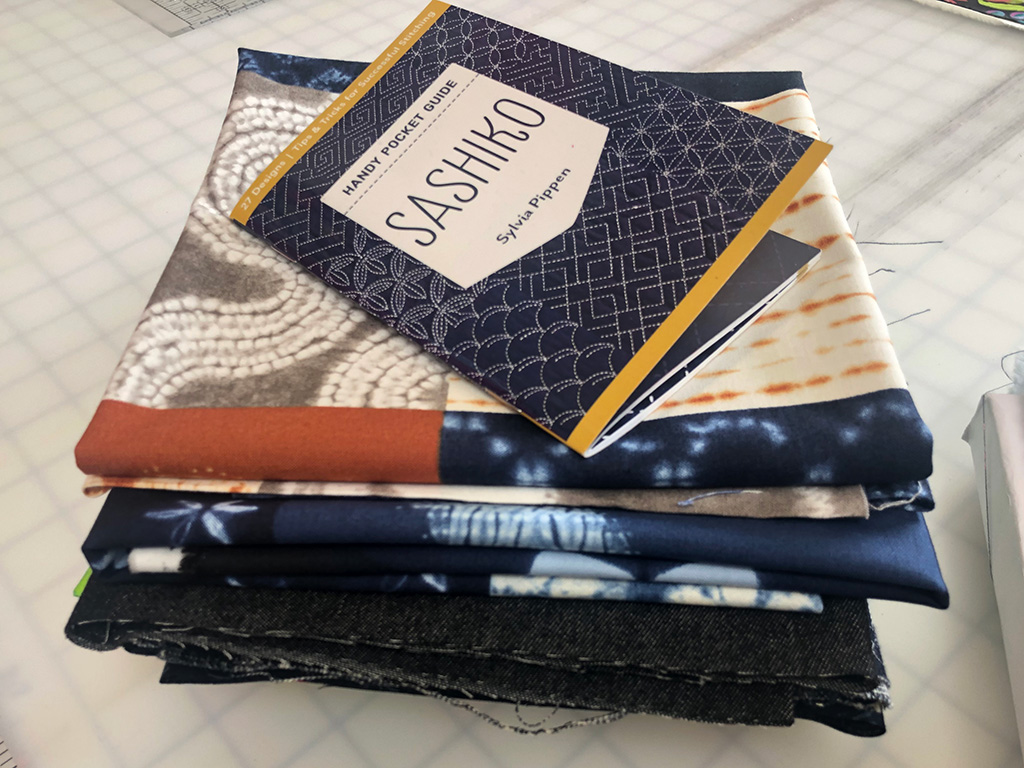
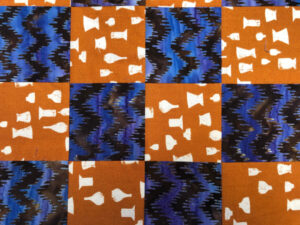
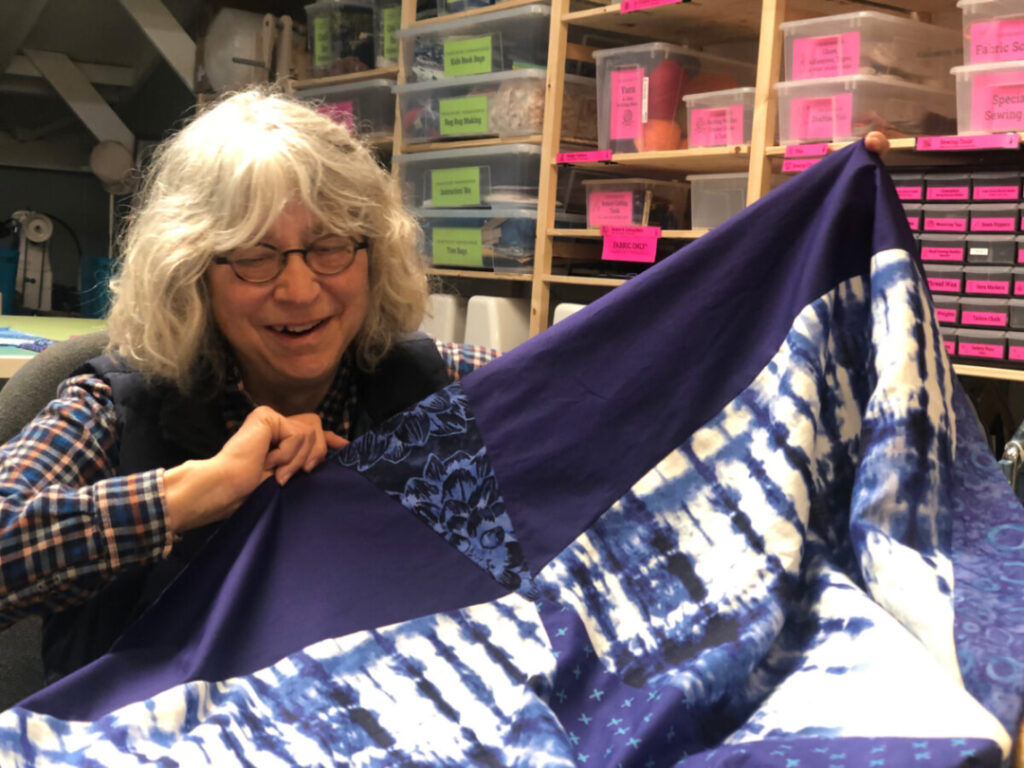
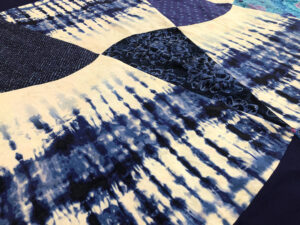
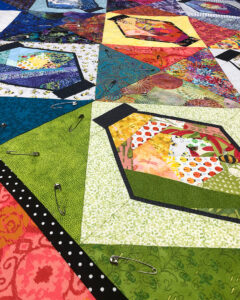
Finally, it was time to thread the machine and try some free-motion sewing! (Liat made an extra tasty “quilt sandwich”— a quilt top, batting, and quilt bottom layered together—for practicing on). 

Before and after photo of two people turning on the mid-arm.
Does it work? It does!
Person using mid-arm
Playing with the midarm and pondering what a certification class might look like.
Taking a look at the thread tension. It needs a slight adjustment. “This may be something to consider teaching in a certification class.”
Person in pink using mid-arm
Ace Communications Associate, Jacky gets in on the fun!
"ACE" written in thread.
Successful test drive!
Person blocking rainbow shawl

Knit Blocking With Pixie

It all started when Pixie’s college friend asked her to knit him a glamourous rainbow shawl for his wedding! They selected a pattern to serve as a starting point, planned the color story, did a little math to figure out how much yarn it would take, and found a dyer (Pook Yarns) to create a custom gradient. Then it was time to start knitting.

On 11/19/22 she officially cast on–a technique for creating the first row of stitches on the needle…

Sketch, yarn, and progress shot of shawl
Top: Preliminary sketch of the color scheme. Pixie told her friend “you can be as much of a bridezilla as you want” and received a lengthy list of hex codes in return (html color codes). Bottom left: apx.1000 meters of hand-dyed yarn from Pook Yarns. Image from Pook Yarns. Bottom Right: Pixie improvised a little as she knit to extend the pattern.

…6 months later she finished the last stitch and the shawl was ready for blocking!

Gradient shawl on black foam mat
See that curly edge? Once it’s blocked it will look totally different.

Blocking describes a finishing process used by knitters and crocheters to even out their stitches and set the shape and size for their pieces. It involves wetting the fabric, stretching it until it’s just right, and allowing it to set as it dries.

Shawl soaking in sink
Pixie soaked the shawl and carefully wrung out the water before the next step. Tip: Use lukewarm water for blocking.
close up of hands pinning edge of shawl
Pixie used a foam mat and T-pins to hold the shawl in place. Tip: Insert pins at a slight angle for stability.

Since Pixie improvised a little to extend the pattern as she knit, she wasn’t entirely sure what the final shape would look like. Though she started pinning the outer edge into sharp points, she decided to re-pin it with a scalloped edge to better showcase the lace details. She also wasn’t sure what shape the neckline would take and re-pinned it several times to get it just right.

Person using pointed hands to check symmetry of shawl
Pixie checks to make sure the shawl is stretched evenly. Each minor adjustment means removing and re-inserting pins until it’s just right. Tip: Allow extra ease when you cast off–technique for finishing the last row–so that the yarn doesn’t snap as you block.

Stretching is an art. You have to fiddle with it to see what happens -Pixie

Artist posing with blocked, shawl with scalloped edge
Pixie posing with her blocked shawl after almost 2 hours of pinning, tweaking the shape, and carefully stretching the delicate lace.

Once she finished blocking she allowed it to dry overnight and then removed the pins.

Removing pins from lace
The moment of truth! Check out that scalloped edge!
Person in gradient knit shawl
Pixie tries on her finished piece!


Two people posing with"Stonemountain" button mosaic.

Seeking Textiles Inspiration at Stonemountain

We’ll never pass up an opportunity to frolic with giddy abandon at Stonemountain & Daughter Fabrics! It’s a magical place teaming with vibrant fabrics, notions, and specialty sewing supplies.

Two people in front of red bolts of fabric
Liz and  Jacky pose in front of vivid bolts of red fabric.

We went to stock up on fabrics for our beginner-friendly Tote Bag Project Kits, find inspiration for future textiles classes, and buy extra supplies for our first ever Visible Mending Workshop—inspired by Sashiko, a traditional style of Japanese embroidery used to preserve clothing.

Person looking at fabric in fabric store
Liz browses for blue, black, and/or white denim and cotton fabric for students to use as patches at during our Visible Mending Workshop.
Person holding embroidery thread in fabric store
Jacky shows off a cornucopia of colorful Sashiko embroidery thread.
Examining panels of fabric
Liz and Rachel admire fabric with bright floral panels. Not exactly right for patches or Tote Bag Project Kits, but super pretty!
Rachel discovers an amazing sequined unicorn patch on the way to the cut table.
Pile of fabric and "Sashiko Handy Pocket Guide"
Found the perfect fabrics for visible mending and a “Sashiko” pocket guide full of incredible designs and helpful tips!
Pile of fabric
And playful Fabrics for Tote Kits!
Stack of pink, purple, and blue quilts.

Terry Stitcher’s Epic Year of Quilting

lantern quilt
Terry showing off her favorite “Lantern Quilt” for a “Reddit-style quilt photo.”

Terry’s been sewing most of her life, but until last spring (2022) had never tried quilting. Now, one year later, she’s made 13 quilt tops and counting! When you ask what prompted her to start, she isn’t exactly sure apart from her “fabric hoarding” tendencies.

I’ve started thinking about my life as a maker life. Making things has always been my favorite part of every job I’ve ever had.

The inspiration for her quilts tends to come from the fabrics she’s collected over the years and her experiences both past and present. She made her first quilt at Ace from a stash of batik and paisley shirts she no longer wears but couldn’t bear to part with. 

Blue and orange quilt block with ceramic motif.
This block from Terry’s first quilt represents her past as a ceramic sculptor and features her “signature fabric” with a vessel motif.

She uses a special notebook to sketch and plan the layout letting the basic shapes in the fabric dictate what “kind of quilt they want to be.”

Terry holds up a preliminary sketch for her "Angry Birds" crow quilt.
Terry showing her preliminary sketch for her “Angry Birds” crow quilt.
Terry with indigo quilt
Terry talks about how the shape of this tie-dye skirt inspired the curved pattern for her quilt.
indigo quilt top
You can really see the how the skirt shape and fabric influenced the design for this quilt top.

While she really enjoys the process of making quilt tops, she tends to procrastinate on assembly admitting to a closet full of UFOs (unfinished objects).

Pinned quilt top
It took Terry two tries to get this quilt sandwich pinned.
Quilt top
Terry’s “Racoon” quilt top.

What’s Next?

Terry is getting really into playing with embroidery, applique, and geometric shapes. She’s also planning a Scrub Jay quilt inspired by the birds she and her partner hand feed in their neighborhood.

Cockatoo quilt square
This embroidered quilt square represents Terry’s experience teaching her parakeet to say, “You’re pretty smart.”

Terry’s Tips and Takeaways for New Quilters

  • “Don’t go it alone.” Find community whether its online, at Ace, or a local quilting guild.
  • Try a smaller project like quilted oven mitts or throw pillows to learn the mechanics.
  • It’s helpful to have a space to work away from the distractions at home (like Ace).
crow quilt
Terry examines her finished “Angry Birds” crow quilt.

Custom Organizer Carts in Textiles

At Ace Makerspace, you’ll see unique touches everywhere. Our Textiles room shares space with our Co-Working desks (not to mention you’ll frequently see the space used for New Member Orientations and other events!)

It’s important that the room’s configuration remain flexible depending on the need. Rachel McCrafty, Ace’s own Executive Director, came up with the modular storage design. Each Janome 3000 machine has its own customized storage cart with organizers.

organizer cart textiles

The organizers are custom made from ⅛ inch birch wood using Ace’s Barracuda Laser. The tabs are pressure fitted into the organizer. The slot designs for the organizer were created in Adobe Illustrator.

Each cart has a machine, sewing pins, scissors, marking tools, and a tape measure and seam gauge. Just roll out a cart, set up your sewing machine on a table, and you’re ready to start making in the Textiles room!

mask and sewing machine

Learn to Sew While Making Masks

Make masks for under-resourced folks in Oakland while learning to sew!
This is part sewing workshop and part mask-making party. Ace Makerspace provides masks to the community via our program Oakland Community PPE. We focus on distributing masks by partnering with existing social good organizations in Oakland. Learn more about where masks go on the Oakland Community PPE page.
You will learn or improve your sewing skills guided by experienced instructors. We split this offering into one virtual event and one live event at Ace Makerspace. We highly recommend that folks who have never sewn attend the virtual class before coming to the mask-making workshop.

Learn to sew while Making Masks Virtual Prep Class

During this 1-hour virtual class you will learn:

  • A sewing machine overview
  • How sewing machines work
  • Common sewing tools and what they are for
  • What goes into to making a mask

Demonstrations will include:

  • Straight stitching
  • Changing the needle
  • Seam ripping
  • Troubles shooting

There will be the time in this workshop to ask questions!

Learn to sew mask-making workshop

This event at Ace Makerspace is a combination of Class and Mask Making party. You will learn or improve your sewing skills guided by experienced instructors. Folks will work in rotation at stations giving everyone a chance to work on all aspects of mask-making. Lessons will be projected as the come up in real working situations.

Prerequisites

  • COVID-19 Safety
  • Are you brand new to sewing? Take the Virtual Prep class.
  • Experienced sewists looking to gain practice or just help make masks can skip the prep class that goes over the basics.

What you will learn

  • Sewing basics
  • Machine control
  • Chain stitching
  • Basic machine upkeep for volume stewing
  • Volume Sewing
  • Factory methods
  • Mask assembly
  • Reading assembly markings

Tools we will use

  • Sewing machines
  • Threaders
  • Clips

More about COVID Safety

In Order to stay COVID safety, we do much of the teaching using a “jumbotron” to project lessons on the wall. We also ask that all students take the COVID-19 safety course and masks are required.

Made at AMT-June 2019

NOMCOM Fob All The Things dashboard | AMT Software • Bodie/Crafty
Hand Built Speaker | Workshop • David
Recycling Game | Workshop/Laser • Bernard M.
Solid wood credenza | Workshop | Raj J.
Tiny electronic brass jewelry | Electronics | Ray A.
RFID Mint Dispensing Box | Laser+Electronics | Crafty
Wood Signage | CNC Router | James L.
Fabric Kraken stuffed with 720 LEDs | Textiles + Electronics | Crafty

Programmable LED Costume Props at the Library

At the Golden Gate Library, we got together with folks to make programmable LED costume props.

We had a variety of laser-cut kits for folks to choose from, including cuff bracelets, tiaras, and more. Folks then sewed conductive thread, microcontrollers, and LEDs to create and customize their programmable costume prop. This project is geared toward makers 14 and up.

nevertheless she persisited

Laser Cut Custom Jewelry

So this was an ambitious workshop where each person got to make a few pieces of custom laser cut jewelry out of wood or leather.

We learned a lot at this workshop. With a bit of restructuring, I would be interested in doing this again. All proceeds went to the new serger fund.

laser cut oakland tree pendants
Oakland tree
Makers
Cutting Leather
leather stars
Red leather bracelet with etched Oakland skyline
Leather Bracelet This etched leather bracelet was finished with brass hardware eventually.
hands scrubbing pink leather cut like stars
laser cut folded leather earing
pile of colorful leathers