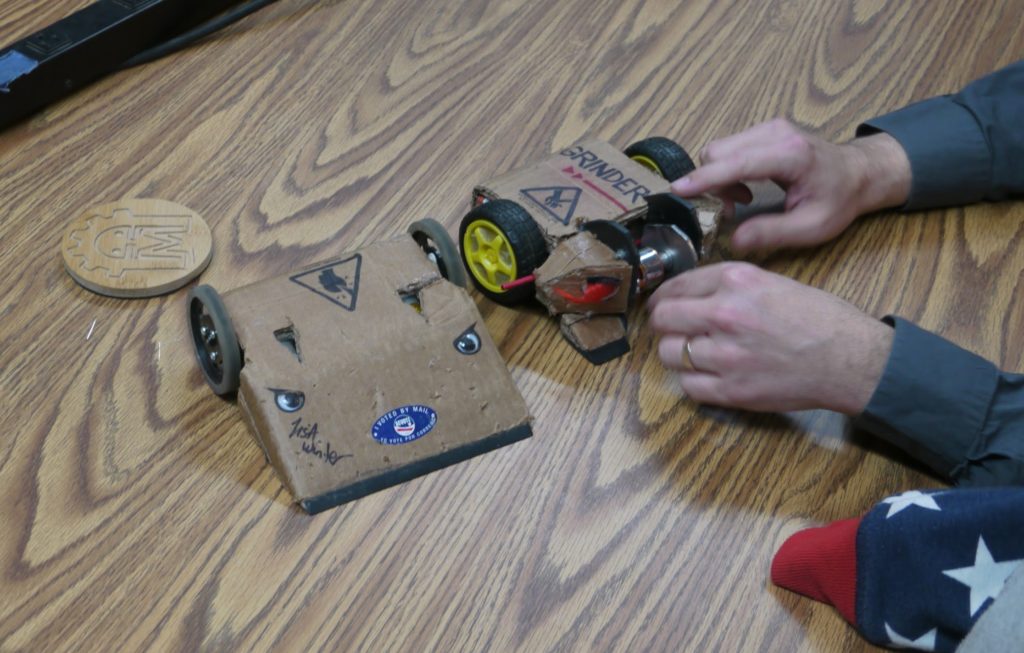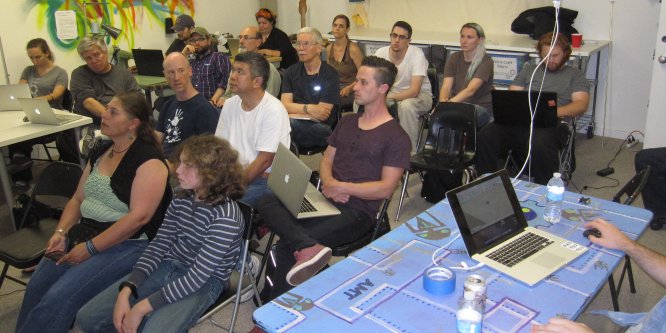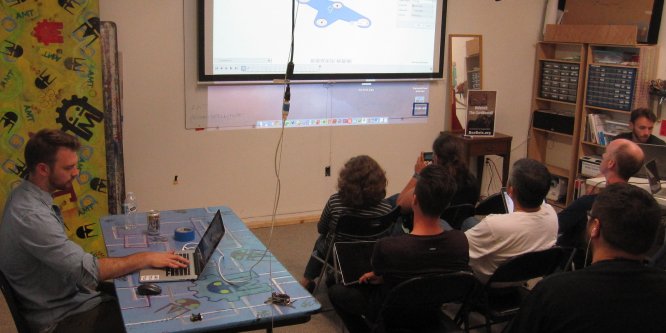
I demonstrated this fun robot at the last BoxBots build night and our general meeting last Thursday. Since then a few folks have asked questions so I thought I would post more detail.
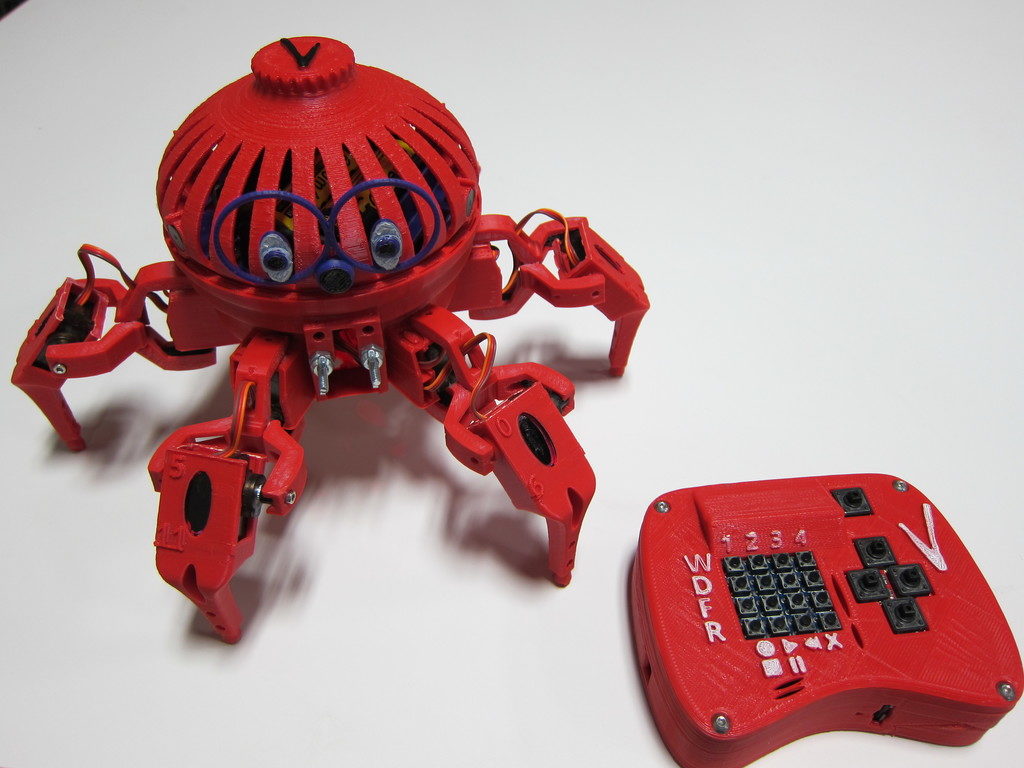
The Vorpal Combat Hexapod is the subject of a Kickstarter campaign I discovered a few weeks ago. I was impressed and decided to back the project. I had a few questions so I contacted the designer, Steve Pendergrast. Then I had a few suggestions and before long we had a rich correspondence. I spent quite a bit more time than I’d expected to, offering thoughts for his wiki, design suggestions, etc.
Steve appreciated my feedback and offered to send me a completed robot if I would promise to demonstrate it for our membership. The robot you see in the photos was made by Steve, not me. Mine will be forthcoming!
You can read the official description on the Kickstarter page and project wiki. Here are my own thoughts and a few of the reasons I like the project so much.
It’s cool!
It has to be to get the kids interested; something that Ray has always understood with BoxBots. While BoxBots offers the thrill of destructive combat, the hexapod offers spidery, insect-ish, crawly coolness with interactive games and programming challenges.
It’s a fun toy
Straight away, this robot offers lot of play value. There are four walk modes, four dance modes, four fight modes, and a built-in record/playback function. To get them interested in the advanced possibilities, you have to get them hooked first. Don’t be intimidated by that array of buttons. At the Boxbots build night, the kids all picked it up very quickly. I couldn’t get the controller out of their hands.
It’s open-source
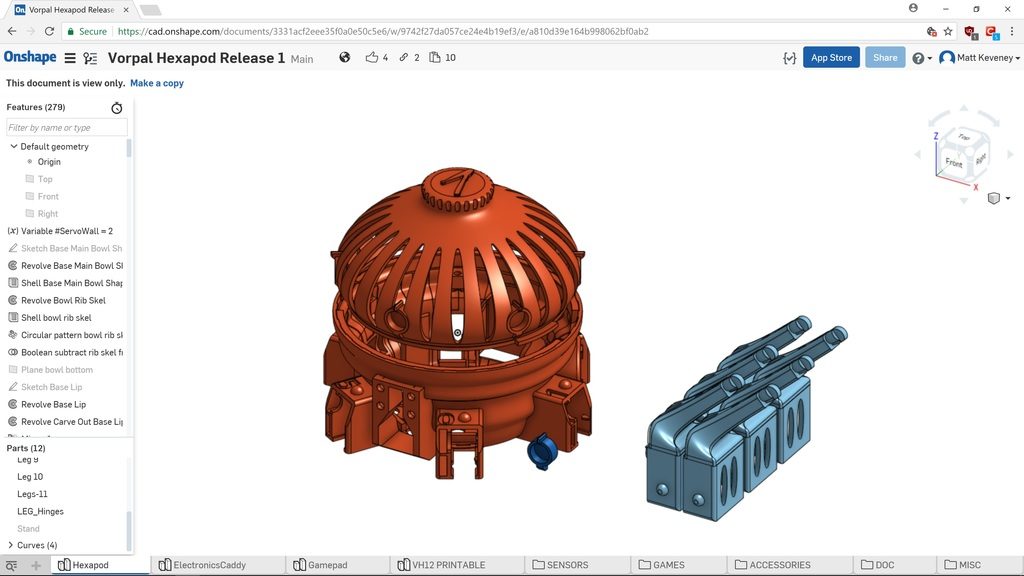
The circuitry, firmware, and plastic parts are already published. A lot of crowd-funded projects promise release only after funding, and some only publish the STL files, which can be very difficult to edit. Steve has provided the full CAD source (designed in OnShape).
Easy to Accessorize
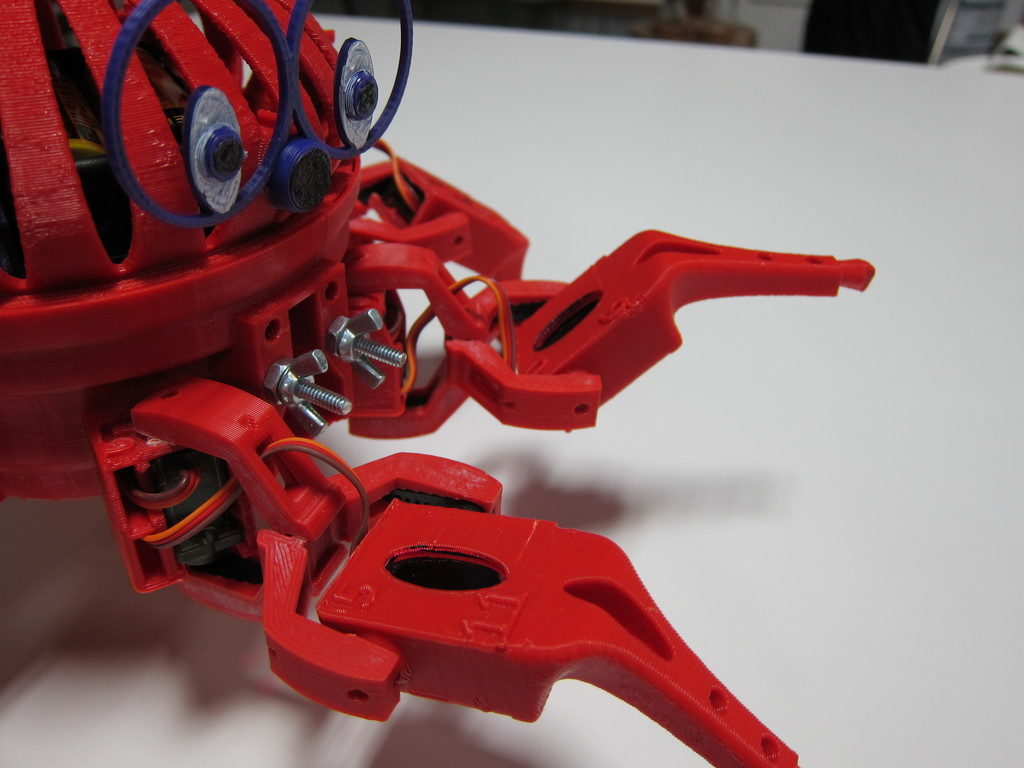
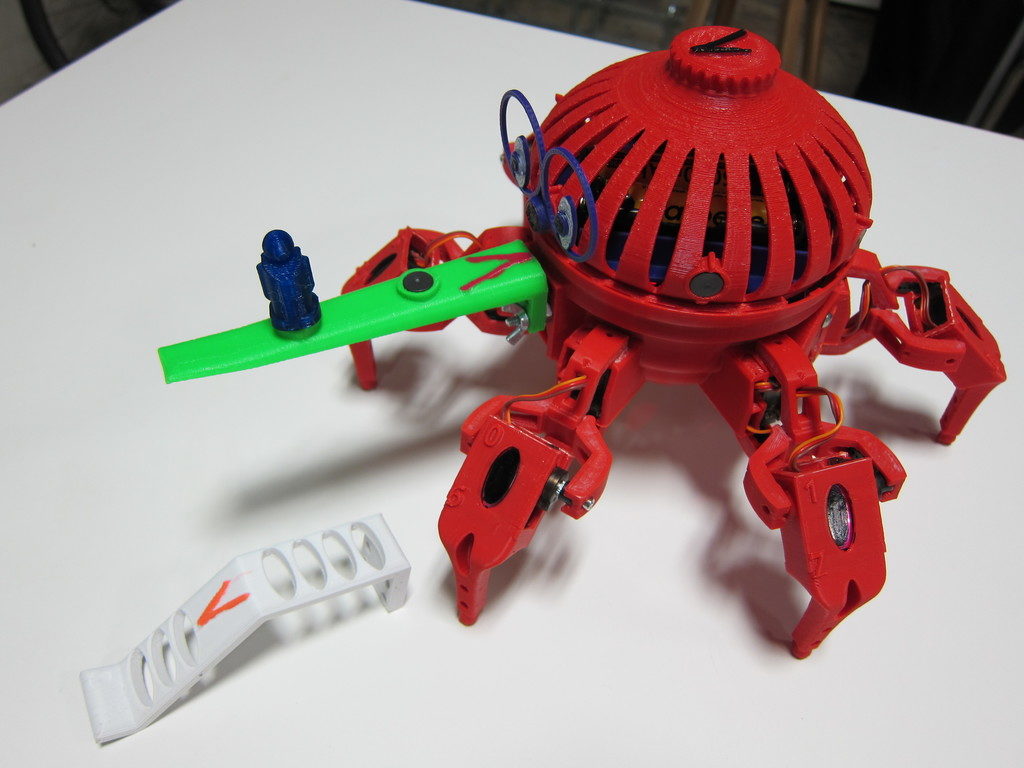
The Joust and Capture-the-flag games use special accessories that fasten to a standard mount on the robot’s nose. This simplifies add-on design since there’s no need to modify the robot frame. There are also magnets around the perimeter, encouraging fun cosmetic add-ons like eyes and nametags.
Off-the-shelf electronic components
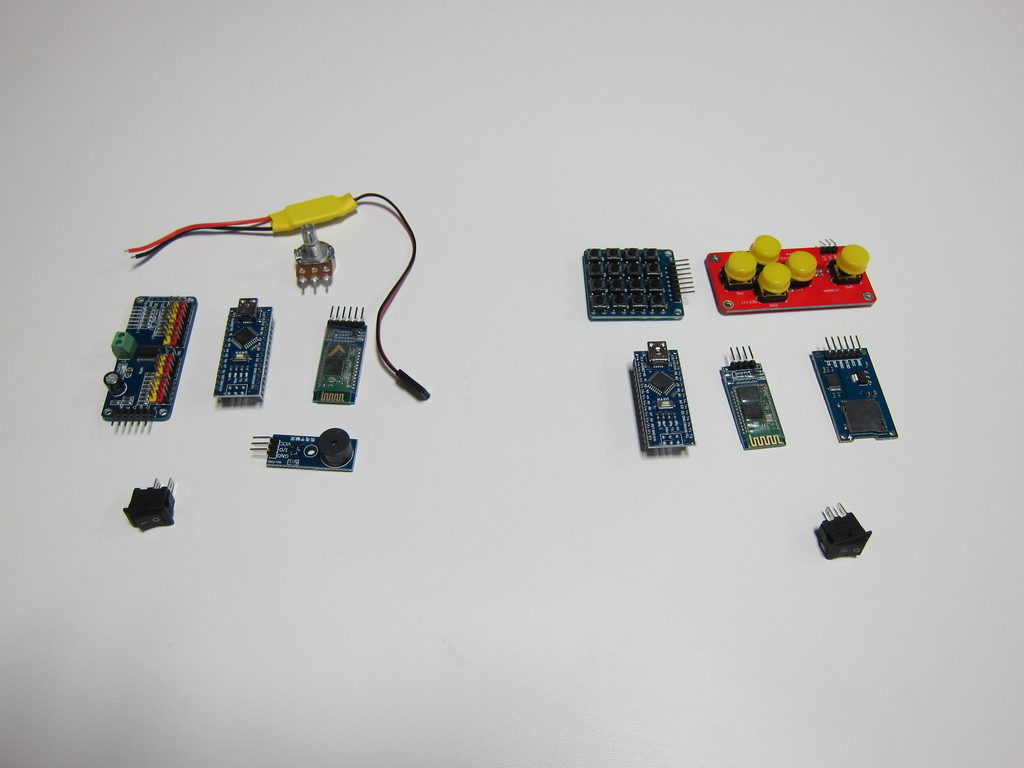
There are no custom circuit boards here. It’s built with two Arduino Nano boards, two Bluetooth boards, a servo controller, buzzer, pot, micro-SD adapter, two pushbutton boards, inexpensive servos, etc. This stuff is all available online if you want to source your own parts. If you’re an Arduino geek, it will all look familiar.
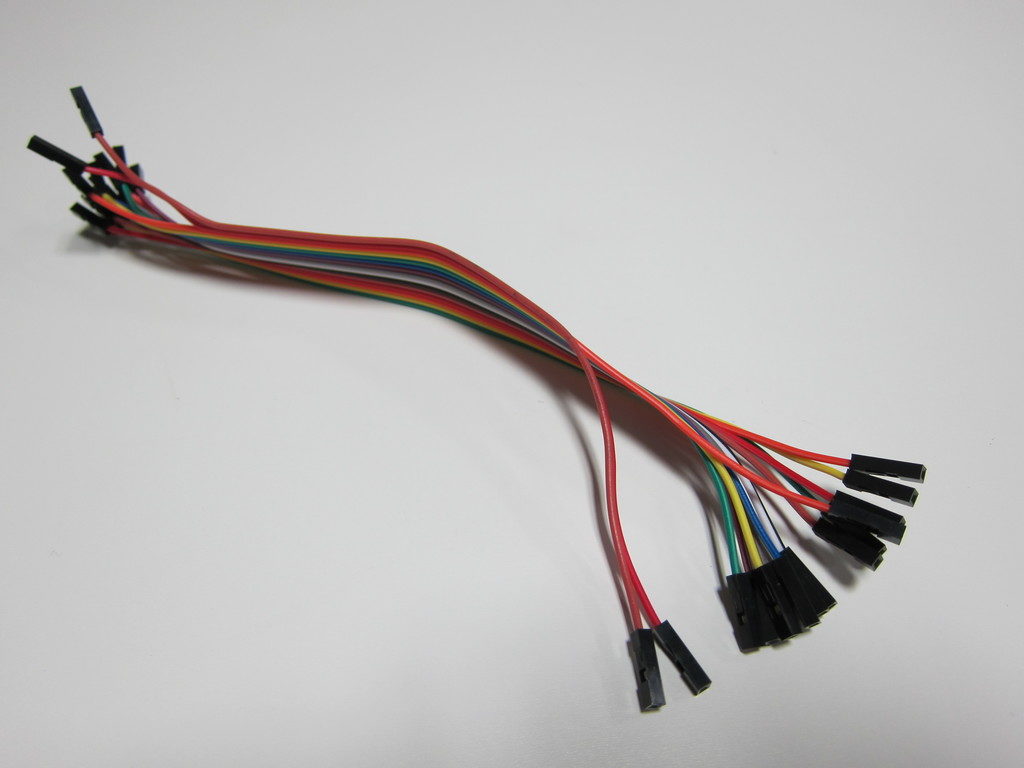
No Soldering!
I think every kid should learn how to use a soldering iron in school, but for some it remains an intimidating barrier. In the hexapod, everything’s connected with push-on jumper wires. (If you source your own parts you will probably have to solder the battery case and switches, since these seldom have matching connectors.)
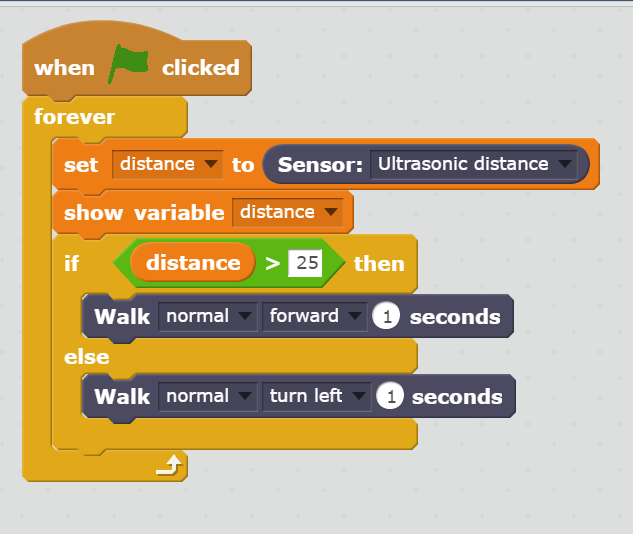
Scratch programming interface
The controller and robot firmware is written in Arduino’s C-like language, but the robot also supports a beginner-friendly drag-and-drop programming interface built with MIT’s Scratch system. I confess, I haven’t investigated this feature yet, but I’ve been curious about drag-and-drop programming paradigms for years. My first programs were stored on punched cards. Finally, I have an opportunity to see how today’s cool kids learn programming!
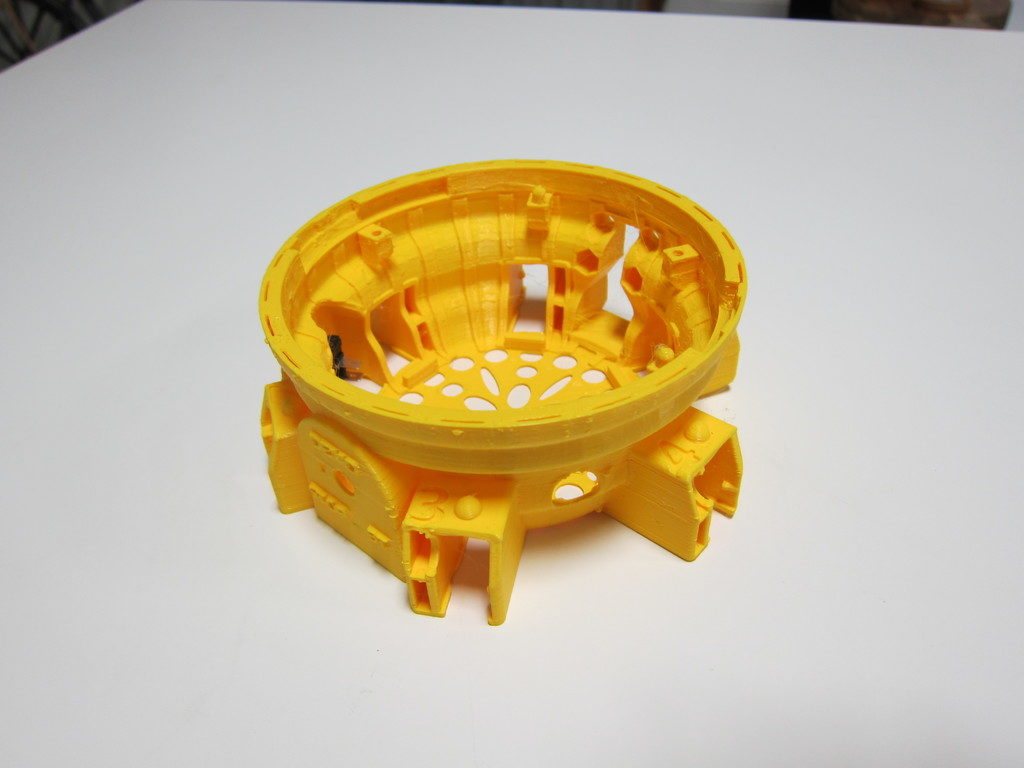
It’s 3D printed
The parts print without support, and work fine at low-resolution. You’ll want to get your own spool of filament so you have the color available for replacement parts. Any of our printers will work. I’ve had good luck so far with PLA, but Steve recommends more flexible materials like PETG or ABS.
Anyway, enough gushing. I do not have any financial interest in the project. I just like to encourage a good idea when I see one. The Kickstarter campaign just reached its goal a few days ago, so it’s definitely going to be funded. If you’d like to back the Kickstarter or learn more, here’s the link. You’ll have to act fast; there are only a few days left. (Full disclosure: I do get referral perks if you use this link.) Remember that you always assume some risk with crowd-funding. I’ll make no guarantees, but I’m satisfied that Steve is serious about the project and is no scammer.
Click here for the Hexapod Kickstarter campaign.
If you’d like to see this robot in person, contact me on Slack. I’ll try to arrange a demo.
-Matt