Tag: 3d-printing

Purple and rainbow 3D printed dragons on table

3D Printing Flexi Rose Dragons with Rene from Mischief Manor Makers

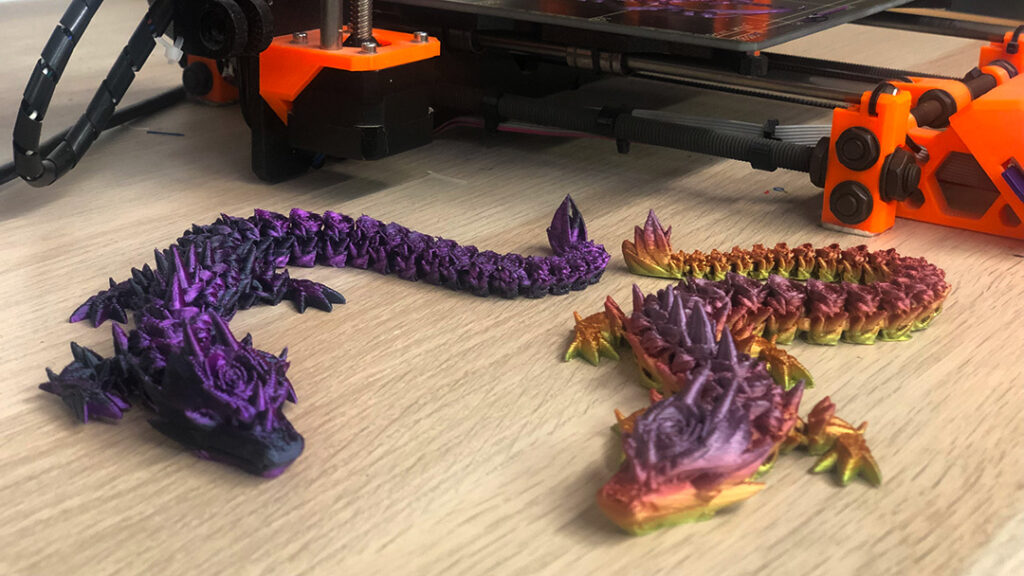
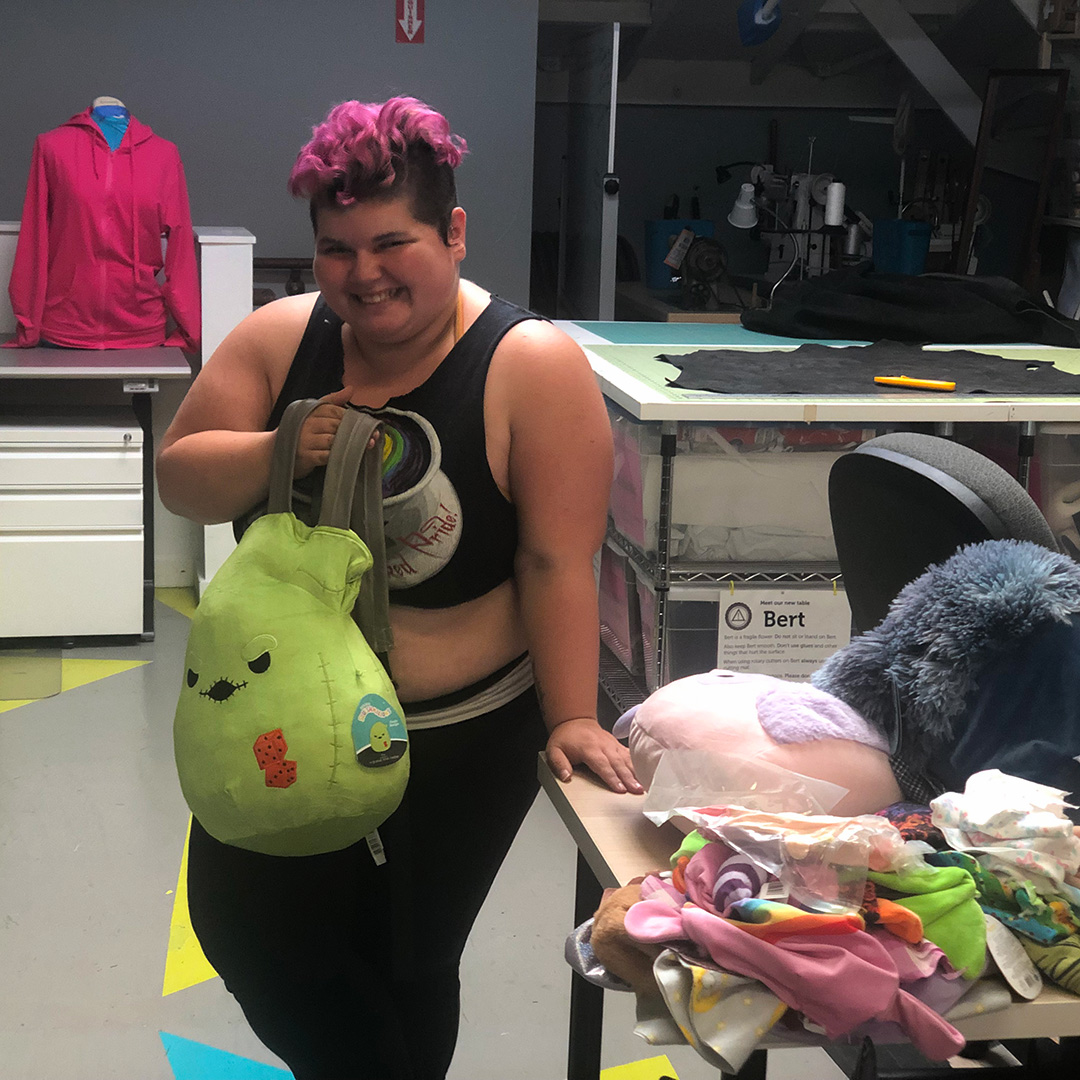
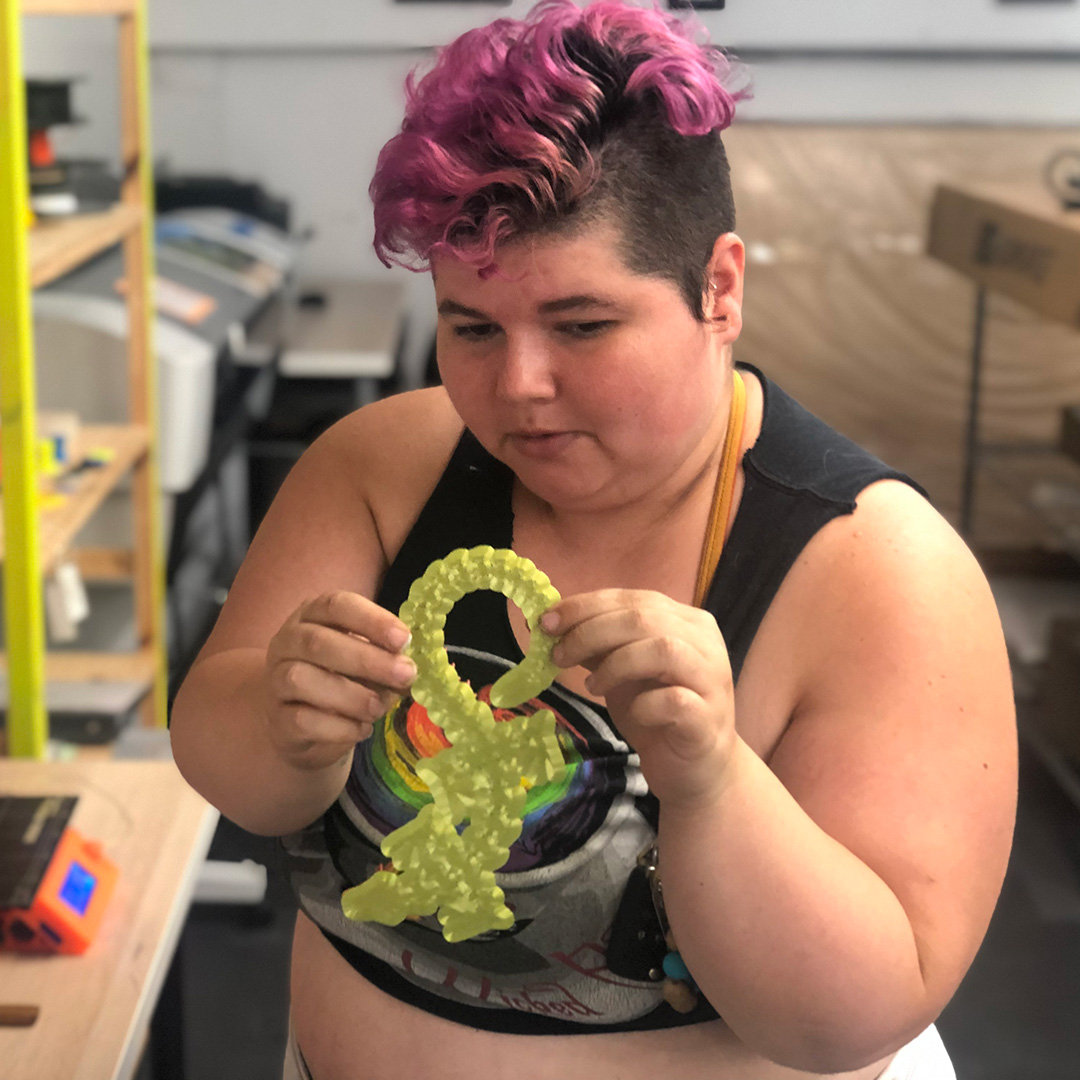
Ace Maker, Rene runs a small family business called Mischief Manor Makers that sells handmade goods both online and at local (and sometimes not so local) events like Folsom Street Fair, Surrender, and Play-X-Land at Cat Club Sf. Their inventory* changes frequently but includes kink and fetish gear like Custom Springbuck Horn Floggers, small pins with a wicked sense of humor, Custom Made Squishmallow Bags, and as of 6 months ago 3D printed items like their favorite Flexi Rose Dragons with articulated joints.

*Follow Rene on Tik Tok to learn more about Mischief Manor Makers and the things they like to make!

Person holds up 3D printed dragon.
Rene shows off one of their freshly printed Flexi Rose Dragons!

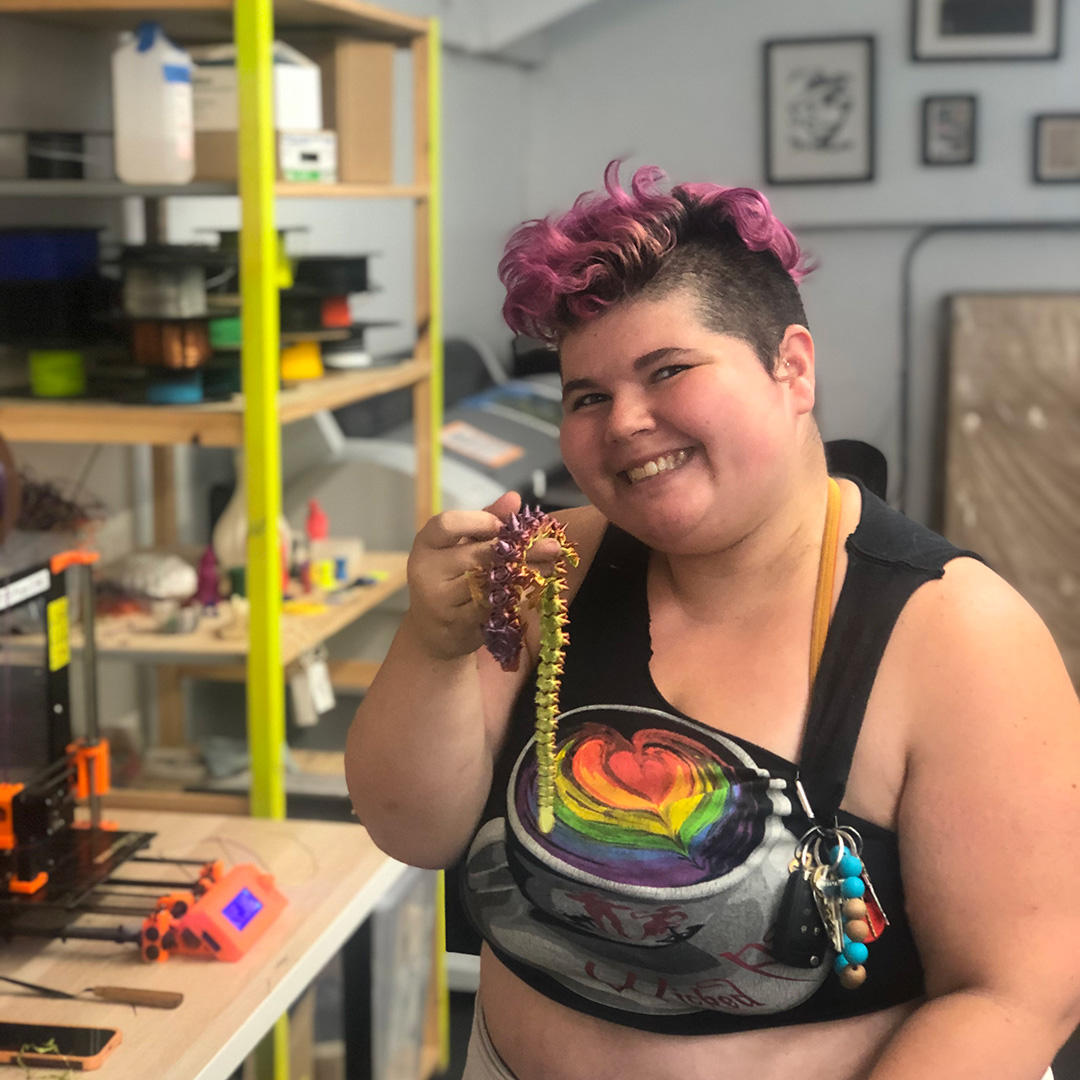
Rene got into 3D printing when they were visiting one of their partners in Georgia who runs a small business similar to Mischief Manor Makers. He showed them the basics, helped them find a 3D printer to take home, and encouraged them to make it a part of their business.

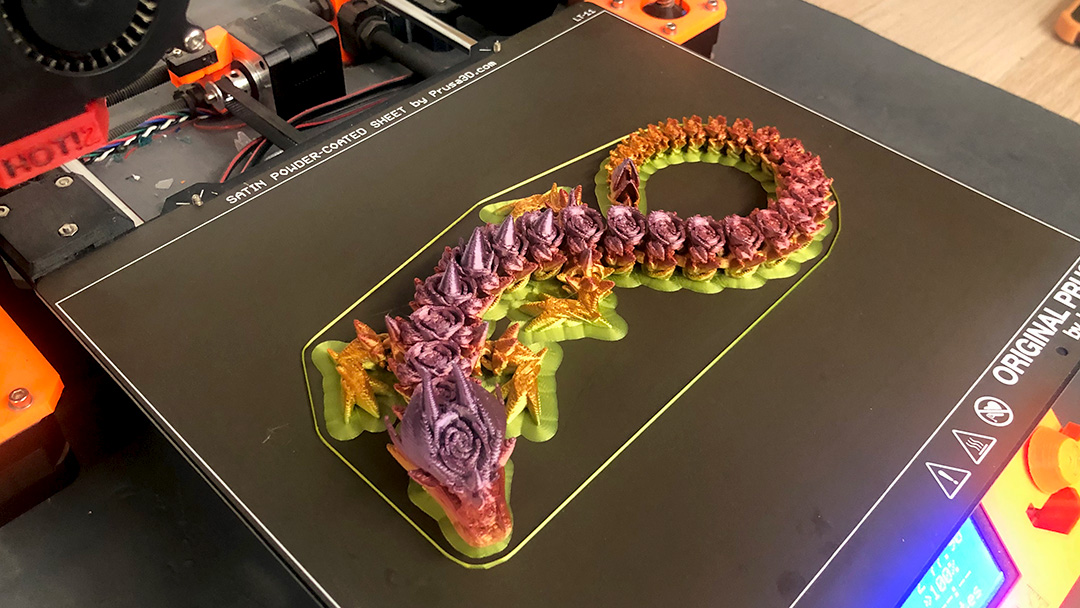
To design this Flexi Rose Dragon, Rene found a pre-made base file online and customized it with roses and thorns (Thingiverse has many open source files available to use for free, but you can also purchase premade files from places like Etsy).

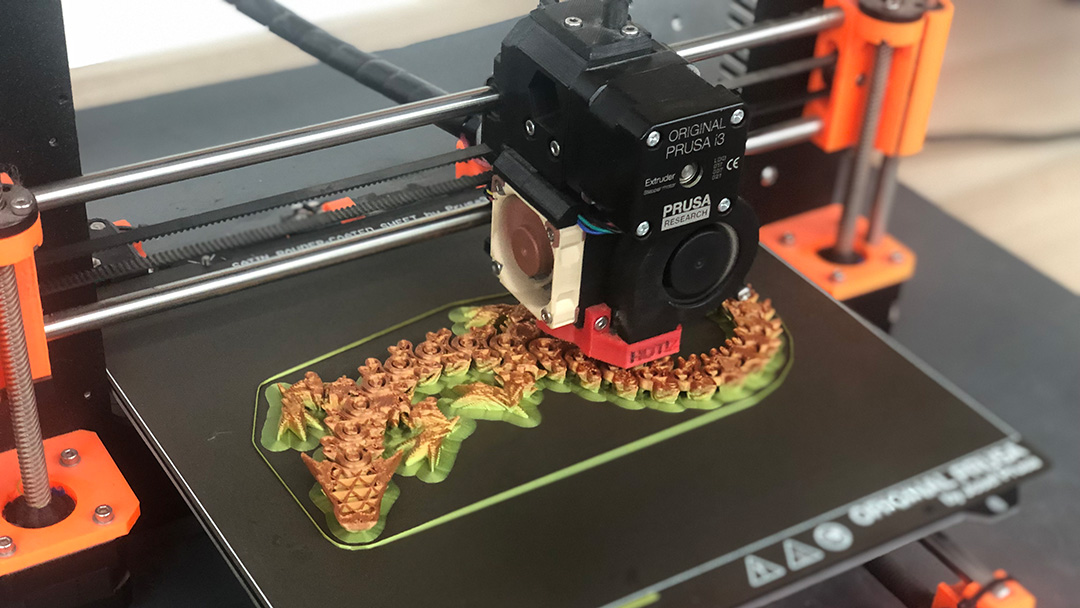
For a shiny multicolor effect, Rene works with a special gradient silk filament which is slightly more delicate and little bit trickier to print with than standard PLA filament.

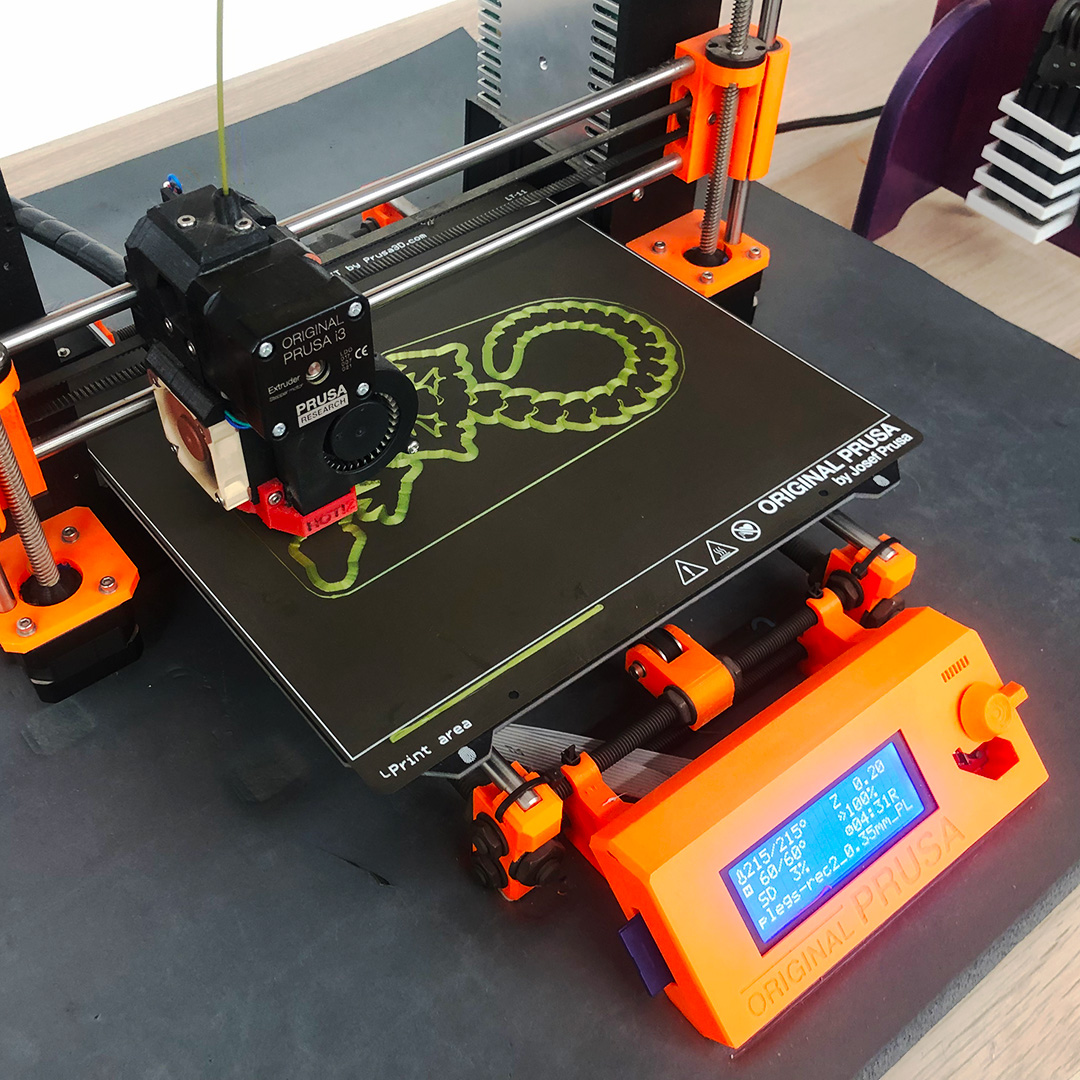
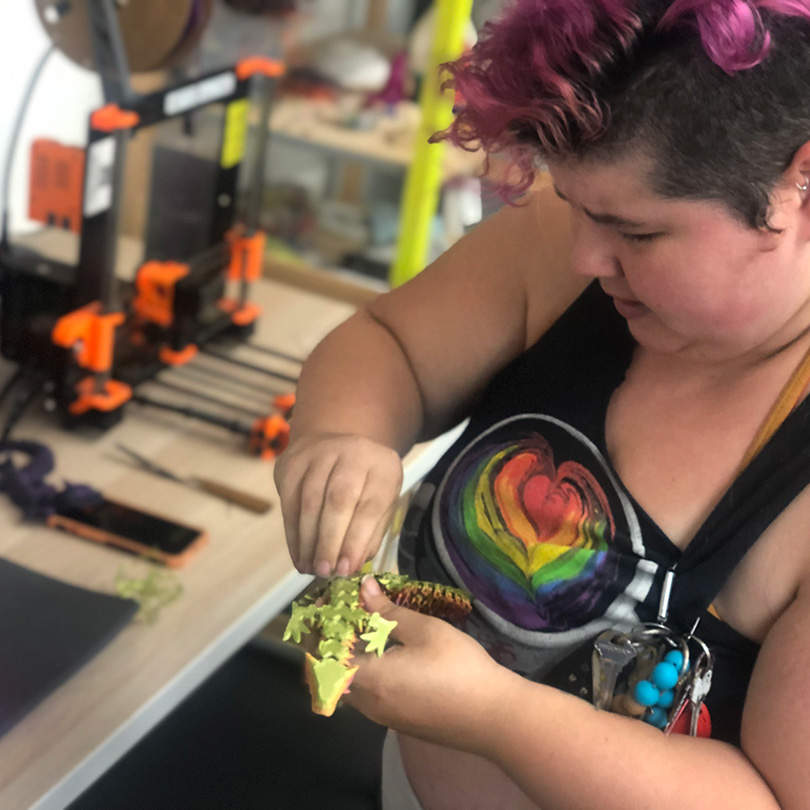
Each print begins with a brim—a stable base layer that keeps the Flexi Rose Dragon in place preventing it from slipping off the build sheet or collapsing during the job. When the dragon has finished printing, Rene will remove the brim to release the articulated joints that allow the Flexi Rose Dragon to move. They’ve learned through trial and error that printing a brim is critical even though it adds an additional 20 minutes to the already 4.5 hour printing time.

Dragon base layer on 3D Printer build sheet.
A strong foundation is the key to printing a successful Flexi Rose Dragon. The brim provides stability while printing flexible objects, but it will need to be removed at the end to release the “joints.”

Once they’ve made sure the brim has printed correctly, Rene likes to head up to the Ace Textiles Studio to work on other merchandise like their Custom Made Squishmallow Bags. They also check on their print at regular intervals to make sure everything runs smoothly.

Person with pink hair holding green Squishmallow backpack
Rene’s daughter came up with the idea for bags made from Squishmallow Plushies.
3D dragon in progress.
About half way through the print the topographical rose motif starts to emerge!
Multicolor 3D printed dragon.
It’s time to unleash the Flexi Rose Dragon from the build sheet.
Person holds up 3D printed dragon with attached brim.
To complete the dragon Rene will peel back the green brim on the underside of the dragon.
Person removing brim from 3D printed dragon.
Shedding the brim takes a little bit of patience but its totally worth it!
Purple and rainbow 3D printed dragons on table
Two completed Flexi Rose Dragons on the prowl at the Ace Makerspace 3D Printing station.

Rene’s tips for folks curious about getting started with 3D Printing: 

  • Check out Thingiverse for inspiration and pick something that excites you
  • Find community! Places like Ace Makerspace are great because there’s a built in support system if you need help troubleshooting as your starting out
  • If you plan to dive in and purchase your own 3D Printer, go for a well known brand because there is more documentation and technical support if something goes wrong
The Captain's Chair

Ted Huller: 3D Printing Master

Introduction

Ted Huller is a long-time Ace member and also Ace’s resident 3D Printing Steward. I’m Carter Jenkins, and I had the chance to talk with Ted about his history with Ace as well as some recent work he has done.

Ted’s History with Ace

ted hullar
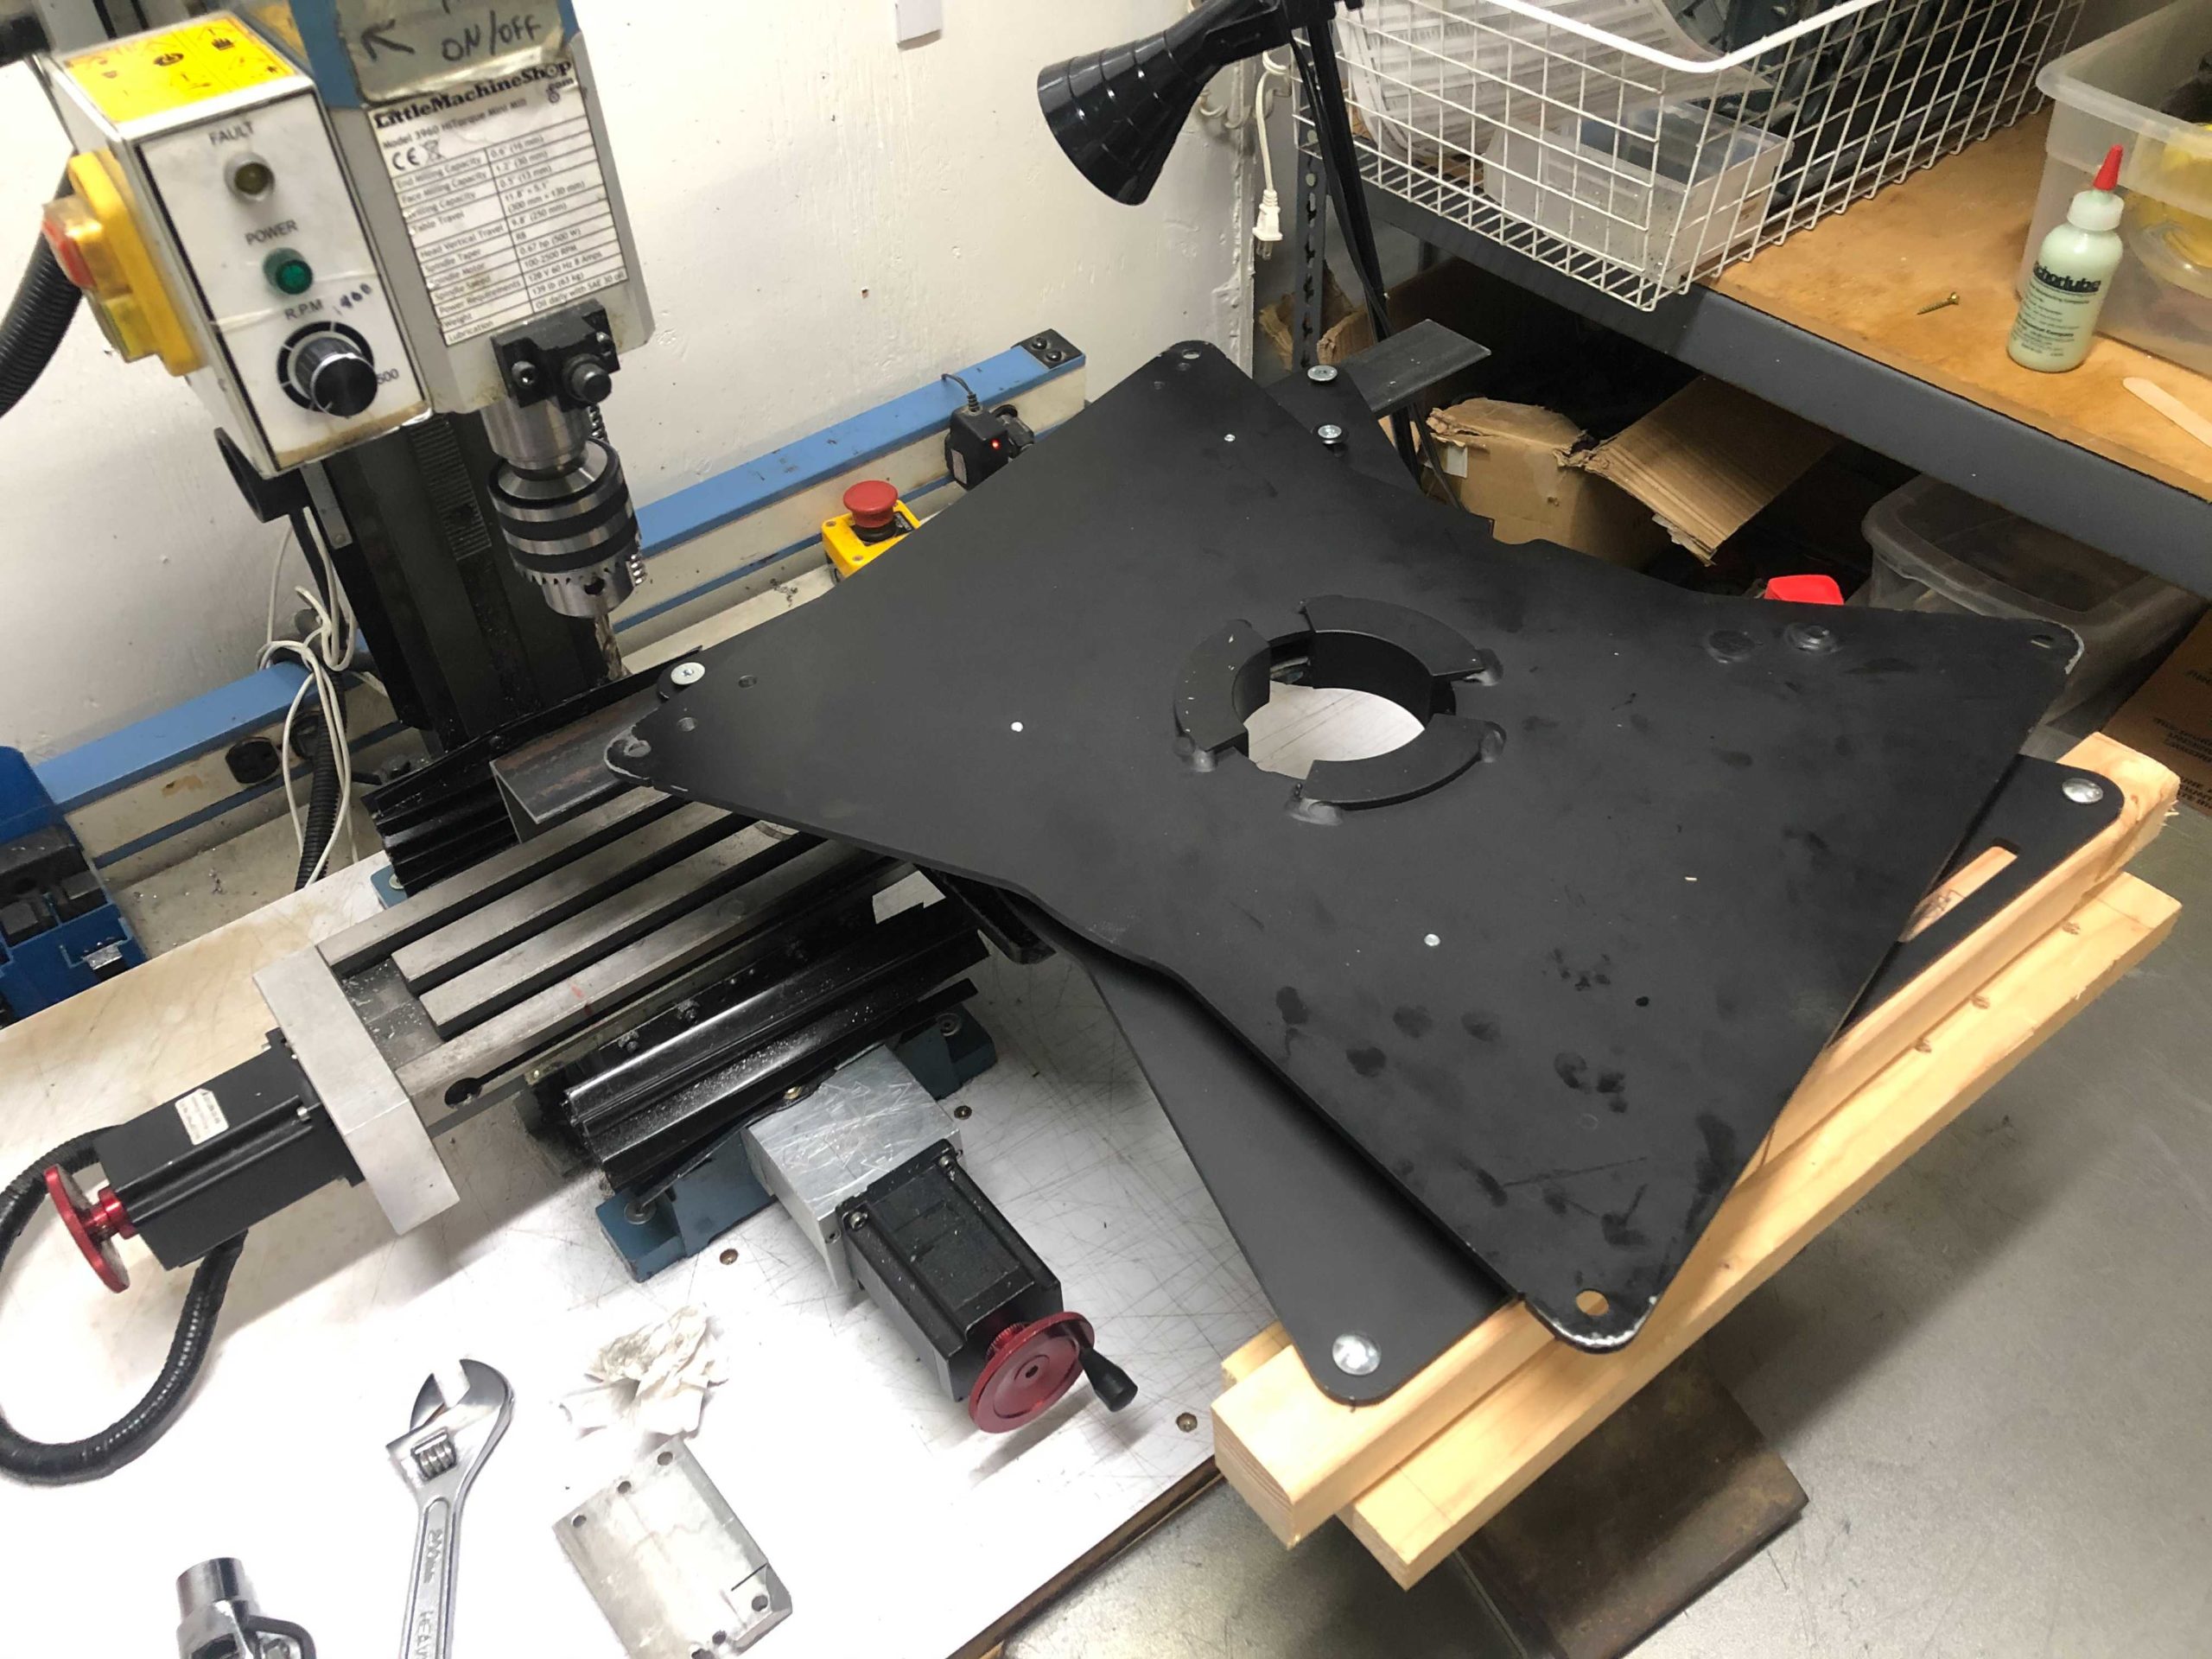
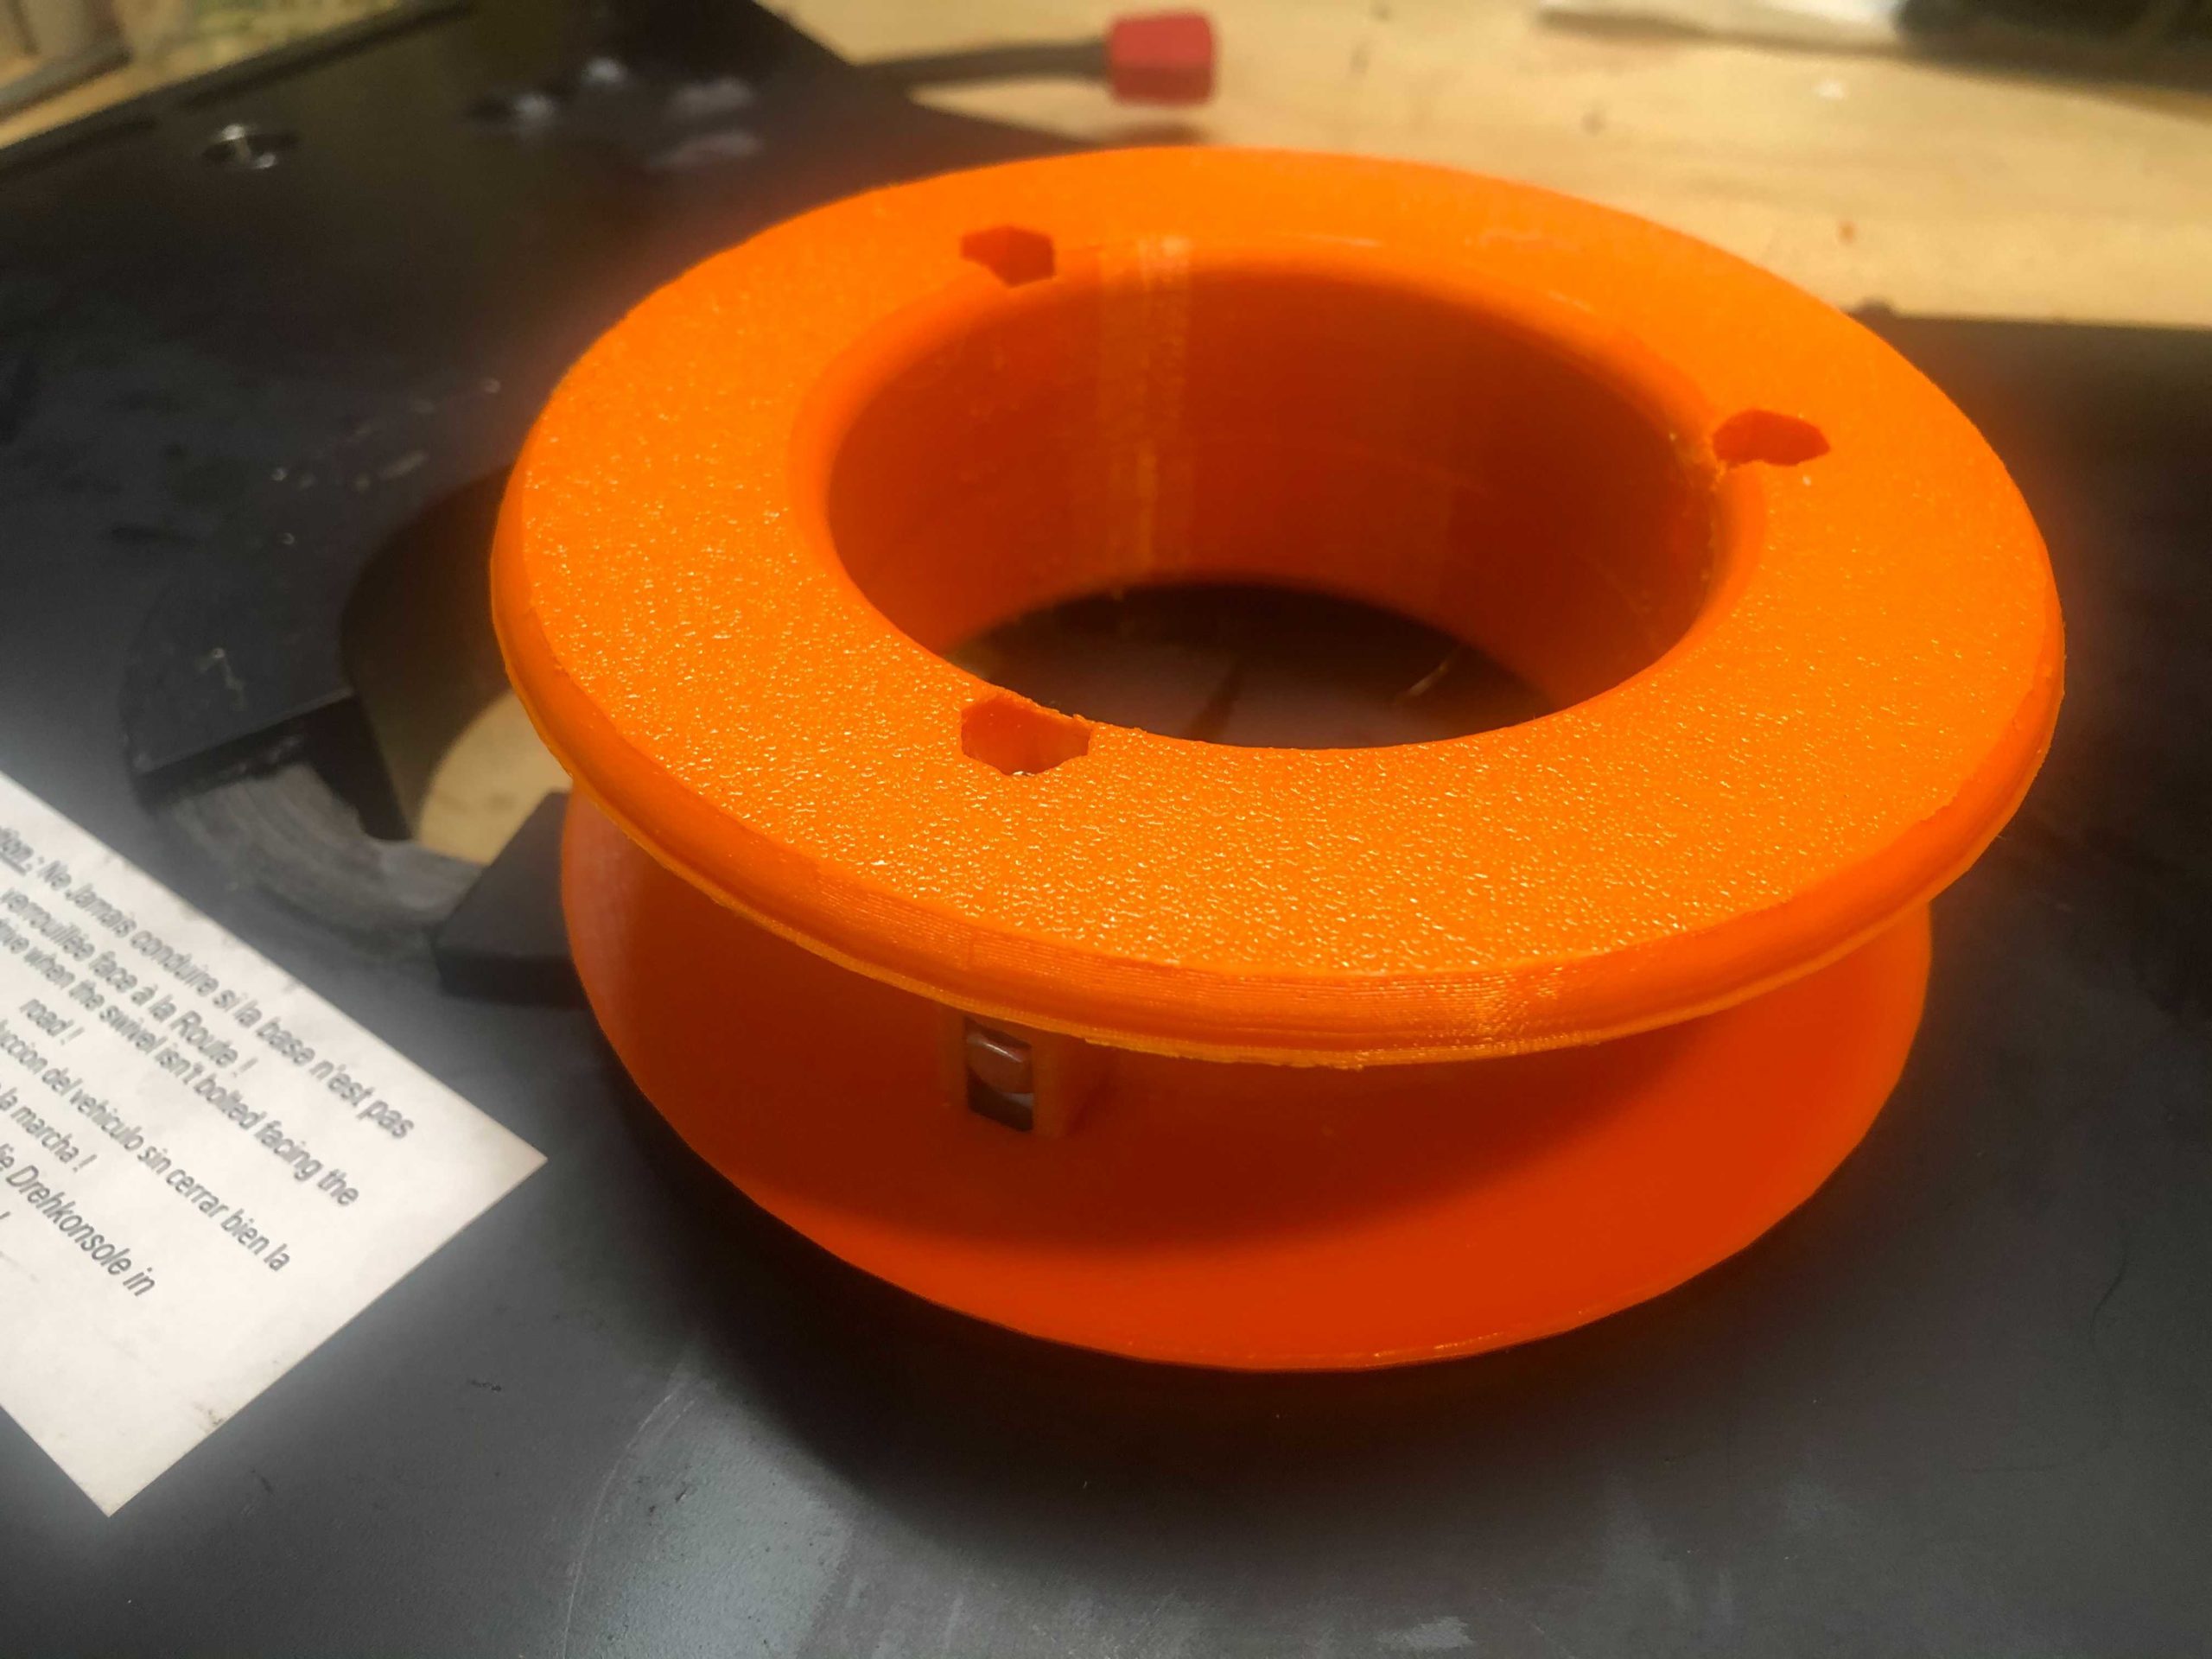
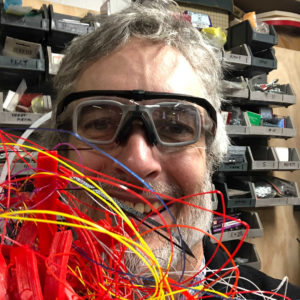
Ted is a long-time friend of Ace Executive Director Rachel Crafty, but Ted’s story begins before Rachel was in that role. Ted works in a laboratory, and throughout his working process, he sometimes finds that he needs to make custom-built parts in order to fulfill certain jobs. He normally would make these parts out of wood, (Ted is a master woodworker) but one day the job required a small beaker holder that was too fine to make with wood. Hearing about Ace’s 3D printing workspace, Ted decided that he should learn some basic skills in 3D printing so that he could handle situations like these. He admits the process wasn’t very smooth, but in the end, he had a working product, and that experience made Ted very interested in 3D printing as a whole.

Fast forward a few years, and Ted became a regular Ace member. He still did woodworking at home, but the Ace makerspace had become his new home for metalwork and some 3D printing. Ted quickly got his own 3D printer at home, meaning that his interactions with Ace slowly dwindled as his needs for printing materials shrunk. One day, however, former 3D printing steward Matt stepped down, leaving the position open to anyone in the Ace community. After some deliberation, Ted decided that he should give something back to the Ace community, and with his new expertise, Ted became the printing steward.

The 3D Printing Space at Ace

The 3D printing space is shared with a multipurpose space that houses the electronics lab, a couple of workstations, and the big format paper printer. This room is known as the Clean Fabrication room. There are two Prusa-brand 3D printers, which Ted calls “the Ford F-150 of printers. There’s a lot of them, they’re not the most sophisticated, but they’re pretty darn reliable and thought out.” There’s also a nearby computer dedicated to preparing files for the printers. The printers don’t need a computer to run, but makers will often find that it helps to be able to do last-minute manipulations to the 3D object files.

The Slack community for 3D printing at Ace has members in the hundreds, and pretty much all questions and discussions happen over Slack. Ted considers it the most efficient way to ask, read, and answer questions; he encourages new members to use Slack for almost all of their communications.

An Example of Ted’s Work

Metal plating placed in the Ace metal mill
Some in-progress work being done at the Ace metal mill

Ted and his wife recently bought an old minivan so they can go camping without having to deal with tents. The Toyota they bought was almost perfect for this purpose, except for one thing. The two of them both found the minivan to be a little too small to have both front seating and bed arrangements, so they looked into having adaptable seats that could swivel and lie down to make beds. The Toyota’s seats, however, were bolted to the floor in such a way that commercial seat-adjusting kits wouldn’t work. With no other options, Ted turned to his making skills to fabricate a “captain’s chair,” similar to those found in commercial RVs.

Ted started with drilling out a swivel plate and holes in the floor of the van, making sure to line them up precisely by means of the metal mill at Ace. The actual process of making the seat swivel wasn’t that difficult, but Ted encountered another problem soon after. Modern-day seats in cars and vans have lots of electrical wiring leading into them, whether it’s for operating a heater or controlling the seat’s back-and-forth movement. Ted found that the wires in the seat were dangerously close to shearing themselves on some exposed metal left by the drill holes, which would cause all sorts of maladies if not addressed properly. To solve this problem, he 3D printed a large plastic washer that bolts onto the wire hole. This means that instead of the wires dragging on sharp metal edges, it’s protected by a layer of comparably soft plastic. There were other little 3D-printed objects that Ted made, such as protective sheaths for the wire connectors.

3D printed swivel bushing used in the seat
An example of a bushing used in the project

Interestingly, Ted’s neighbor was going through a similar process with a van of their own at around this time. They had also encountered the same wire-cutting problem, and since Ted had just fitted the washer he offered to print a duplicate for his neighbor. With about a dollar’s worth of filament, Ted solved his neighbor’s problem.

Closing

Ted will continue to make and create at Ace for a long time. There are no big projects in his immediate future, but before our talk ended Ted told me that he was looking forward to, “training some more people, getting them ready, and seeing what people are going to 3D print.” I’m Carter Jenkins and thank you for reading.