Category: Projects

laser etched rubber stamps

Adventure in Rubber Stamp Making

So Ace is working on a holiday card and we need rubber stamps for some of the art. This is the tale of making rubbers stamps including all the mistakes on our 100w CO2 Laser.

Materials used

  • Scrap wood
  • Gorilla Spray Glue
  • Craft Foam
  • Art Ink pads
  • Laser Engravable Rubber Polymer, low odor, from rubber-stamp.com

The artwork

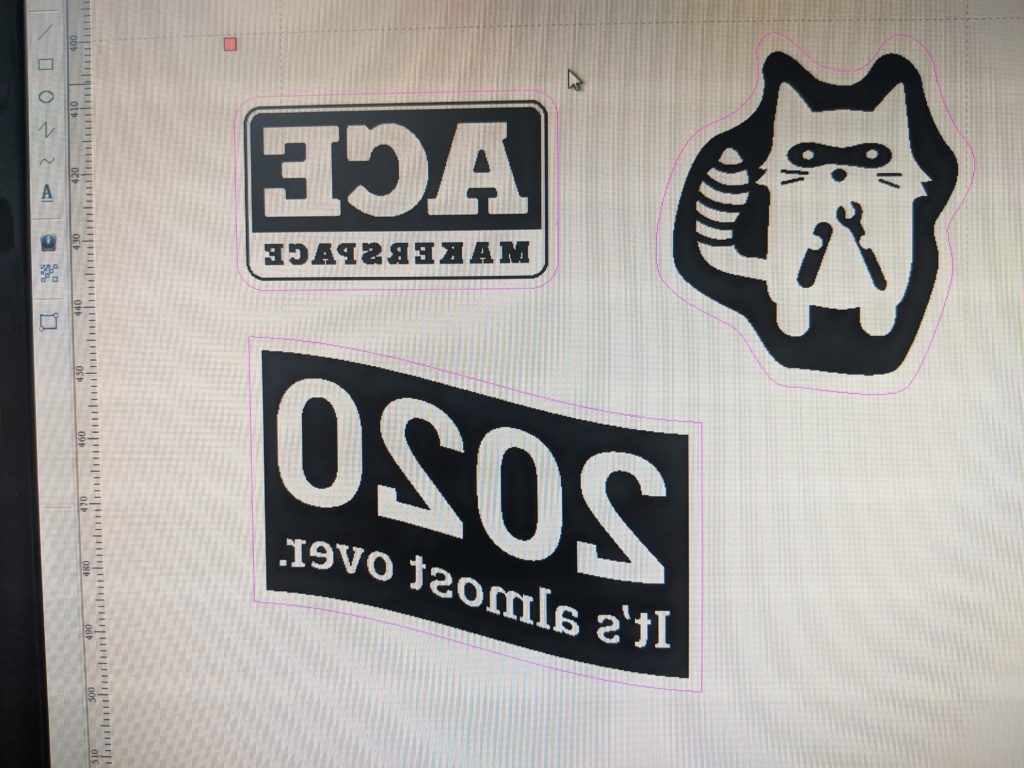
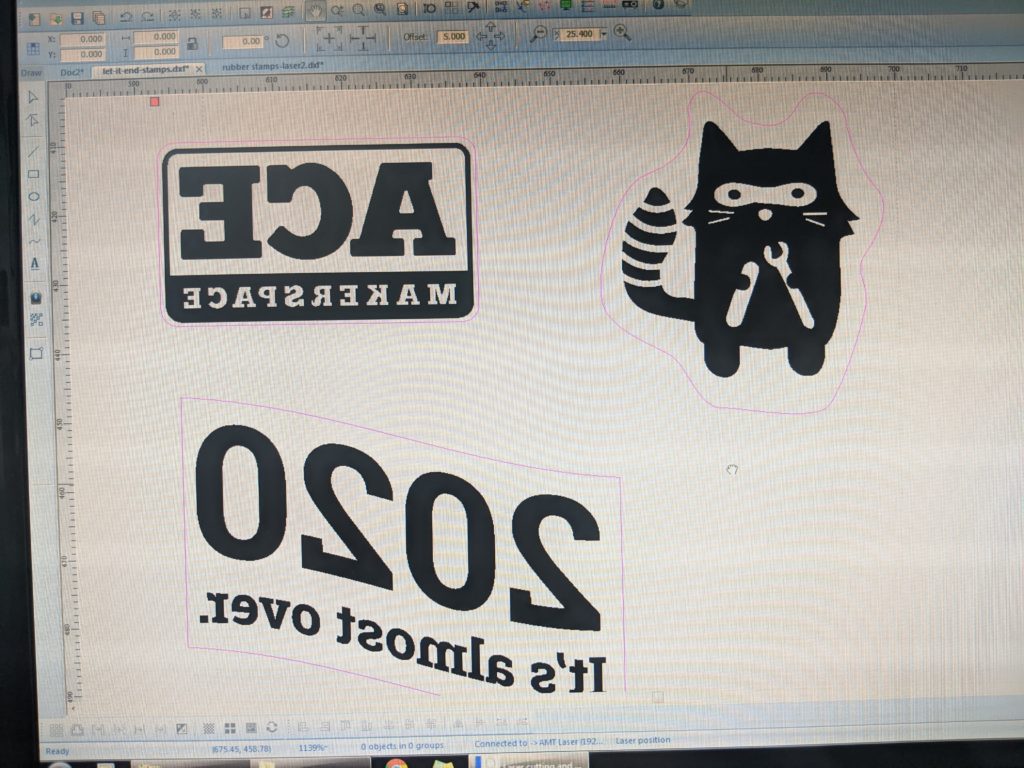
The artwork… that is the first place things went wonky but I didn’t realize it until I cut. I had forgotten that engraving needed an outer boundary in order to drop out the right stuff. Check out these screenshots. Everything black in these images will be burned away.

The thing to remember with vector laser files, LaserSoft, and rubber stamps is:

  • Mirror the art
  • Set an outer boundary for the etching
  • The outer boundary is the same as the cut line so you will need one object to be the boundary and one object on another layer to be the cut line.
laser art
In this file, I forgot to put an outer boundary for the vector etching and that means all the white bits between the pink cut line and the inner art is what will print when I stamp it. Not ideal.
Laser art
In this one most of the art is correct and all the inner graphics that are white will print. The only thing that is wonk is the white gap between the pink cut line and the etching. That is easily solved though post-laser with a pair of scissors.
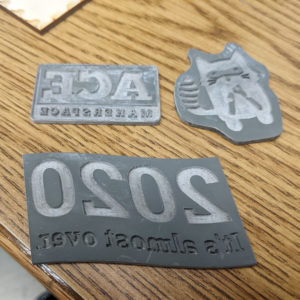
bad rubber stamp
Opps… etched away the thing I wanted to stamp.
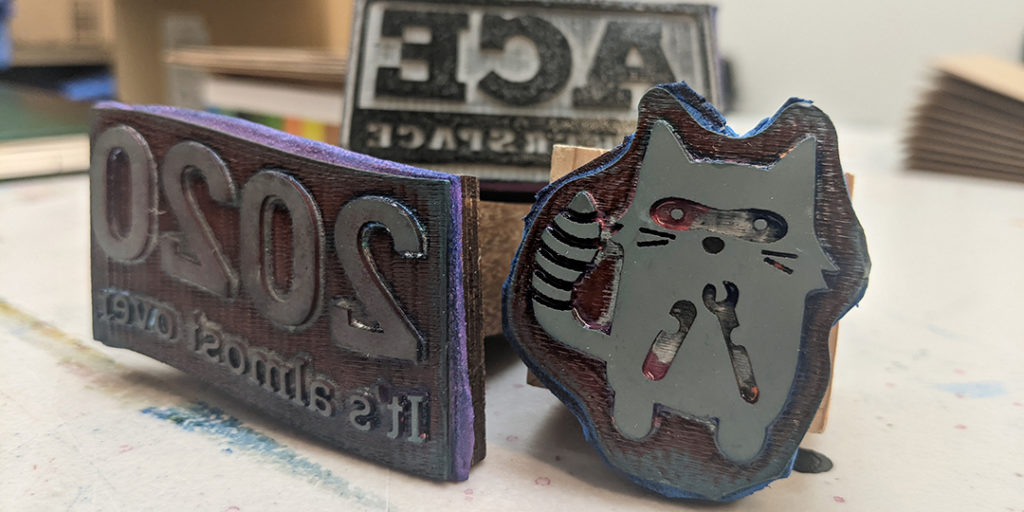
laser etched rubber stamps
The actual art I wanted to stamp.


Here are the results from the two files. As you can see the art in the first file didn’t match the intention.

Testing and getting the right settings down

The laser polymer comes with some settings but they are for much lower wattage lasers than ours.
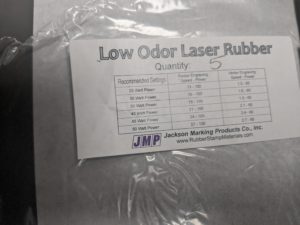
settings from laser package

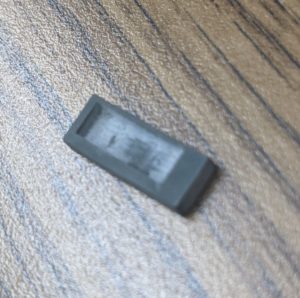
It took a bunch of test etching to get to settings that worked. I used a focus range for etching. These are the settings we finally settled on:

  • Cutting: 15/90/87
  • Etching: 150/80/78 (make sure to turn on grade engrave)
Putting it together and what I learned about glue

So I cut the outlines out of some scrap wood and used e6000 glue to attach the rubber bit. The results were… bad.
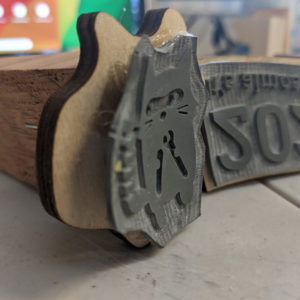
rubber-bad-glue
Hard curled up crumbling stamps.

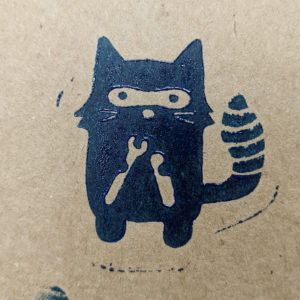
The final product did work out well with a layer of craft foam and using gorilla spray glue.
The post-laser etching finishing and clean up

Laser etching rubber polymer is dirty. Really dirty. When the stamps come off the laser they should be soaked in the water right away for about 10 – 15 min. then scrubbed with a soft brush.

This is what a brand new filter looked like after 8.1min. of cutting and etching laser.
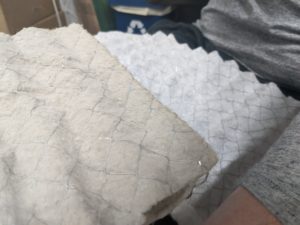
Dirt filter after cutting laser polymer next to new filter material.
festival mask

Hack your mask with valves

The “dirt-bike” or sports dust masks are really popular. A lot of folks know them from using them at events like Burning Man and Coachella. The issue with a lot of “dirt bike” style masks is the exhalation valves which are totally unfiltered. This makes these masks pretty useless for COVID-19 safety. You can read more about what the CDC says about masks with valves.

Everything I used for this 2-min hack:

  • CLUX Mesh Black Face Mask with Black Carbon Filter by Continental Luxury (amazon)
  • small (not tiny) rubber bands – one for each valve
  • Scissors
  • Non-Woven Polypropylene Fabric (woven fabric will work too)

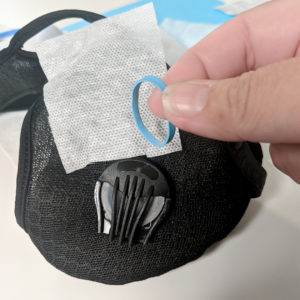
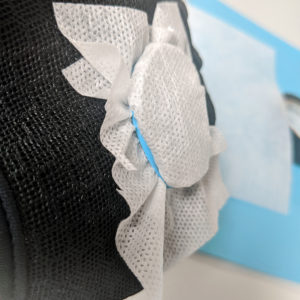
I assembled the mask according to manufacturers’ directions. I cut the filter fabric to go over the valve with a very generous overlap – you can always cut off the excess. Then I slipped the rubber band over 2 layers of filter fabric to secure it to the Valve. This covers the valve and any leaky spots around the opening.

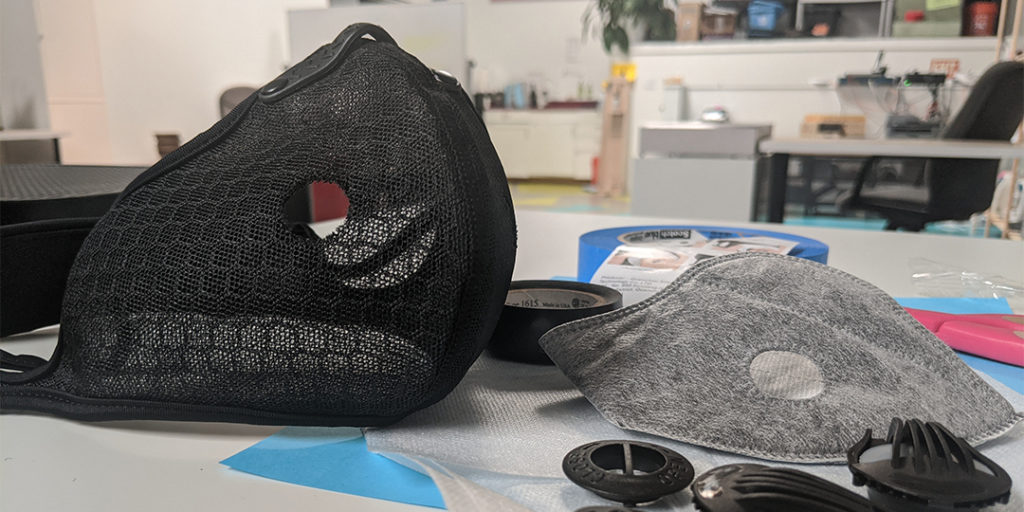
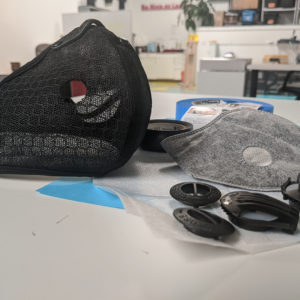
sport mask disassembled
Sport mask as it comes all disassembled. Most of these require assembly.
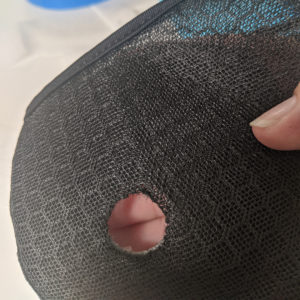
value hole on mesh part of the mask
The valve hole in the mask without the “hardware”
fabric, mask, and rubber band
Assembled mask with quick filter materials
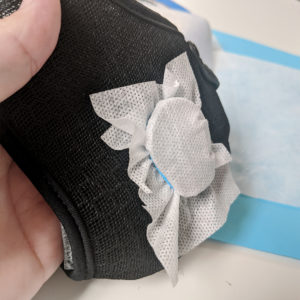
filtered valve
the filter “value-cover” takes about 3 seconds to put on.
filtered valve close up
the “valve-cover” close up
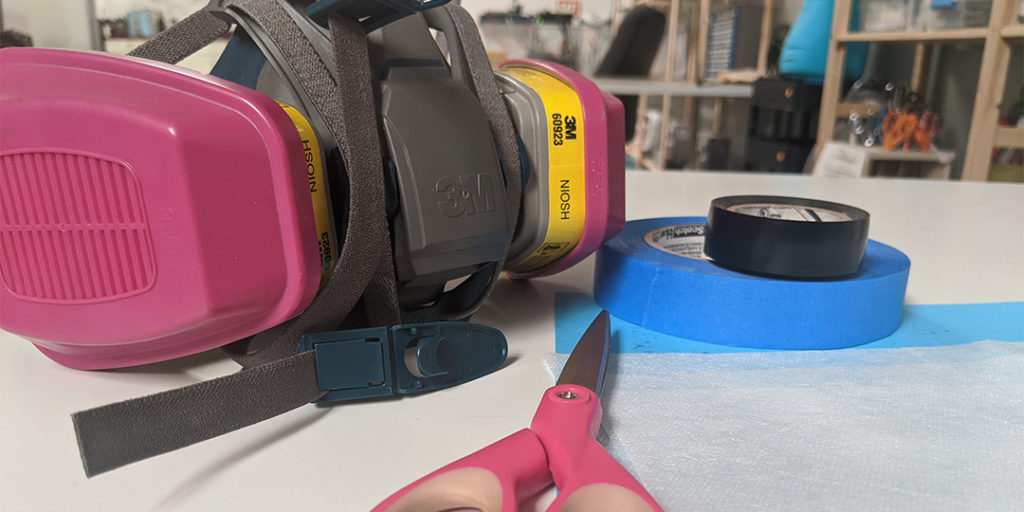
respirator and tools

Respirator Hack for Covid

So the issue with a lot of respirators and dust masks is the exhalation valve which is totally unfiltered. This makes them pretty useless for COVID-19 safety. You can read more about what the CDC says about masks with valves.

Everything I used for this 5-min hack:

  • 3M Rugged Comfort Half Facepiece Reusable Respirator 6502QL (Medium)
  • Electrical tape
  • Scissors
  • Non-Woven Polypropylene Fabric (woven fabric will work too)

Check out the gallery below to see how I added a filter to my valve. I specifically added it to the outside so it would last longer before getting moist and so others could see it. I used two layers of material for the filter.
Light-up Holiday Cards at the Library

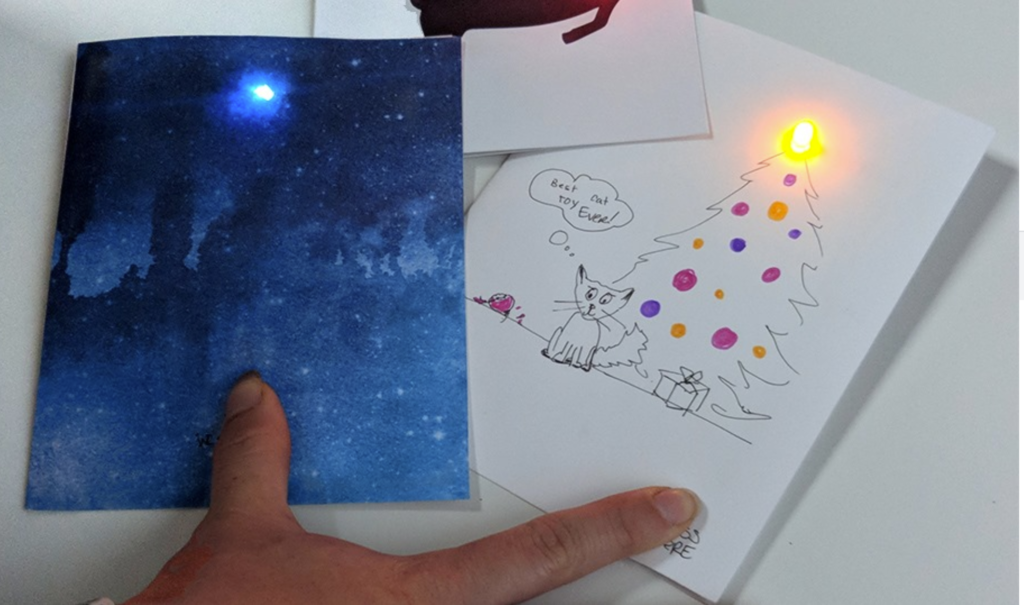
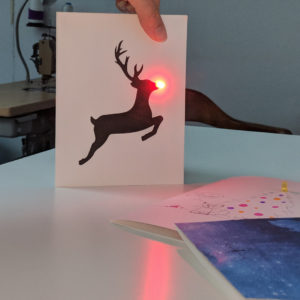
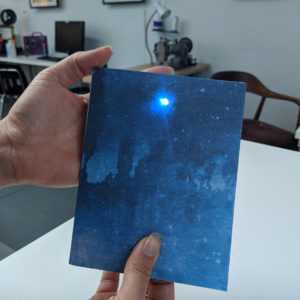
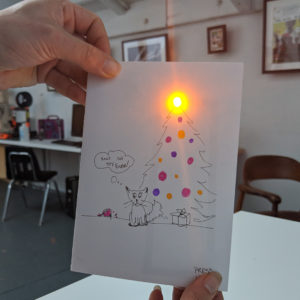
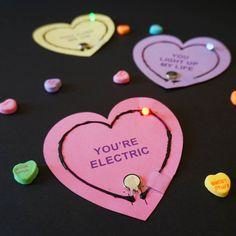
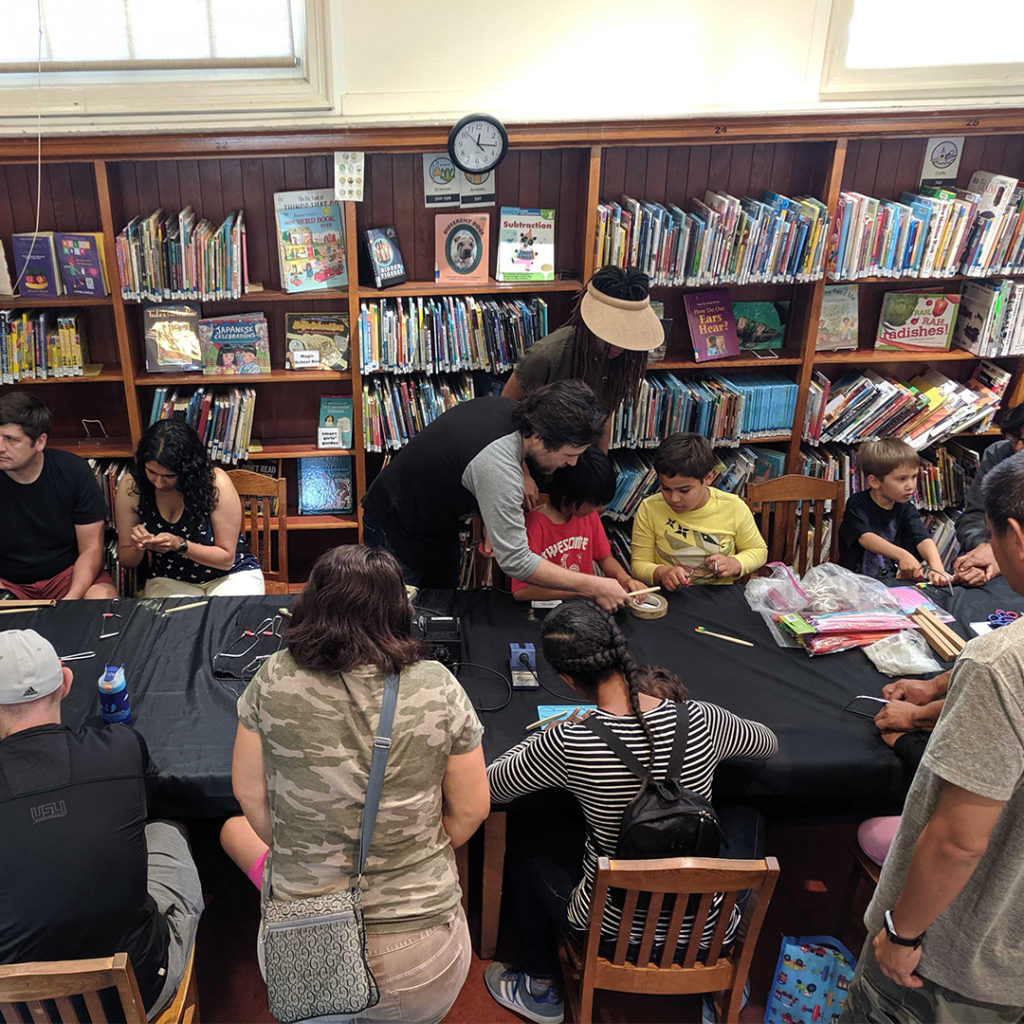
We had a blast making light-up holiday and birthday cards with families at the Golden Gate Branch Library. Each person started by designing their very own circuit with 1 to 4 LED lights, a battery, and a switch. Pushing the switch lit up the card!

Reindeer games!
Lighting up the night sky
Cats and christmas trees… need we say more?


Some folk crafted their own pictures, while others added lights to art paper. Either way, each person brought their own spark to the experience.
Oakland Pride Jewelry at the Library

We celebrated pride with some Oakland love at the Golden Gate Library!

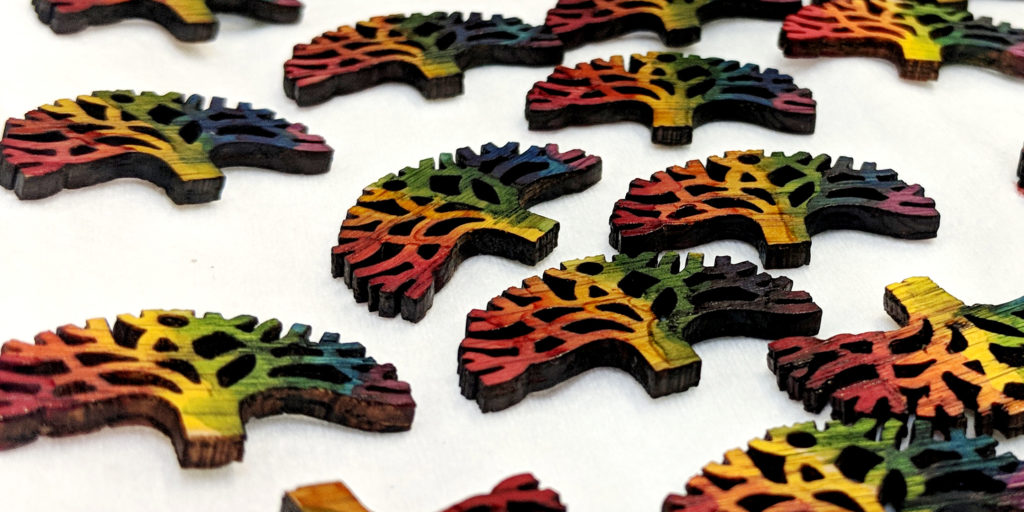
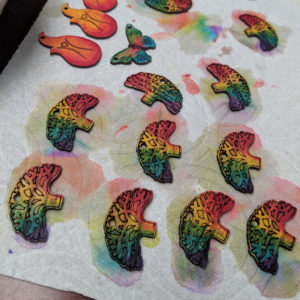
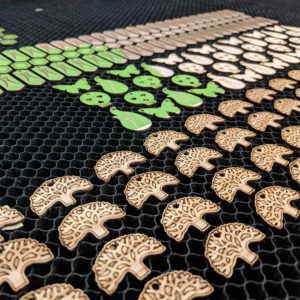
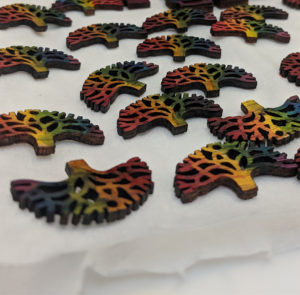
We brought laser-cut Oakland trees and alcohol ink. Families brought their creativity and spark. Together, we made lots of rainbow-colored, Oakland-themed earrings and key rings. A wonderful way to show our Oakland Pride!

Crafty Painting Extra treas for the librarians
Trees painted with alcohol ink
Oakland pride trees coming off the laser
Pretty painted oakland pride trees


Bristle Bots at the library

Pet Robots at the Library

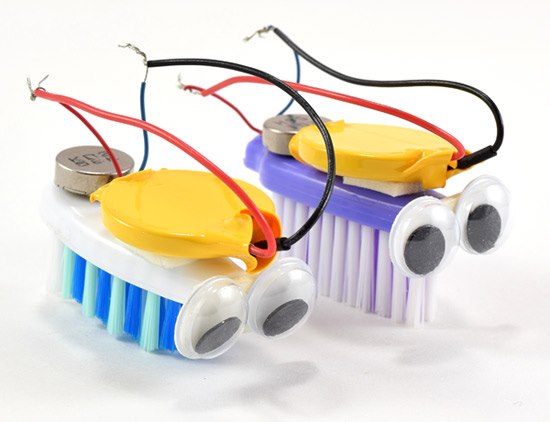
Bristle Bots are adorable critters made of googly eyes on a bristle-brush body that wiggle and dance their way across any smooth surface. Through a basic motor, these little guys vibrate their bristles and move!

Families joined us at the Golden Gate Library to make their very own Bristle Bot pets. We built the bodies using toothbrushes, hand saws, hot glue, soldering irons, and sandpaper, then each person decorated their dancing pet to give it its own unique personality. Then, participants got to race their bots against each other!

Made at AMT-June 2019

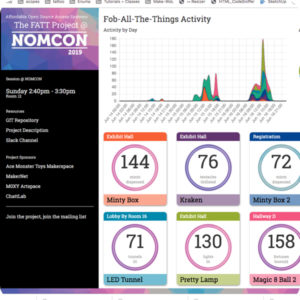
NOMCOM Fob All The Things dashboard | AMT Software • Bodie/Crafty
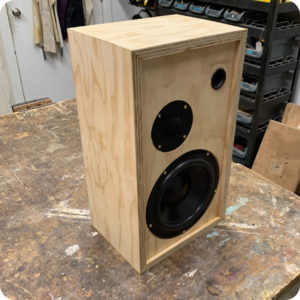
Hand Built Speaker | Workshop • David
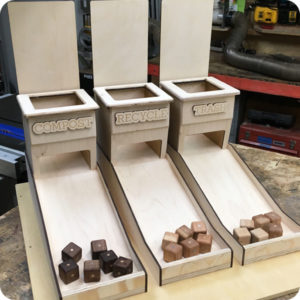
Recycling Game | Workshop/Laser • Bernard M.
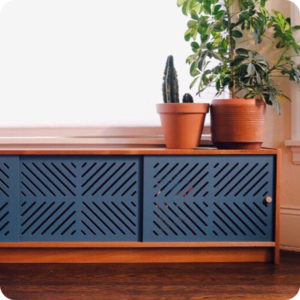
Solid wood credenza | Workshop | Raj J.
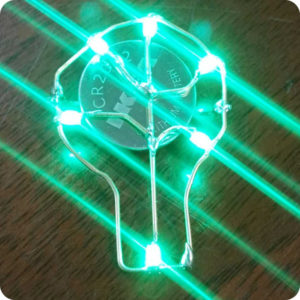
Tiny electronic brass jewelry | Electronics | Ray A.
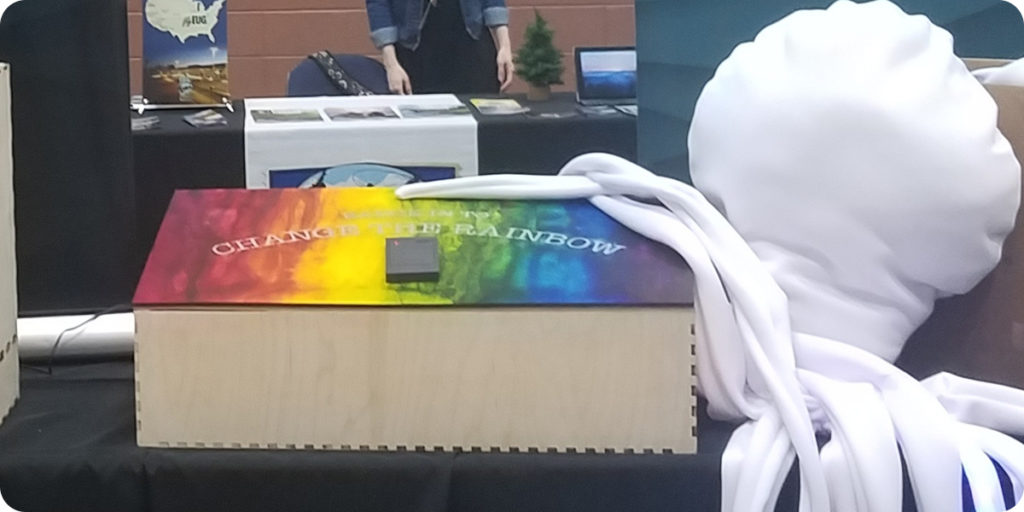
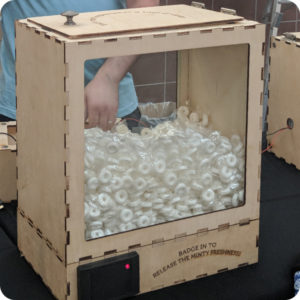
RFID Mint Dispensing Box | Laser+Electronics | Crafty
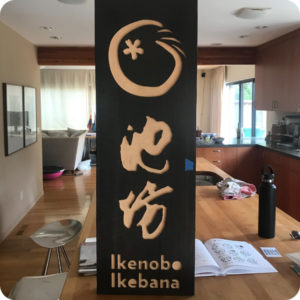
Wood Signage | CNC Router | James L.
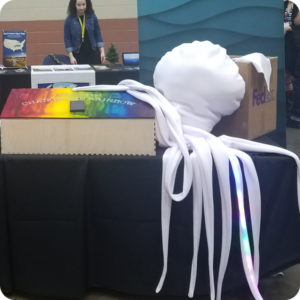
Fabric Kraken stuffed with 720 LEDs | Textiles + Electronics | Crafty

Programmable LED Costume Props at the Library

At the Golden Gate Library, we got together with folks to make programmable LED costume props.

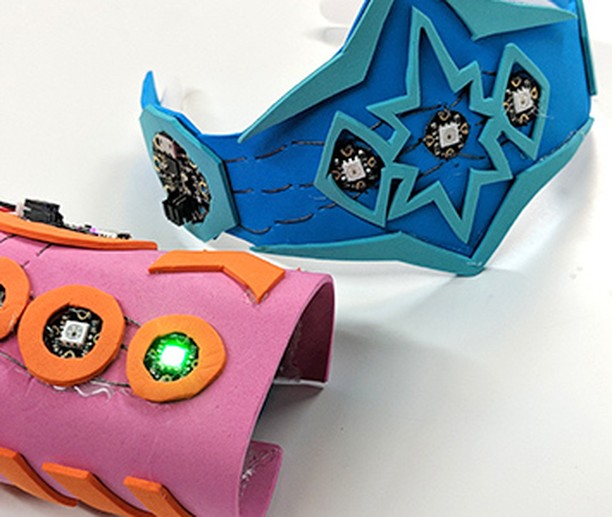
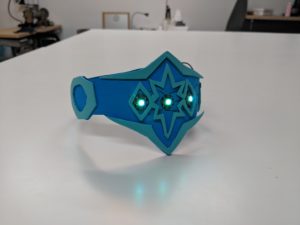
We had a variety of laser-cut kits for folks to choose from, including cuff bracelets, tiaras, and more. Folks then sewed conductive thread, microcontrollers, and LEDs to create and customize their programmable costume prop. This project is geared toward makers 14 and up.

AMT’s Adventures at Maker Faire 2018

The Art Printing Photobooth aka The Edgy Printacular

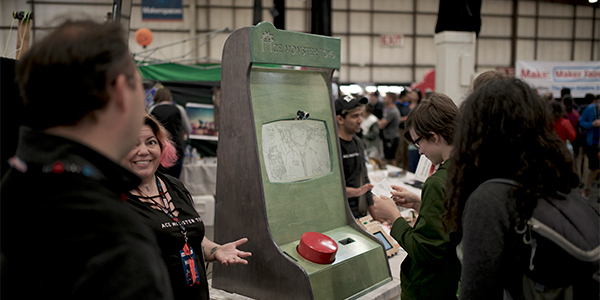
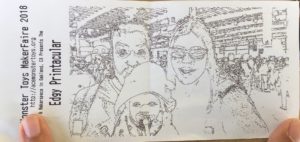
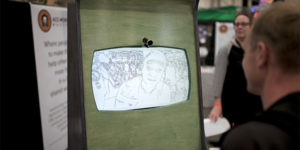
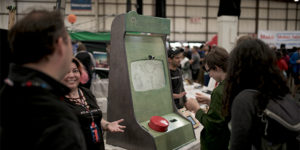
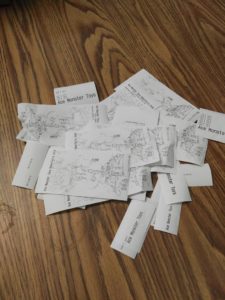
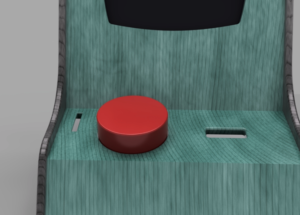
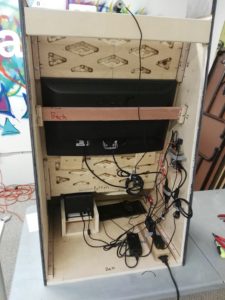
At the Bay Area Maker Faire 2018, a team of Ace Monster Toys members created a photobooth where participants could take selfies which were then transformed into line art versions and printed, all initiated by pressing one ‘too-big-to-believe’ red button.

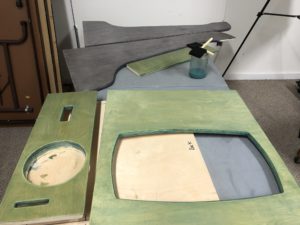
Back in March, AMT folks began prepping for Maker Faire 2018, and had an idea: what if you made a machine that could take a selfie and then generate a line art version of the said selfie, that could then be printed out for participants like you and me?! Thus, the Art Printing Photobooth was born! This project was based on the Edgy Cam project by Ray Alderman. AMT created a special slack channel just for Bay Area Maker Faire 2018 #maker-faire-2018. Then members set about figuring out how exactly to make this art-generating-automaton and Rachel (Crafty) campaigned for having a ‘too-big-to-believe’ push button. They would need many maker skills: CNC routing and file design, woodworking, electronics wiring, and someone to art it all up on the physical piece itself. Bob (Damp Rabbit) quickly volunteered to take on the design and CNC cutting, while Ray (whamodyne) started to chip away at the code that would be used to convert photos to line art.


Then the trouble began. By mid-April, our intrepid troubleshooters were running into all sorts of snags – so much so that the original code needed to be thrown out and rewritten from the ground up! To add additional difficulty (and awesomeness!) the team decided to use a Print on Demand(POD) service to allow participants to have their generated art uploaded and available to be printed on mugs, t-shirts, posters, etc. Soon after, Ray wrote up a new digispark code for the big-red-button to actuate the script and convert and print the line art (code given below) using Python3, opencv library, printer library from https://github.com/python-escpos/python-escpos.


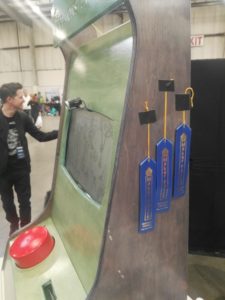
Meanwhile, Crafty Rachel and Bernard were configuring the TV mount that would be the selfie-display of the photobooth and Damp Rabbit was busy CNCing and painting up a storm to create the beautiful finished product – The Edgy Printacular! The EP was a hit and won three blue ribbons at Maker Faire 2018. Another happy ending that speaks to what a few creative makers can do when they put their heads together in a place with all the right equipment, Ace Monster Toys <3