So Ace is working on a holiday card and we need rubber stamps for some of the art. This is the tale of making rubbers stamps including all the mistakes on our 100w CO2 Laser.
Materials used
- Scrap wood
- Gorilla Spray Glue
- Craft Foam
- Art Ink pads
- Laser Engravable Rubber Polymer, low odor, from rubber-stamp.com
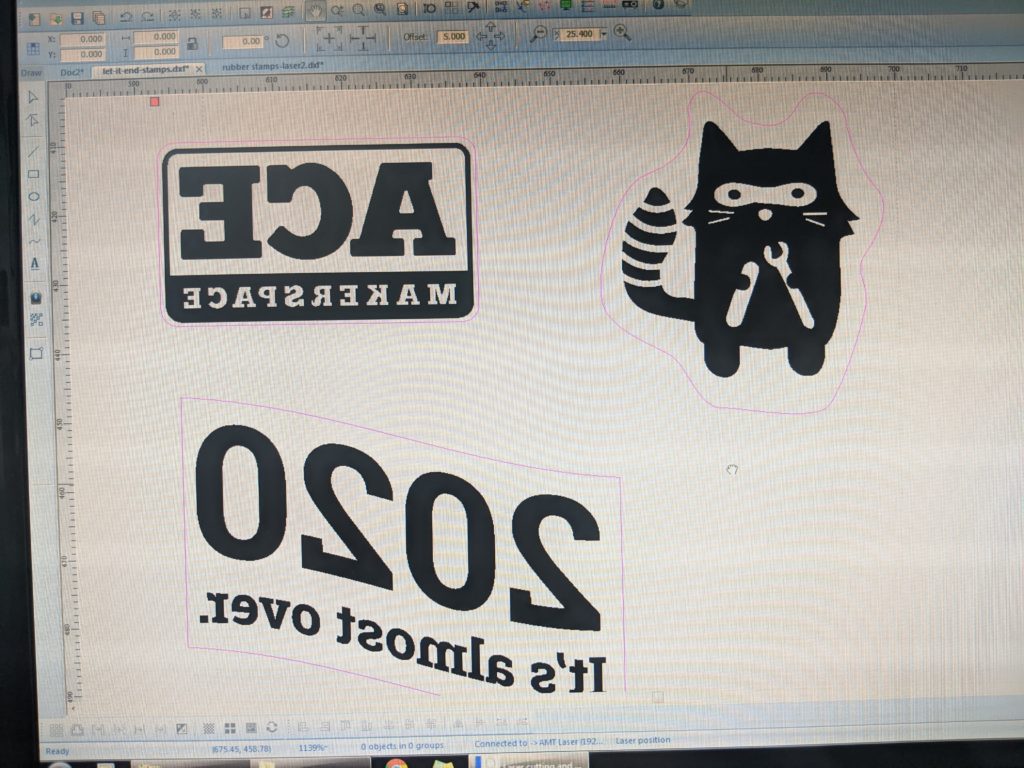
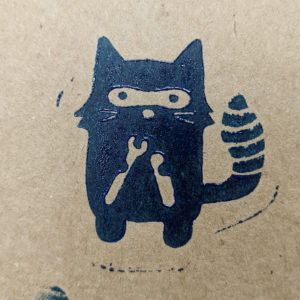
The artwork
The artwork… that is the first place things went wonky but I didn’t realize it until I cut. I had forgotten that engraving needed an outer boundary in order to drop out the right stuff. Check out these screenshots. Everything black in these images will be burned away.
The thing to remember with vector laser files, LaserSoft, and rubber stamps is:
- Mirror the art
- Set an outer boundary for the etching
- The outer boundary is the same as the cut line so you will need one object to be the boundary and one object on another layer to be the cut line.
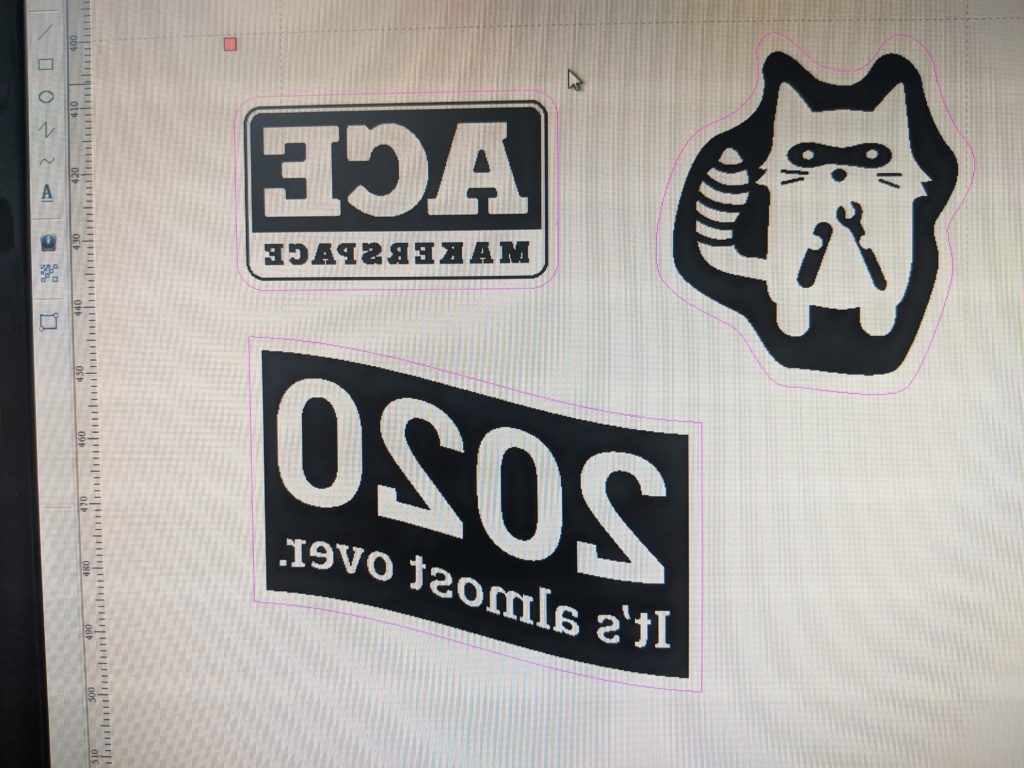
Here are the results from the two files. As you can see the art in the first file didn’t match the intention.
Testing and getting the right settings down
The laser polymer comes with some settings but they are for much lower wattage lasers than ours.
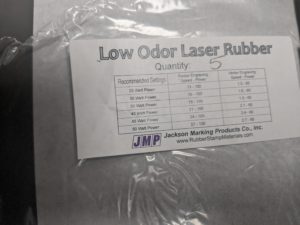
It took a bunch of test etching to get to settings that worked. I used a focus range for etching. These are the settings we finally settled on:
- Cutting: 15/90/87
- Etching: 150/80/78 (make sure to turn on grade engrave)
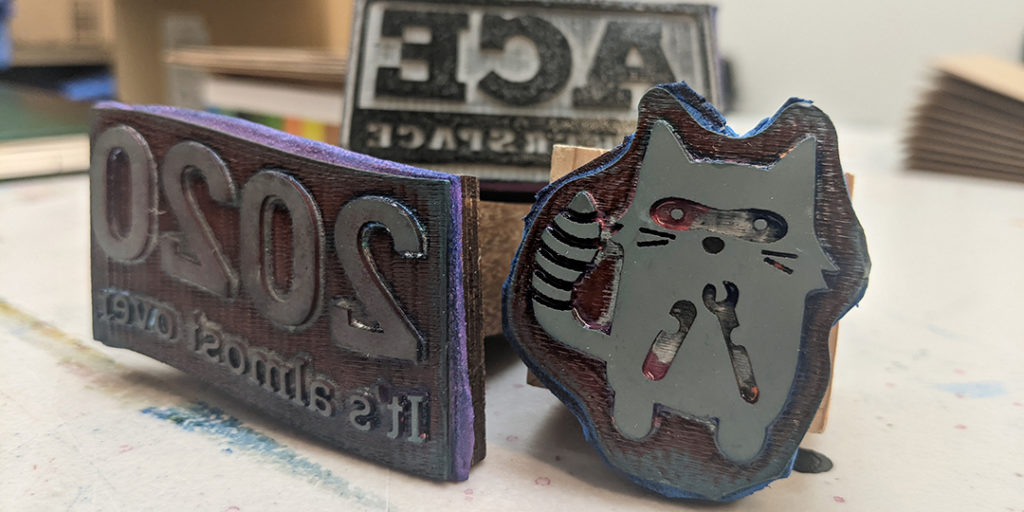
Putting it together and what I learned about glue
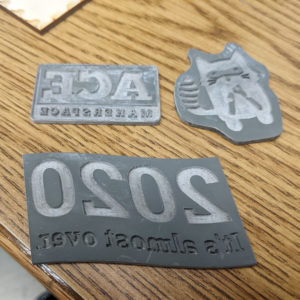
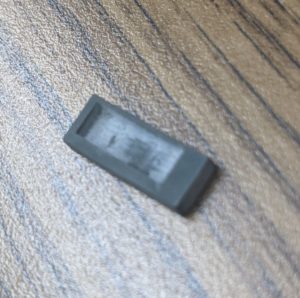
So I cut the outlines out of some scrap wood and used e6000 glue to attach the rubber bit. The results were… bad.
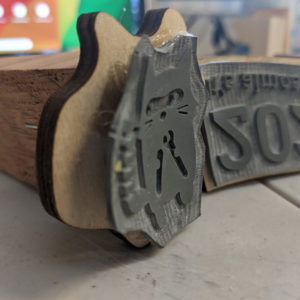
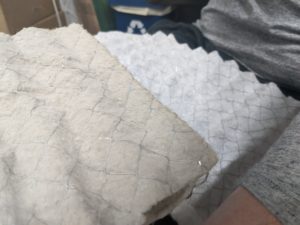
The final product did work out well with a layer of craft foam and using gorilla spray glue.
The post-laser etching finishing and clean up
Laser etching rubber polymer is dirty. Really dirty. When the stamps come off the laser they should be soaked in the water right away for about 10 – 15 min. then scrubbed with a soft brush.
This is what a brand new filter looked like after 8.1min. of cutting and etching laser.
Thanks for sharing your experience. These are cool and I’m sure like everything else they will get better each time.