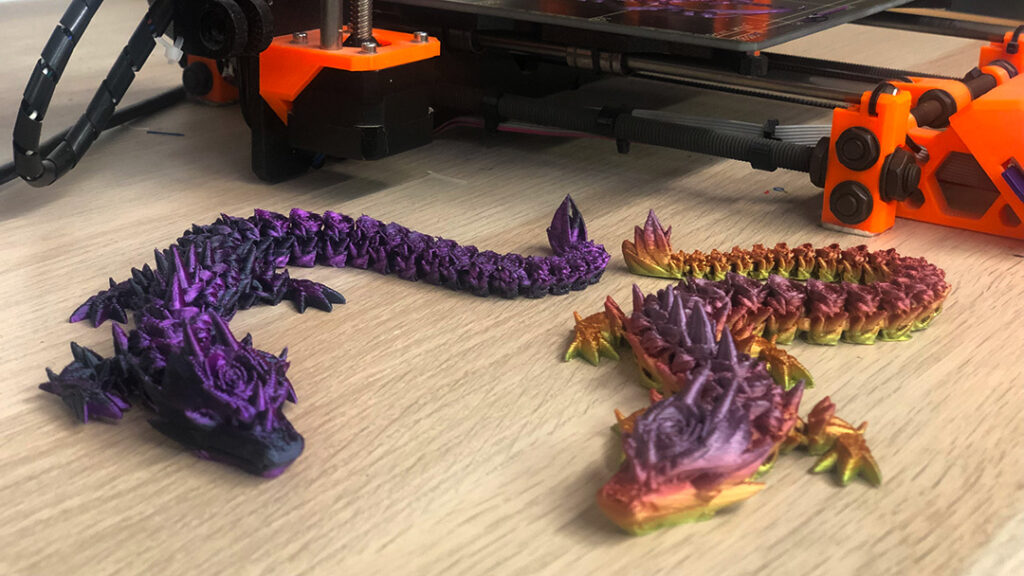
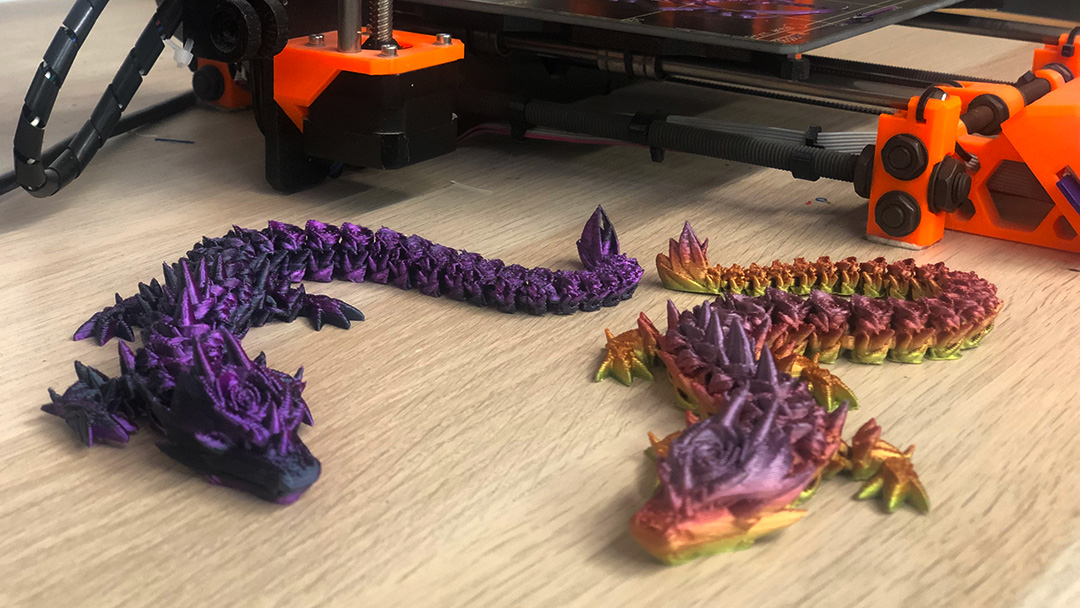
Ace Maker, Rene runs a small family business called Mischief Manor Makers that sells handmade goods both online and at local (and sometimes not so local) events like Folsom Street Fair, Surrender, and Play-X-Land at Cat Club Sf. Their inventory* changes frequently but includes kink and fetish gear like Custom Springbuck Horn Floggers, small pins with a wicked sense of humor, Custom Made Squishmallow Bags, and as of 6 months ago 3D printed items like their favorite Flexi Rose Dragons with articulated joints.
*Follow Rene on Tik Tok to learn more about Mischief Manor Makers and the things they like to make!
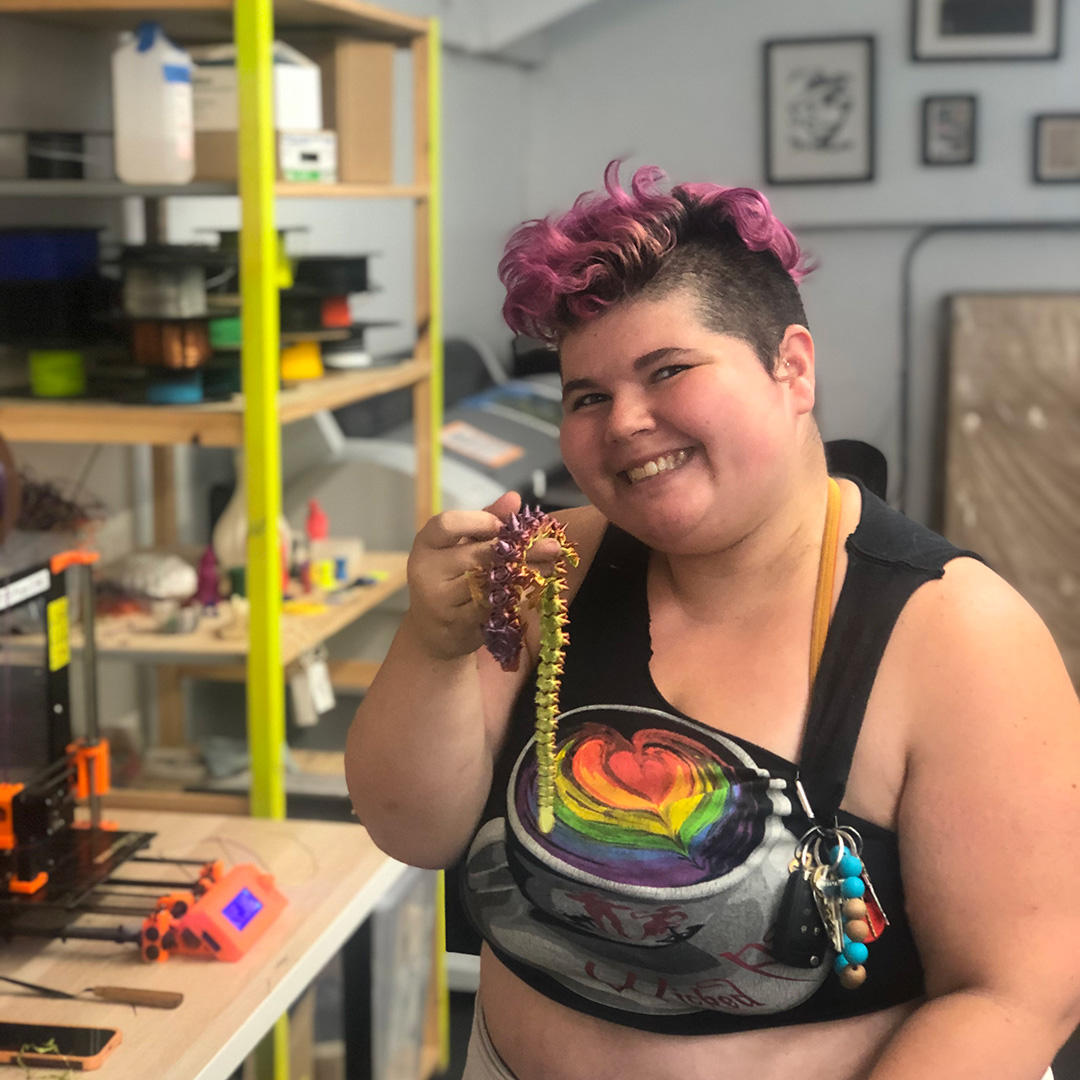
Rene got into 3D printing when they were visiting one of their partners in Georgia who runs a small business similar to Mischief Manor Makers. He showed them the basics, helped them find a 3D printer to take home, and encouraged them to make it a part of their business.
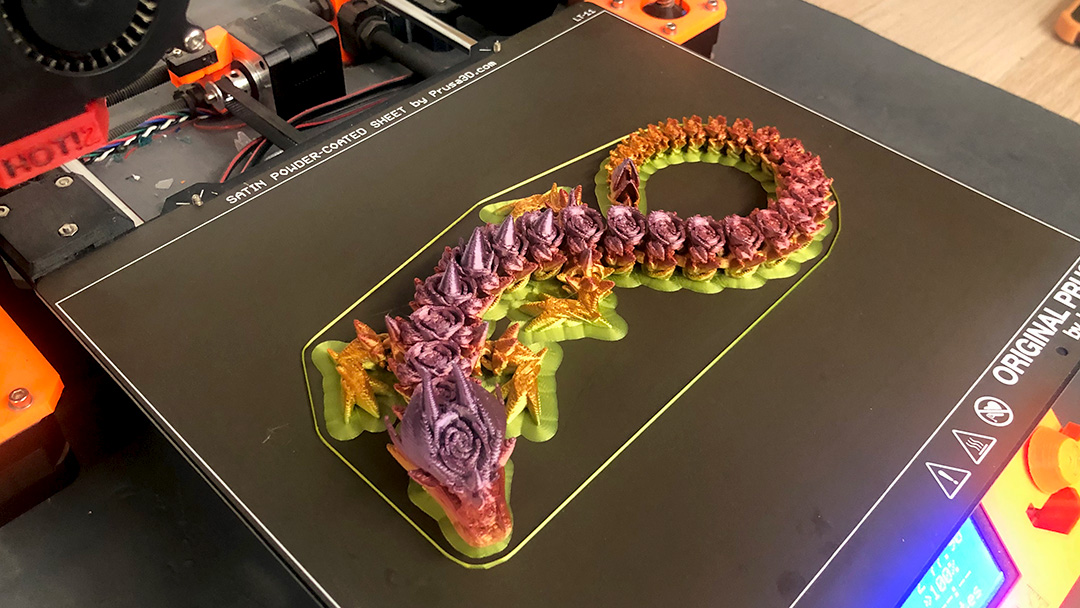
To design this Flexi Rose Dragon, Rene found a pre-made base file online and customized it with roses and thorns (Thingiverse has many open source files available to use for free, but you can also purchase premade files from places like Etsy).
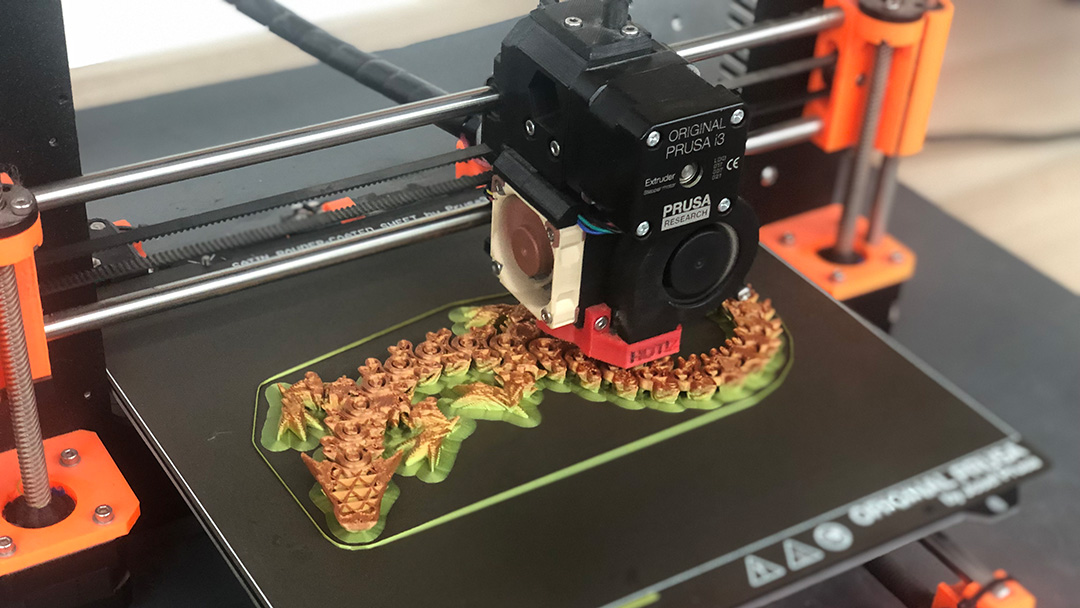
For a shiny multicolor effect, Rene works with a special gradient silk filament which is slightly more delicate and little bit trickier to print with than standard PLA filament.
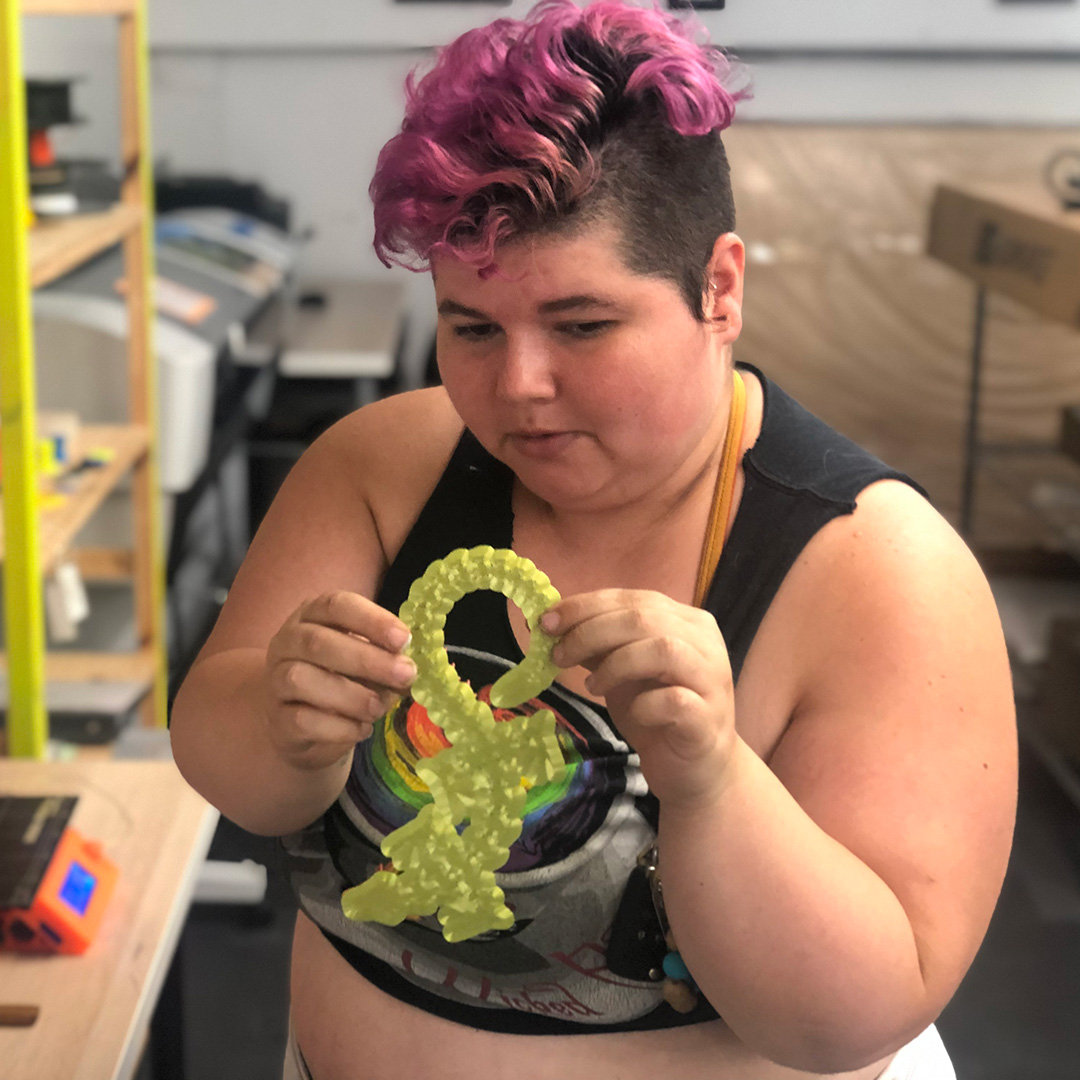
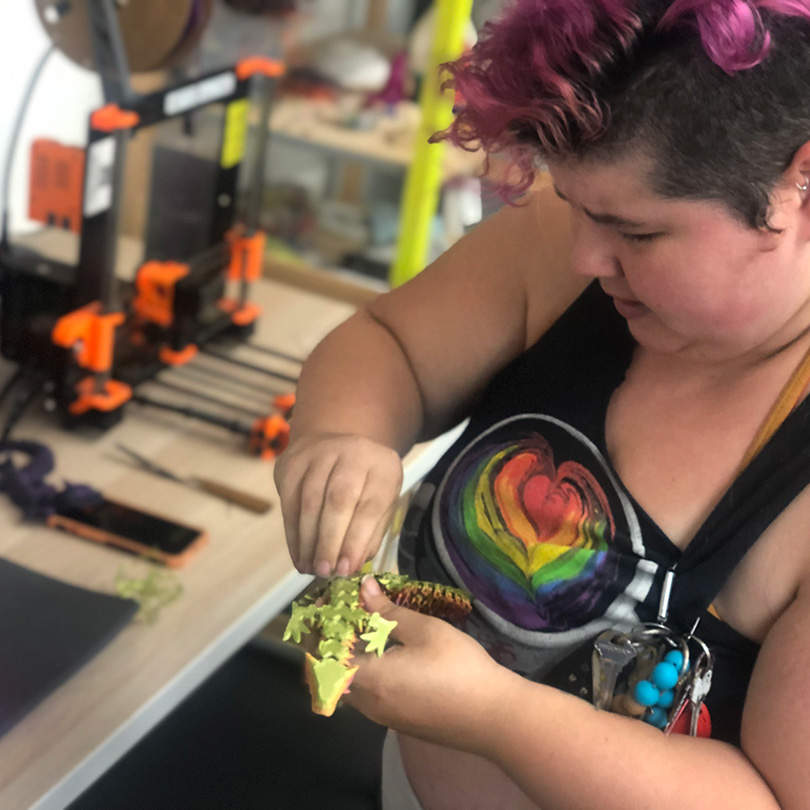
Each print begins with a brim—a stable base layer that keeps the Flexi Rose Dragon in place preventing it from slipping off the build sheet or collapsing during the job. When the dragon has finished printing, Rene will remove the brim to release the articulated joints that allow the Flexi Rose Dragon to move. They’ve learned through trial and error that printing a brim is critical even though it adds an additional 20 minutes to the already 4.5 hour printing time.
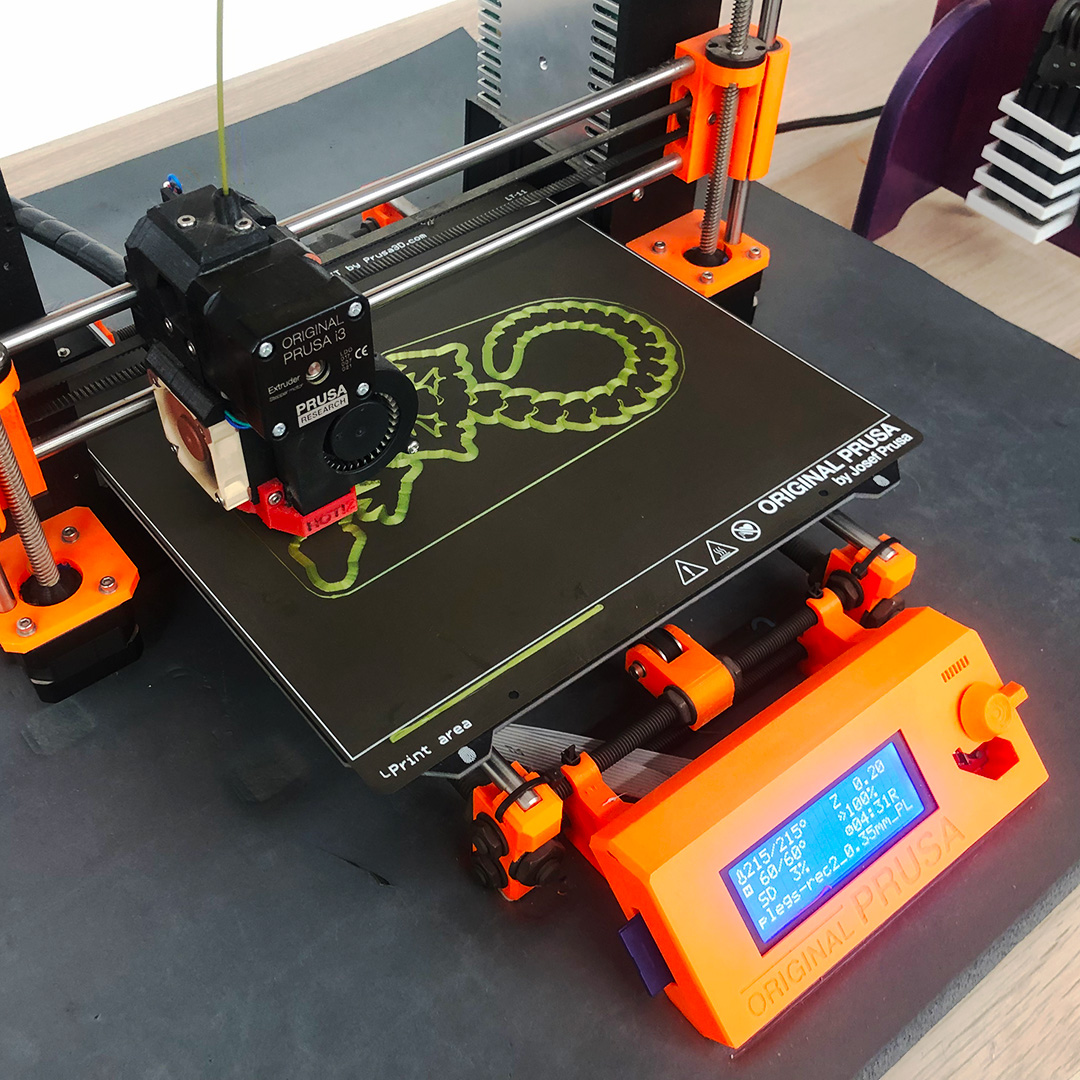
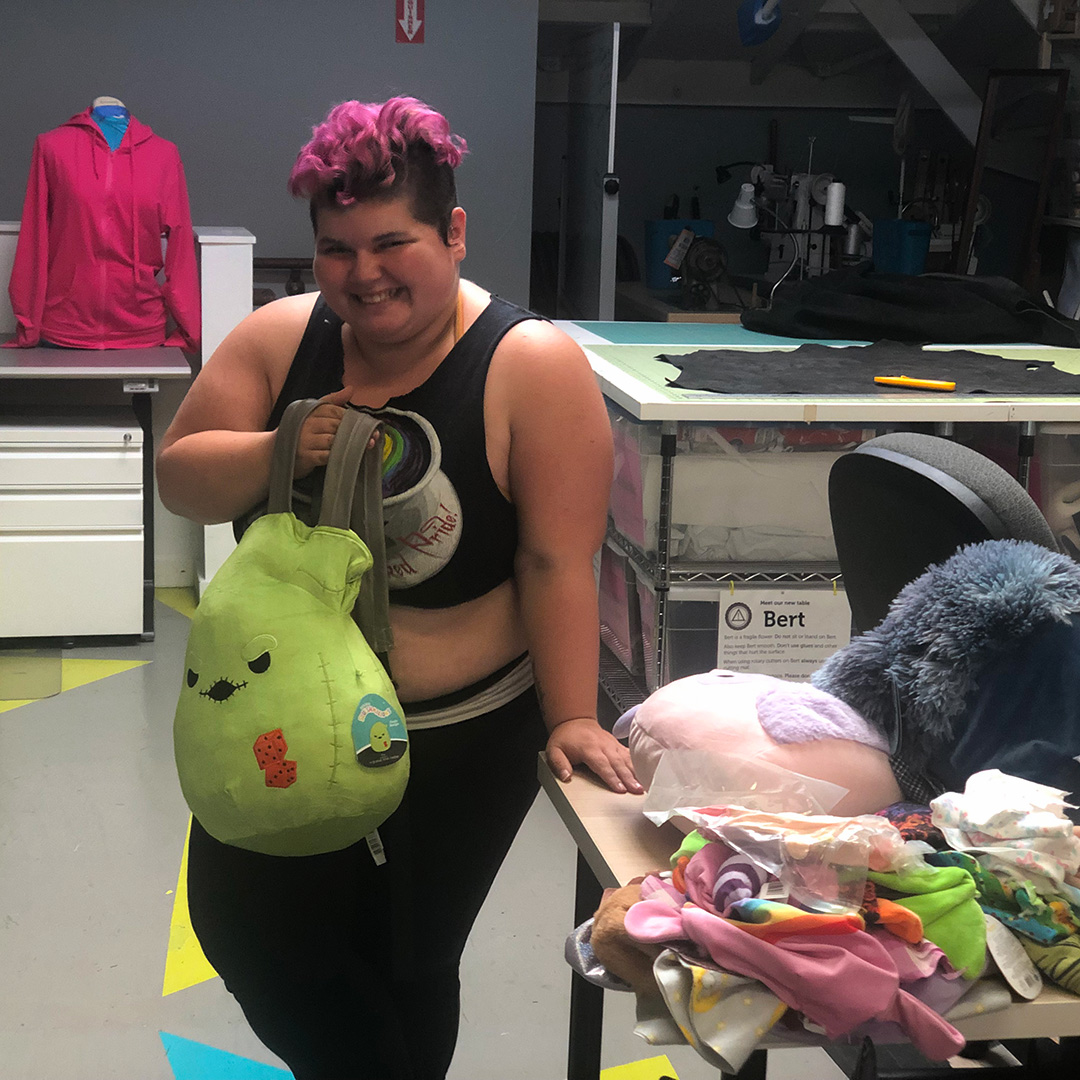
Once they’ve made sure the brim has printed correctly, Rene likes to head up to the Ace Textiles Studio to work on other merchandise like their Custom Made Squishmallow Bags. They also check on their print at regular intervals to make sure everything runs smoothly.
Rene’s tips for folks curious about getting started with 3D Printing:
- Check out Thingiverse for inspiration and pick something that excites you
- Find community! Places like Ace Makerspace are great because there’s a built in support system if you need help troubleshooting as your starting out
- If you plan to dive in and purchase your own 3D Printer, go for a well known brand because there is more documentation and technical support if something goes wrong

