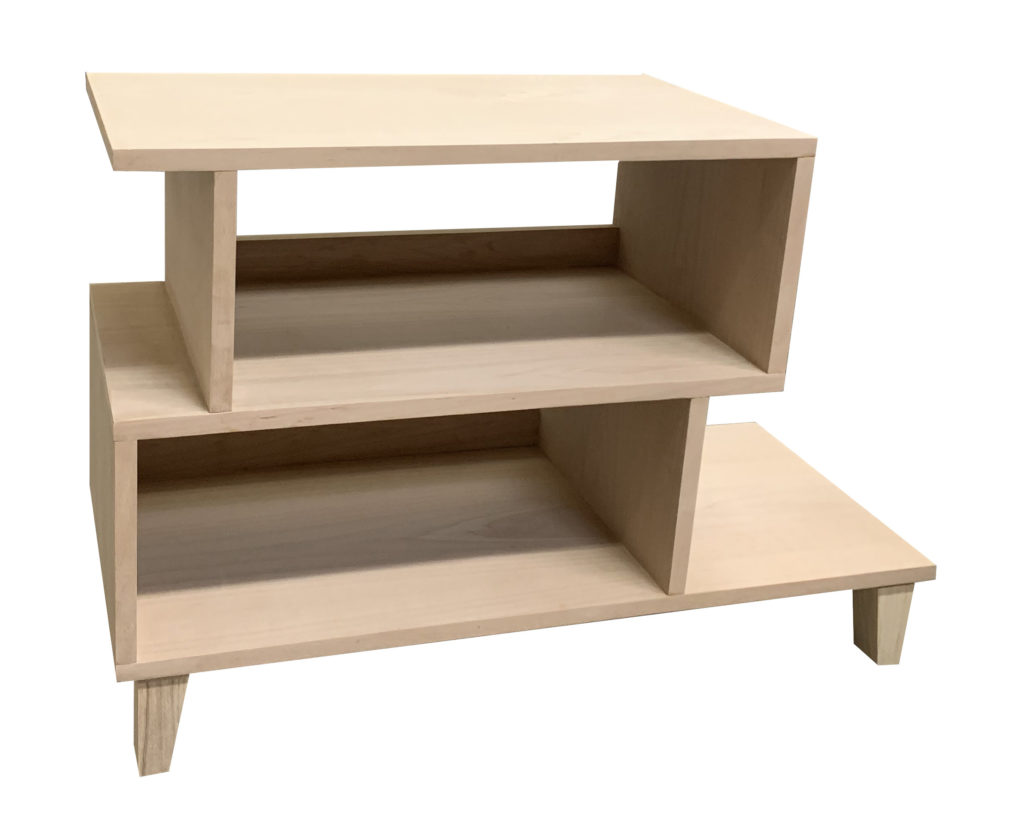
My 23 year old son told me he’d love a shoe rack in his new home that doubled as a side table for his sofa. He’d been unable to find anything to buy that fit the dimensions, so I decided to build him one.
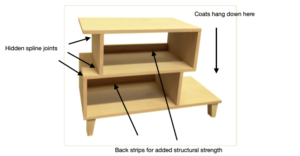
There were a few specifics that needed to be accounted for — the dimensions of the space, the color of wood that would complement his room, and the fact that they hang coats against the wall that the rack/table would abut…
He loves mid-century modern furniture — so I found and modified a style online to be able to hold 5 pairs of shoes, be the right height for the sofa table, and allow for the coats to co-exist.
I recently made a different shoe rack with mitered corners on the plywood sides — and was pretty unhappy with the results. Solid wood is so much more forgiving for the occasional minor gap in the joint — because you can sand it down to make the flaw less visible. I found plywood, however, having such a thin veneer, too easy to oversand and ended up with areas where the veneer was gone and the underlying ply exposed.
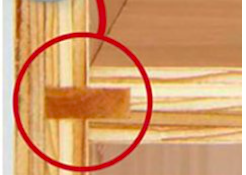
But I knew a plain butt joint wouldn’t provide enough stability. I decided instead to do two things to strengthen the joints in the plywood pieces: I created a hidden spline joint, and I added a 2″ back strip to each shelf to support the entire structure.
That left all the plywood edges exposed, which I’d planned to cover with iron-on edge veneer. In my cabinet-making days (decades ago!) I’d regularly made plywood shelves with edge veneer without problem. But in this project, this is where the headaches got the worst!
I ironed the edge veneer on each board before assembling the piece. The edge tape is 7/8″ wide, so there’s a good amount to remove till it’s the proper width for the plywood. I sanded each piece down, only to discover that I’d inadvertently sanded through the plywood veneer in places.
Additionally, once I put the pieces together, additional sanding went through parts of the edge veneer AND the plywood veneer! I cannot even count how many re-dos I did of the edge veneer — which was far more challenging now that the piece was assembled and everything had to fit exactly.
I finished the piece in oil based varathane to warm up the color a bit. In the end it came out okay. Most of the flaws were in the back, which won’t show being against the sofa. (My son was pleased, most importantly)
I’ve thought about how I’d do it differently next time. I don’t know how easily I could find a thicker veneered plywood, but I’d swear the veneer was thicker in the old days…!
I’d definitely invest in an edge veneer trimmer to lessen the sanding I was doing.
And I’ll likely lean more towards using solid wood vs plywood in future projects!


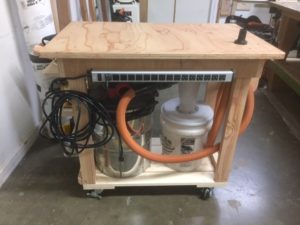

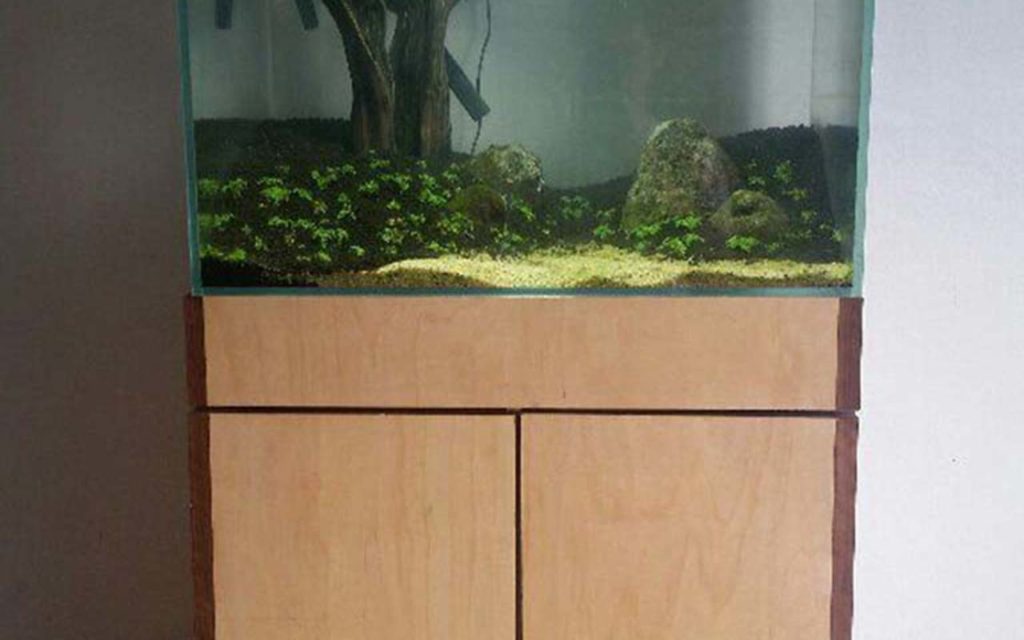
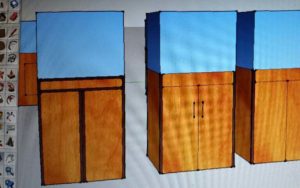
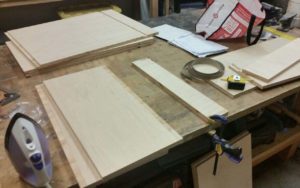
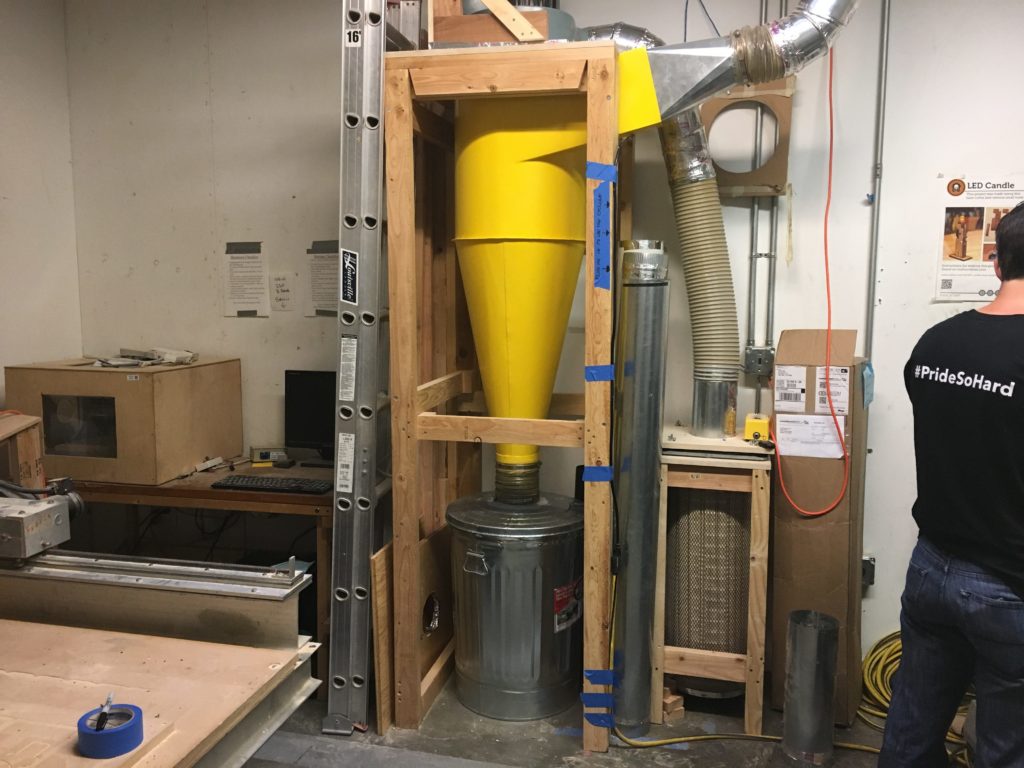
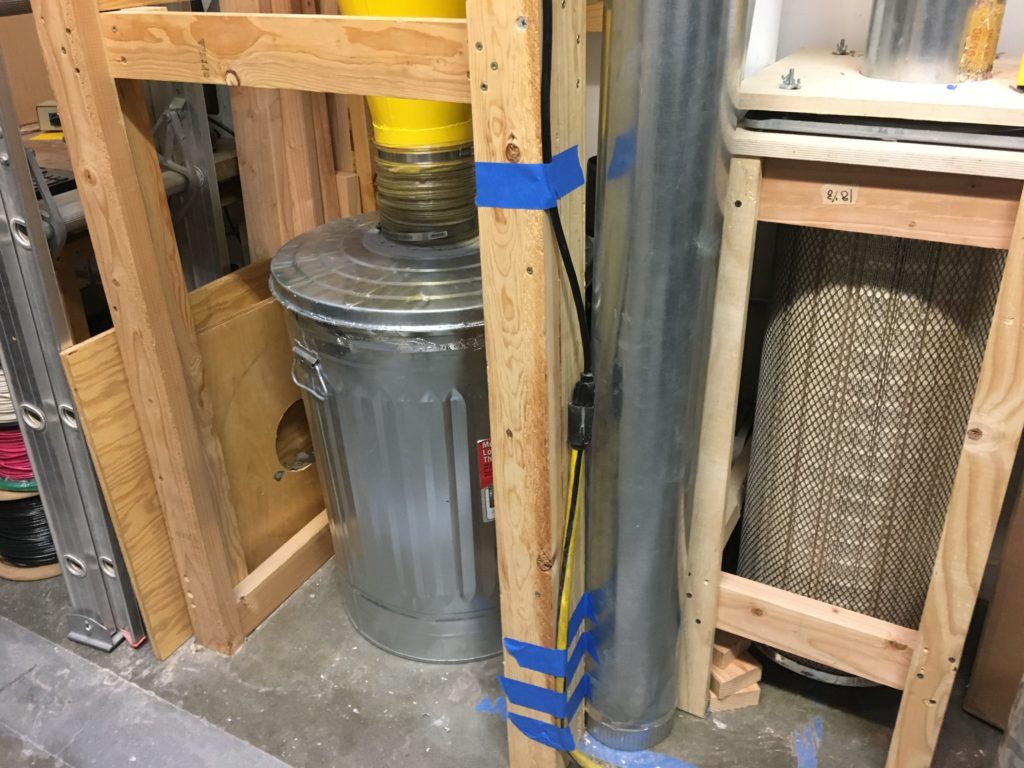
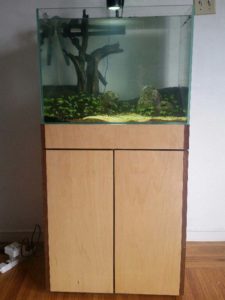 This is an aquarium stand that I built at Ace Monster Toys. It is made of maple 3/4 plywood and walnut edge banding. I used the old craftsman table saw and the ryobi router table to cut and shape the parts. If I had to do it over again I would use the CNC router. It would be far far safer, faster, and the results would be cleaner and more square. I would probably also use strips of 1/8″ walnut instead of the iron-on edge banding, because it would be much more durable and age better. After designing the piece in sketchup, I made some test pieces to practice edge banding on. The idea is to use the edge banding to hide the screws and the ugly edges of the plywood. It was a challenge to cut up the 4×8 sheet of plywood with a handheld power saw. A panel saw would have been better. After getting the pieces small enough to fit in my car, I took them to AMT and cut them to size on the table saw. The problem was that, even with my own brand new blade, the saw would not cut perfectly square, and the measurements on the fence were not accurate. It was very frustrating and the results were not perfect. I used the router table to cut dadoes and rabbets where the walnut strips would go. After assembling the box, I used an iron to iron on the walnut edge banding, which I trimmed with a razor. At this point I took the stand home for finishing, and added some wheels. The stand contains my canister filter and CO2 tank. I am very happy with the result, but if I had to do it over, I would use the CNC.