A general overview of a recent project to make a set of CNC cut and engraved instrumentation panels for use on sailboats.
All things CNC Router Related
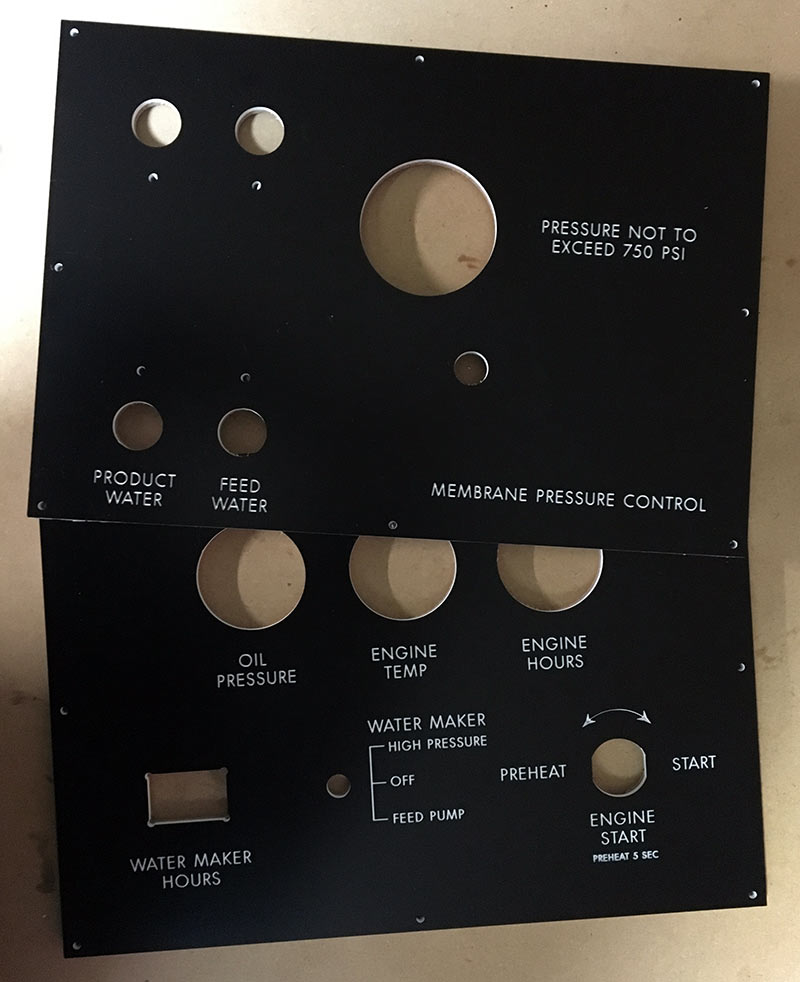
A general overview of a recent project to make a set of CNC cut and engraved instrumentation panels for use on sailboats.
The gcode emitted by Fusion 360 using the default settings does not work on our big CNC. Rama figured out that manually editing the gcode and removing the first six lines gets around the issue.
I was curious about this and decided to investigate. I reverse-engineered the codes in the preamble, but all seemed to be perfectly valid Mach 3 g-code. Finally, I found the culprit: G28.
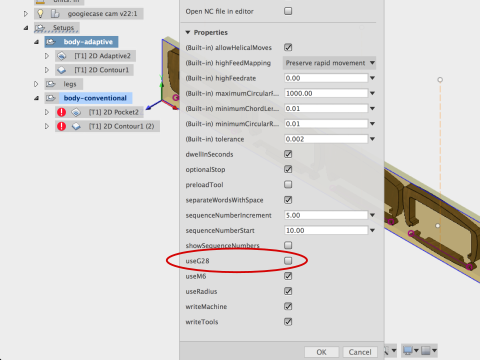
It turns out that there’s a simple solution: Click post process to create the gcode. Then open the Properties pane and un-check useG28. This option also controls some related codes at the end of the file.
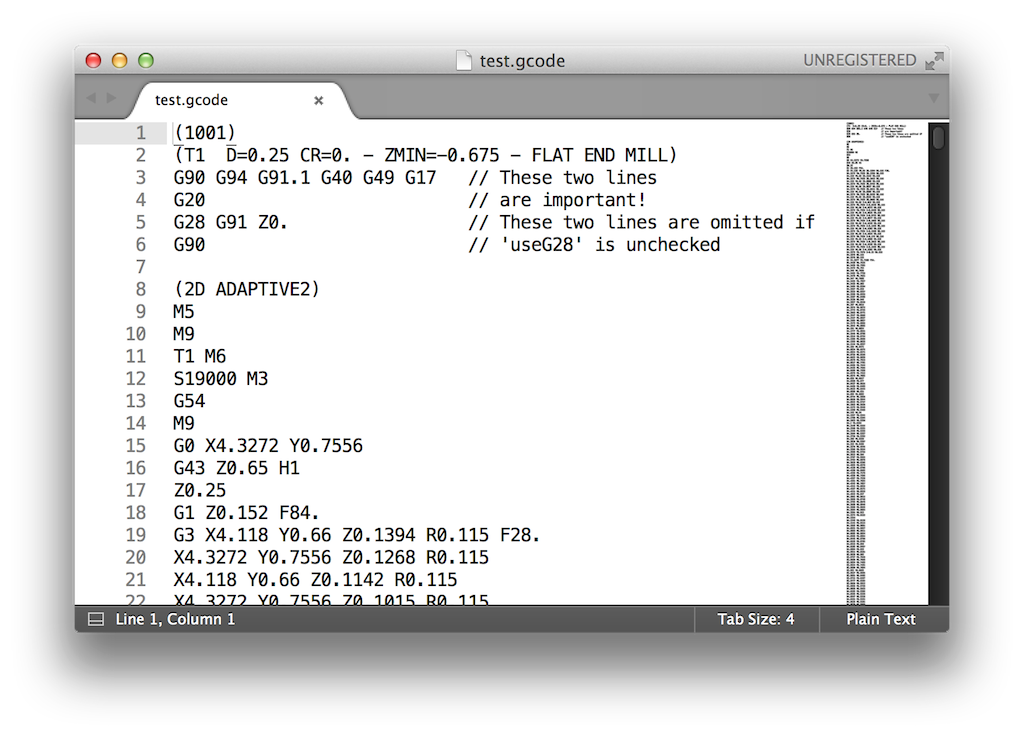
I do not recommend deleting the entire six-line preamble! It sets up various values in Mach 3’s brain, and omitting them may be give unexpected results. It sets units to Metric or Imperial, for example. If omitted, your job might be unexpectedly scaled to a weird size.
That’s all you really need to know! Read on if you’re interested in the details.
The issue is covered in this article:
http://discuss.inventables.com/t/learning-about-g28/12205
Briefly, G28 is used to return the cutter-head to the home position. If your CNC machine has end-stop switches, Mach 3 can be configured to move to the physical limits of its travel, which is often a convenient parking place for the cutter-head at the end of the job. It also resets Mach 3’s zero position in case you have some kind of permanent workpiece mounting arrangement that always positions the workpiece in the same place.
We don’t use the big CNC this way. Instead, we mount workpieces in a variety of ways and manually set the zero position before each the job. The article above makes a case for implementing G28, but I don’t think it’s applicable for us.
I figured this out by digging into the code. It turns out that the tool-path is converted to gcode by a nicely commented Javascript program. Search your system for ‘mach3mill.cps’ It will be buried down in the bowels of your application tree somewhere, and is probably in a different place for PCs vs. Macs. I looked for the G28 code, found it was controlled by an option, then finally googled for that option to locate the above post. Anyway, it’s good to know that we have flexibility if we need to further customize gcode generation.
Working with the CNC routers and the woodshop hand routers/drills frequently, it’s become apparent that AMT needs a new place to store our community bits rather than “randomly in plastic tubs” or “wherever we want”
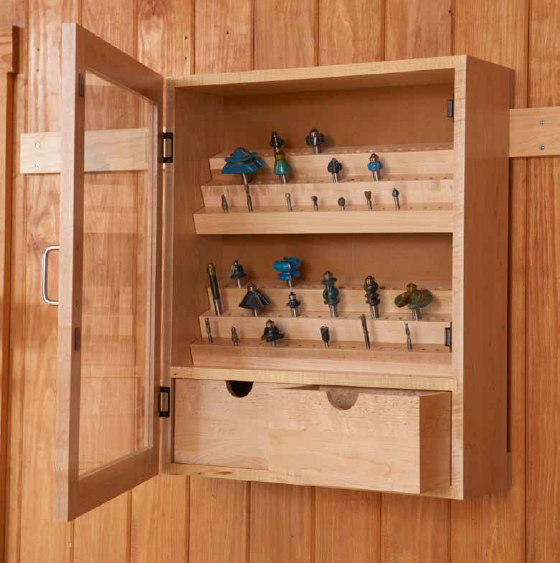
Enter the brand new AMT Bit Box!
Based on a design found in Woodworking Magazine, the bit box is being made out of dried poplar, some half inch plywood, and a whole lot of quarter inch dowel rods.
The example above isn’t quite the final form. AMT needs less a retail style “display” case and more a functional set of modular shelves that can be changed as its needs change. Additionally, we need a badass logo on the front.
Let’s take a look at the build as it happens!
1. Size Cuts and Dado Cuts
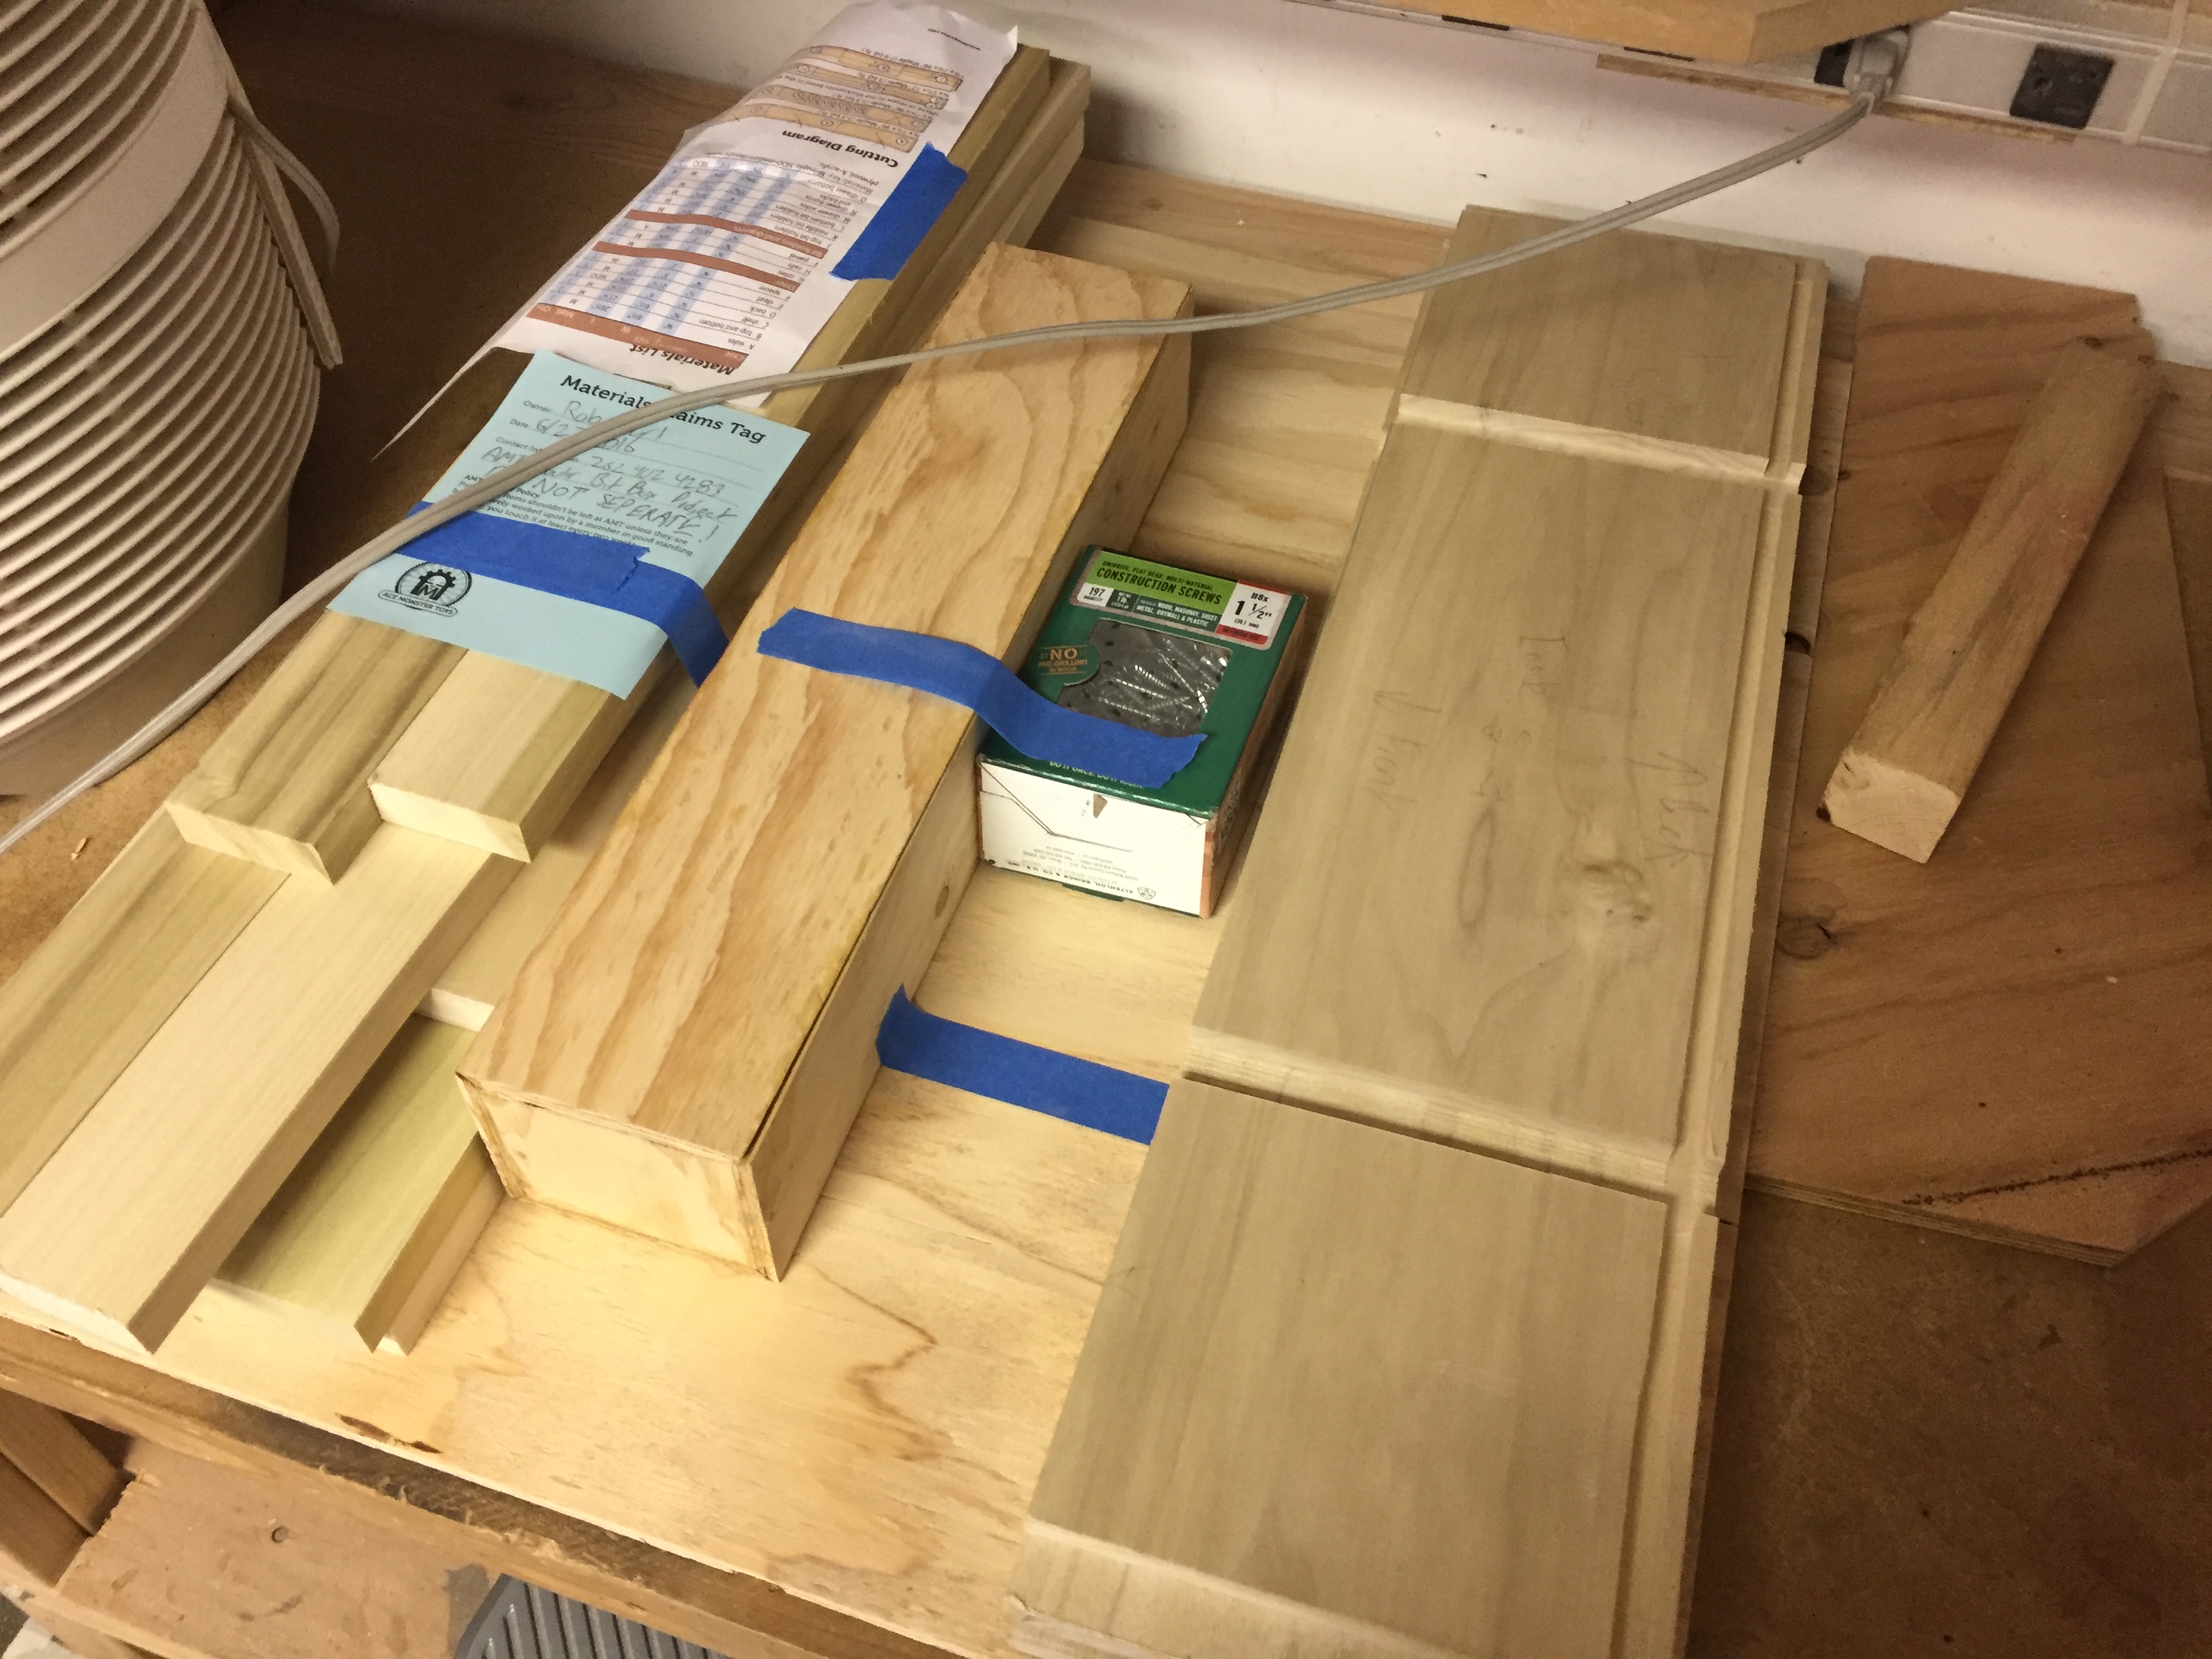
I didn’t take any pictures of the first few cuts on the table saw, but it’s pretty standard except for one thing: dado cuts. What is a dado cut you ask? Simply put, dado cuts use a special stacked blade system attached to the table saw to cut specifically dimensioned holes, grooves, and end sections. The cool perfectly lined sections you see on the side piece in this first picture are the result of dado cuts!
One problem: AMT doesn’t have a throat plate of the appropriate size for dado cuts! OH NO WE CAN’T USE THE TABLE SAW WITHOUT A THROAT PLATE BECAUSE DANGER WHAT CAN WE DO.
2. New Throat Plate for Table Saw!
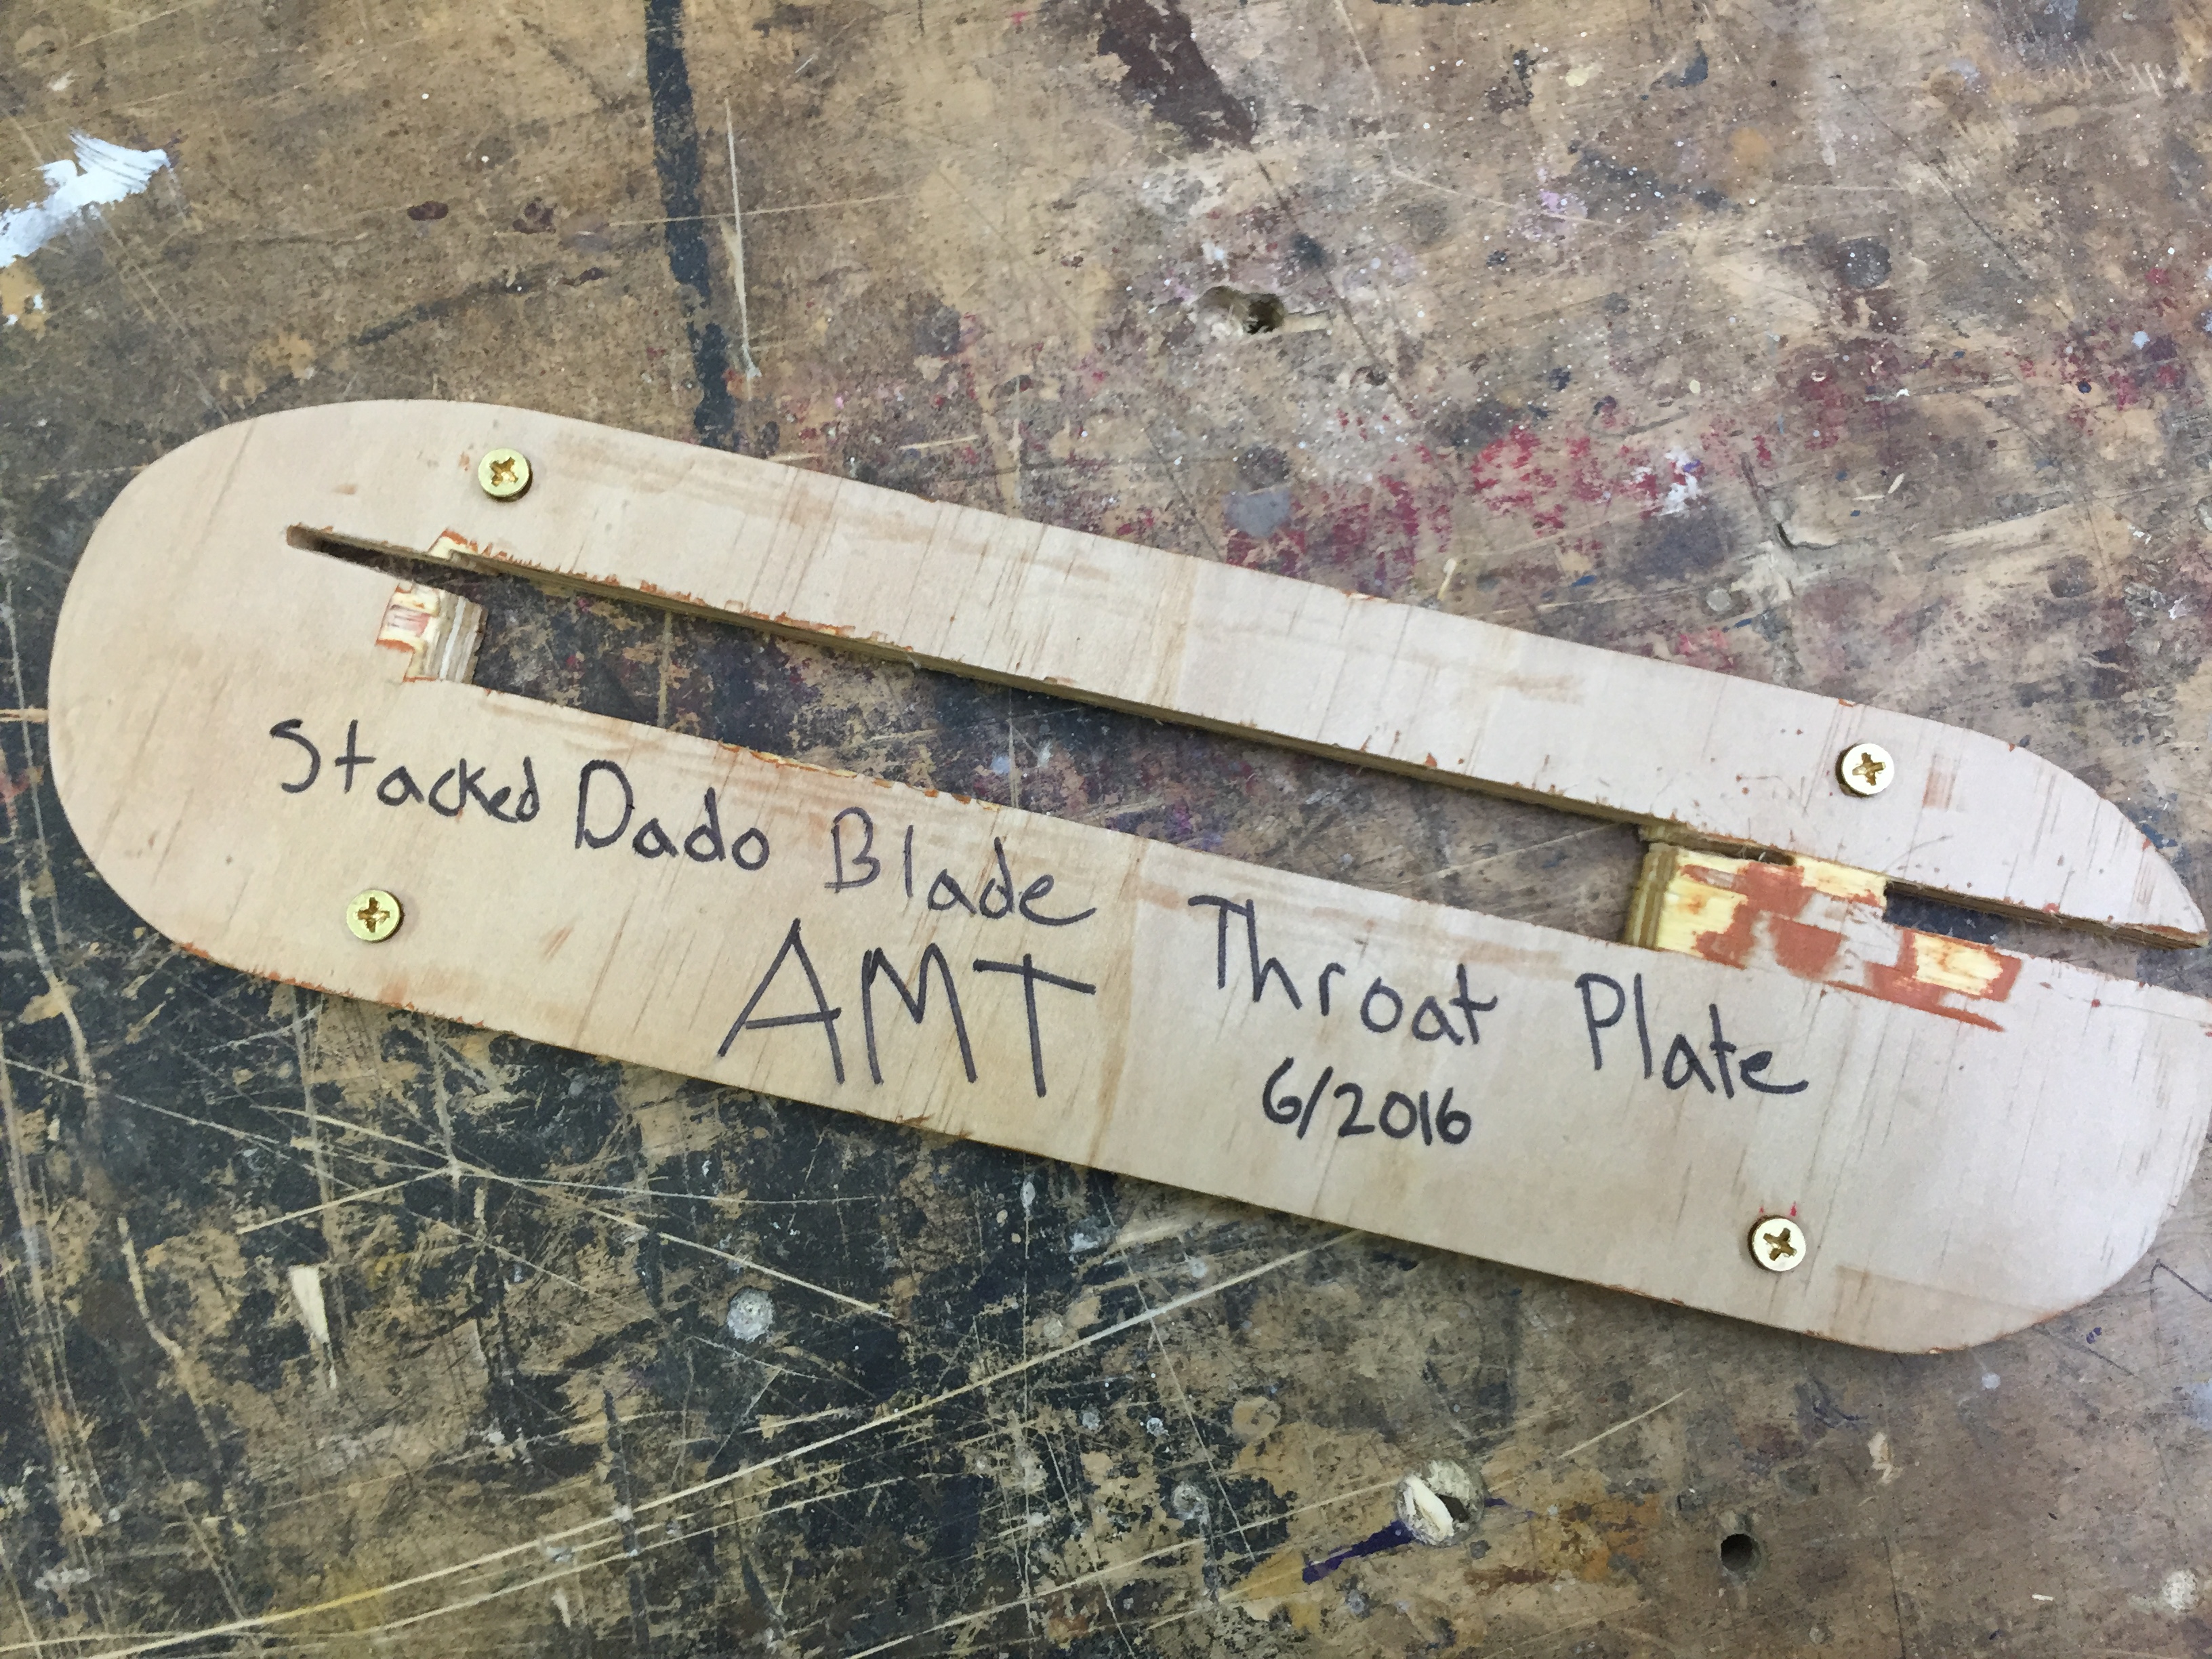
Oh wait naw it’s cool guys. I made one really fast, gave it a linseed oil coat and some wax. Now it lives in the shop steward drawer with the other appropriate throat plate sections
2. Checking the Squareness and Design Changes
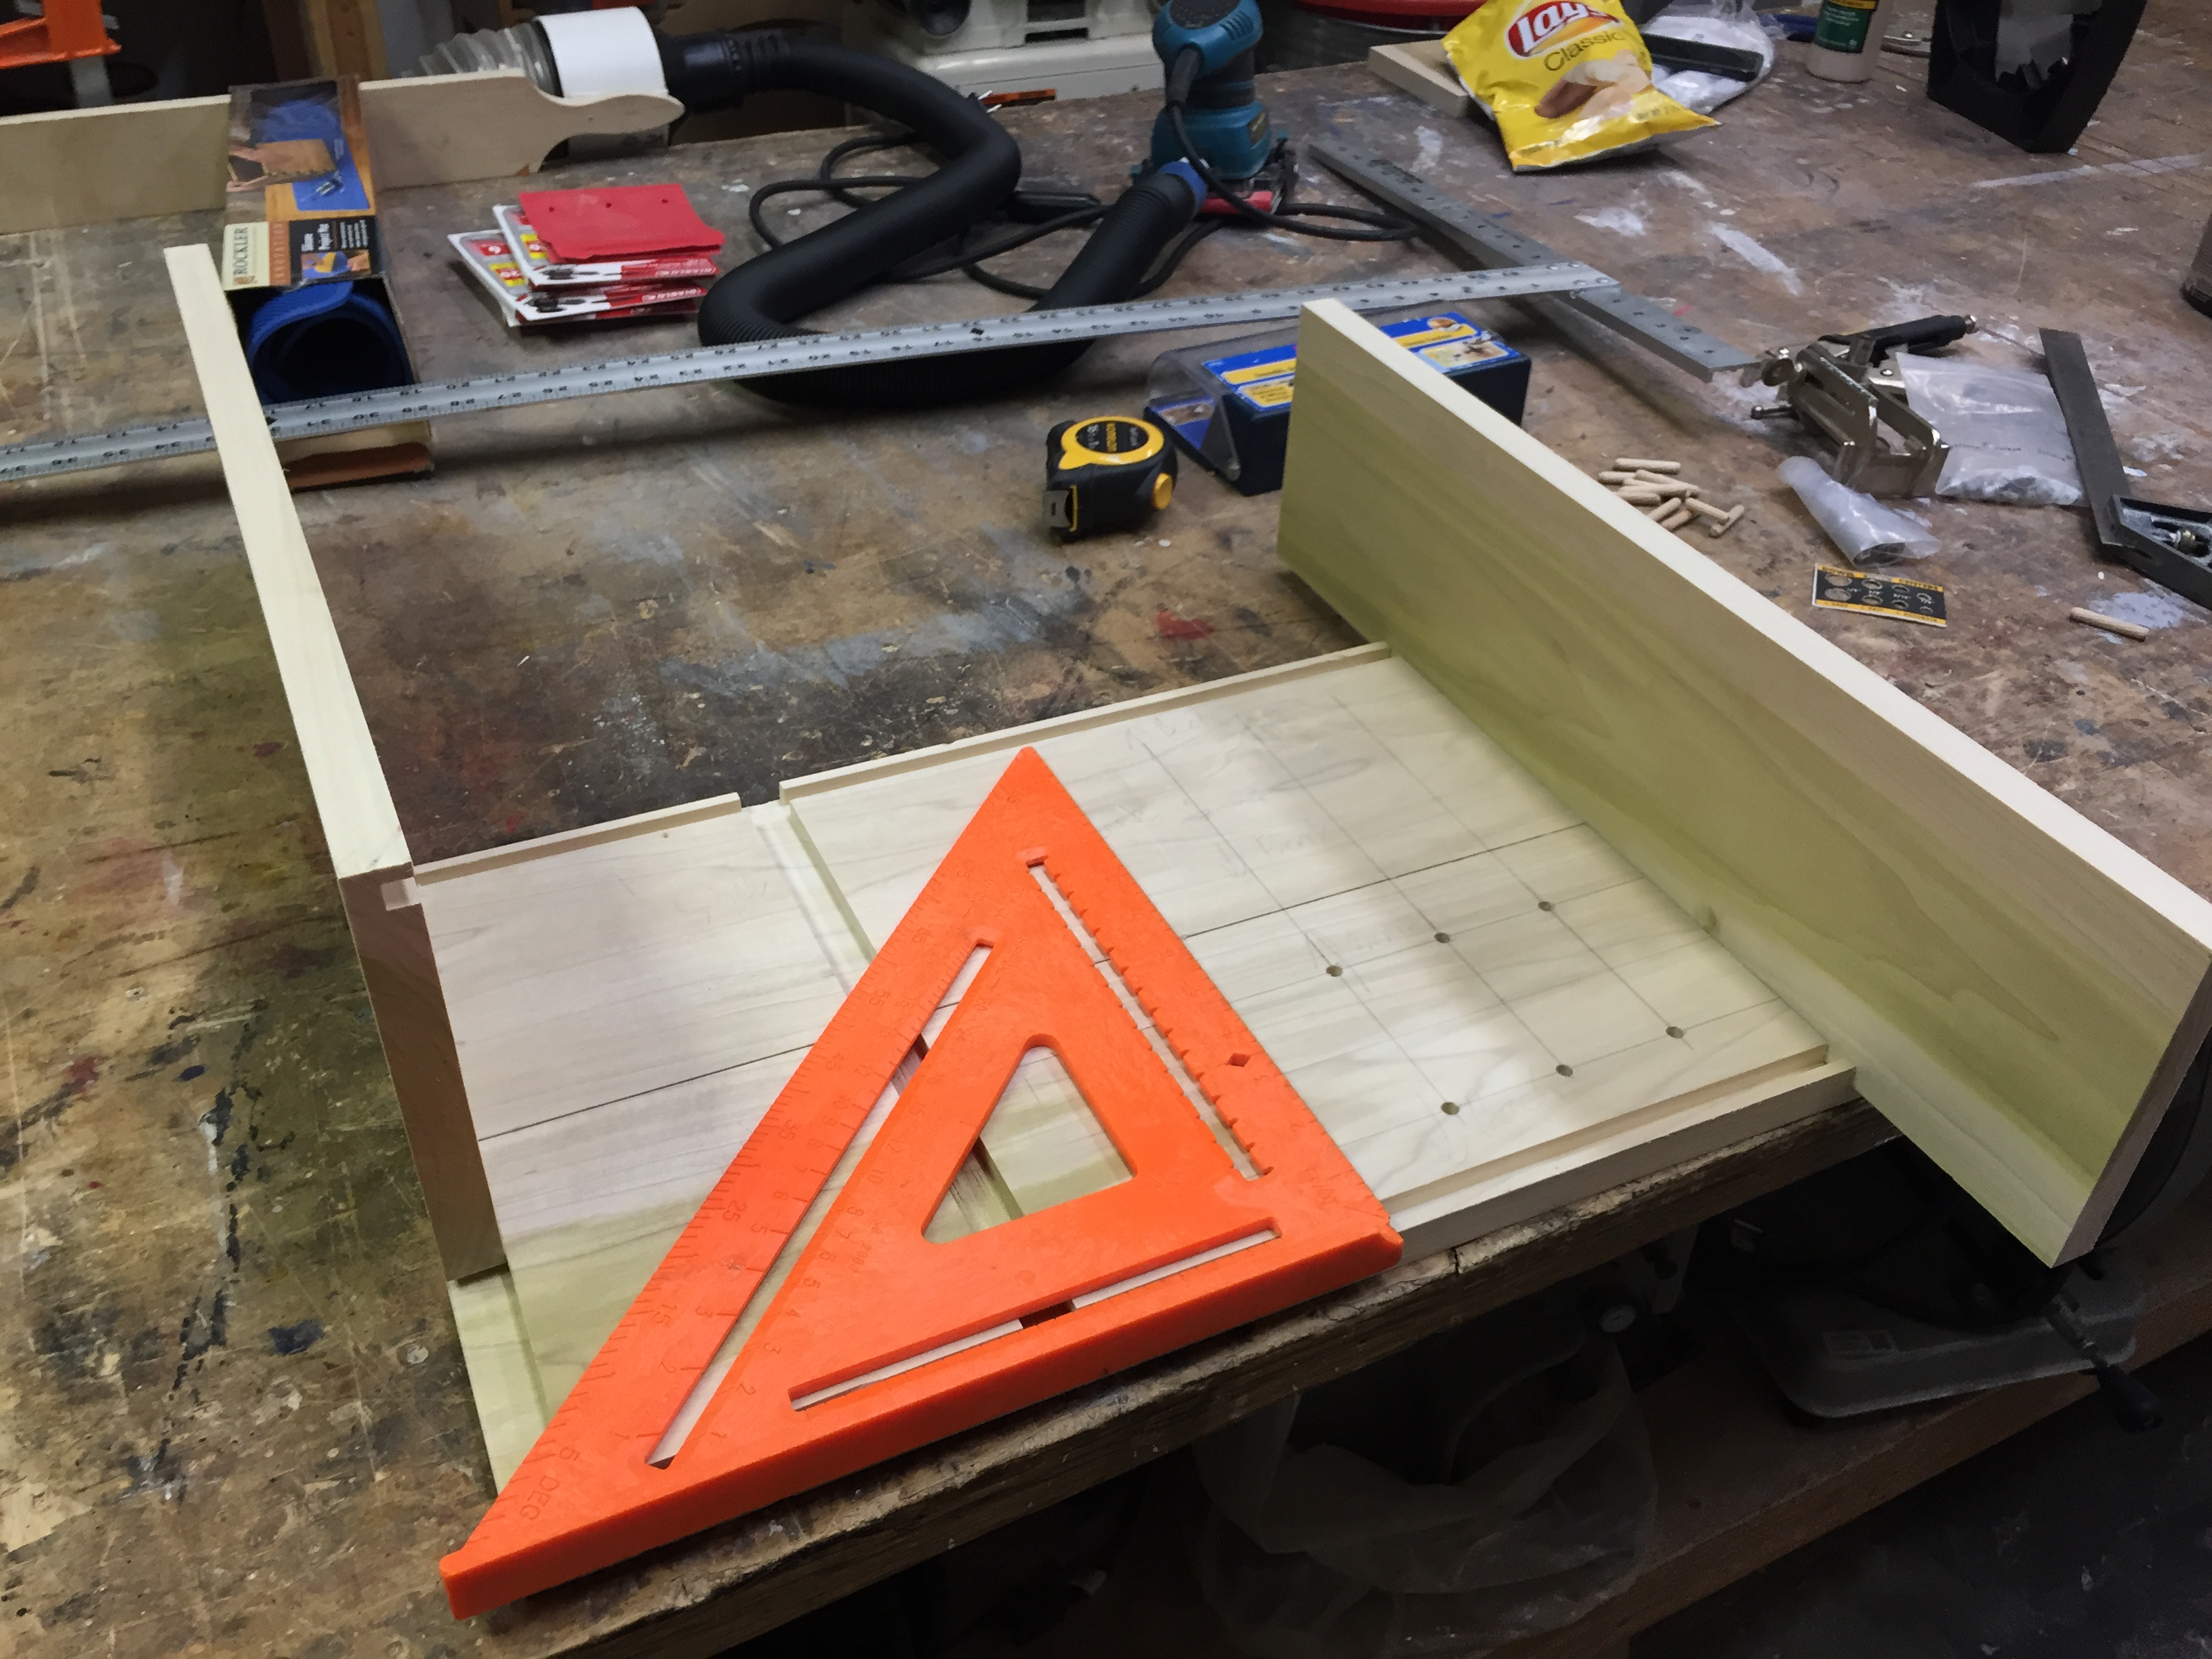
Here’s the pieces of the box being squared and checked for consistency and straightness. Making a GOOD, LEVEL, SQUARE box is actually one of the most difficult things a woodworker can do, which is why it’s such good practice for joinery techniques and other basics. You’ll also notice that by this point I had already drilled the mounting holes for the dowel rods. As I mentioned, I modified the original design to give us a more modular set of shelves to work with. There will still be a standard set of drawers just like in the original picture to hold random objects, but the lower and upper shelves will be removable while the bit holders themselves will rest on the dowel shots like the sleeves of your Ikea bookshelf. Want to make a new bit holder for the latest set of bits you’ve purchased? Need to store a specialized set of objects? Just cut a piece of scrap to size, mount the things you want to put in the box, and drop it on the dowels!
3. Use of Forstner Bits

The dowel holes were cut with the Forstner bit set that AMT has in it’s drill section. In the very near future, these might live in the box they were used to make!
For those interested in different types of bits, forstner bits (like any drill bit) makes a hole in wood. BUT WAIT! While a standard drill bit cuts using a spiraled tip, a forstner bit first centers itself using a small needle-like plunge tip and then cuts a very smooth, flat based hole.
To steal from a woodworking site that knows way more than I do: “Because they’re designed to produce a minimum amount of tear-out when exiting the material, Forstner bits are the best bit for drilling through holes. Forstner bits drill a flat-bottomed hole, making them a necessary tool for many hardware installations where a precise depth of mortise is required.”
4. Sandingsandingsandingsaning

All those big, flat pieces of poplar required about an hour and half of sanding with three different grits using my finishing sander and its new wonderful connection to the central dust collection system. That hose connector was about $20 at Rockler Wood Supply, while the connector bridging the hose and the central dust intake was about $5. Both were well worth the investment in saving my lungs, the shop air quality, and cleanup in general.
Shopping Link: http://www.rockler.com/dust-right-universal-small-port-hose-kit
Alternatively, you can roll your own using some PVC pipe, our friendly 3D printer, and some standard shopvac hose.
5. Glue Up Finished!
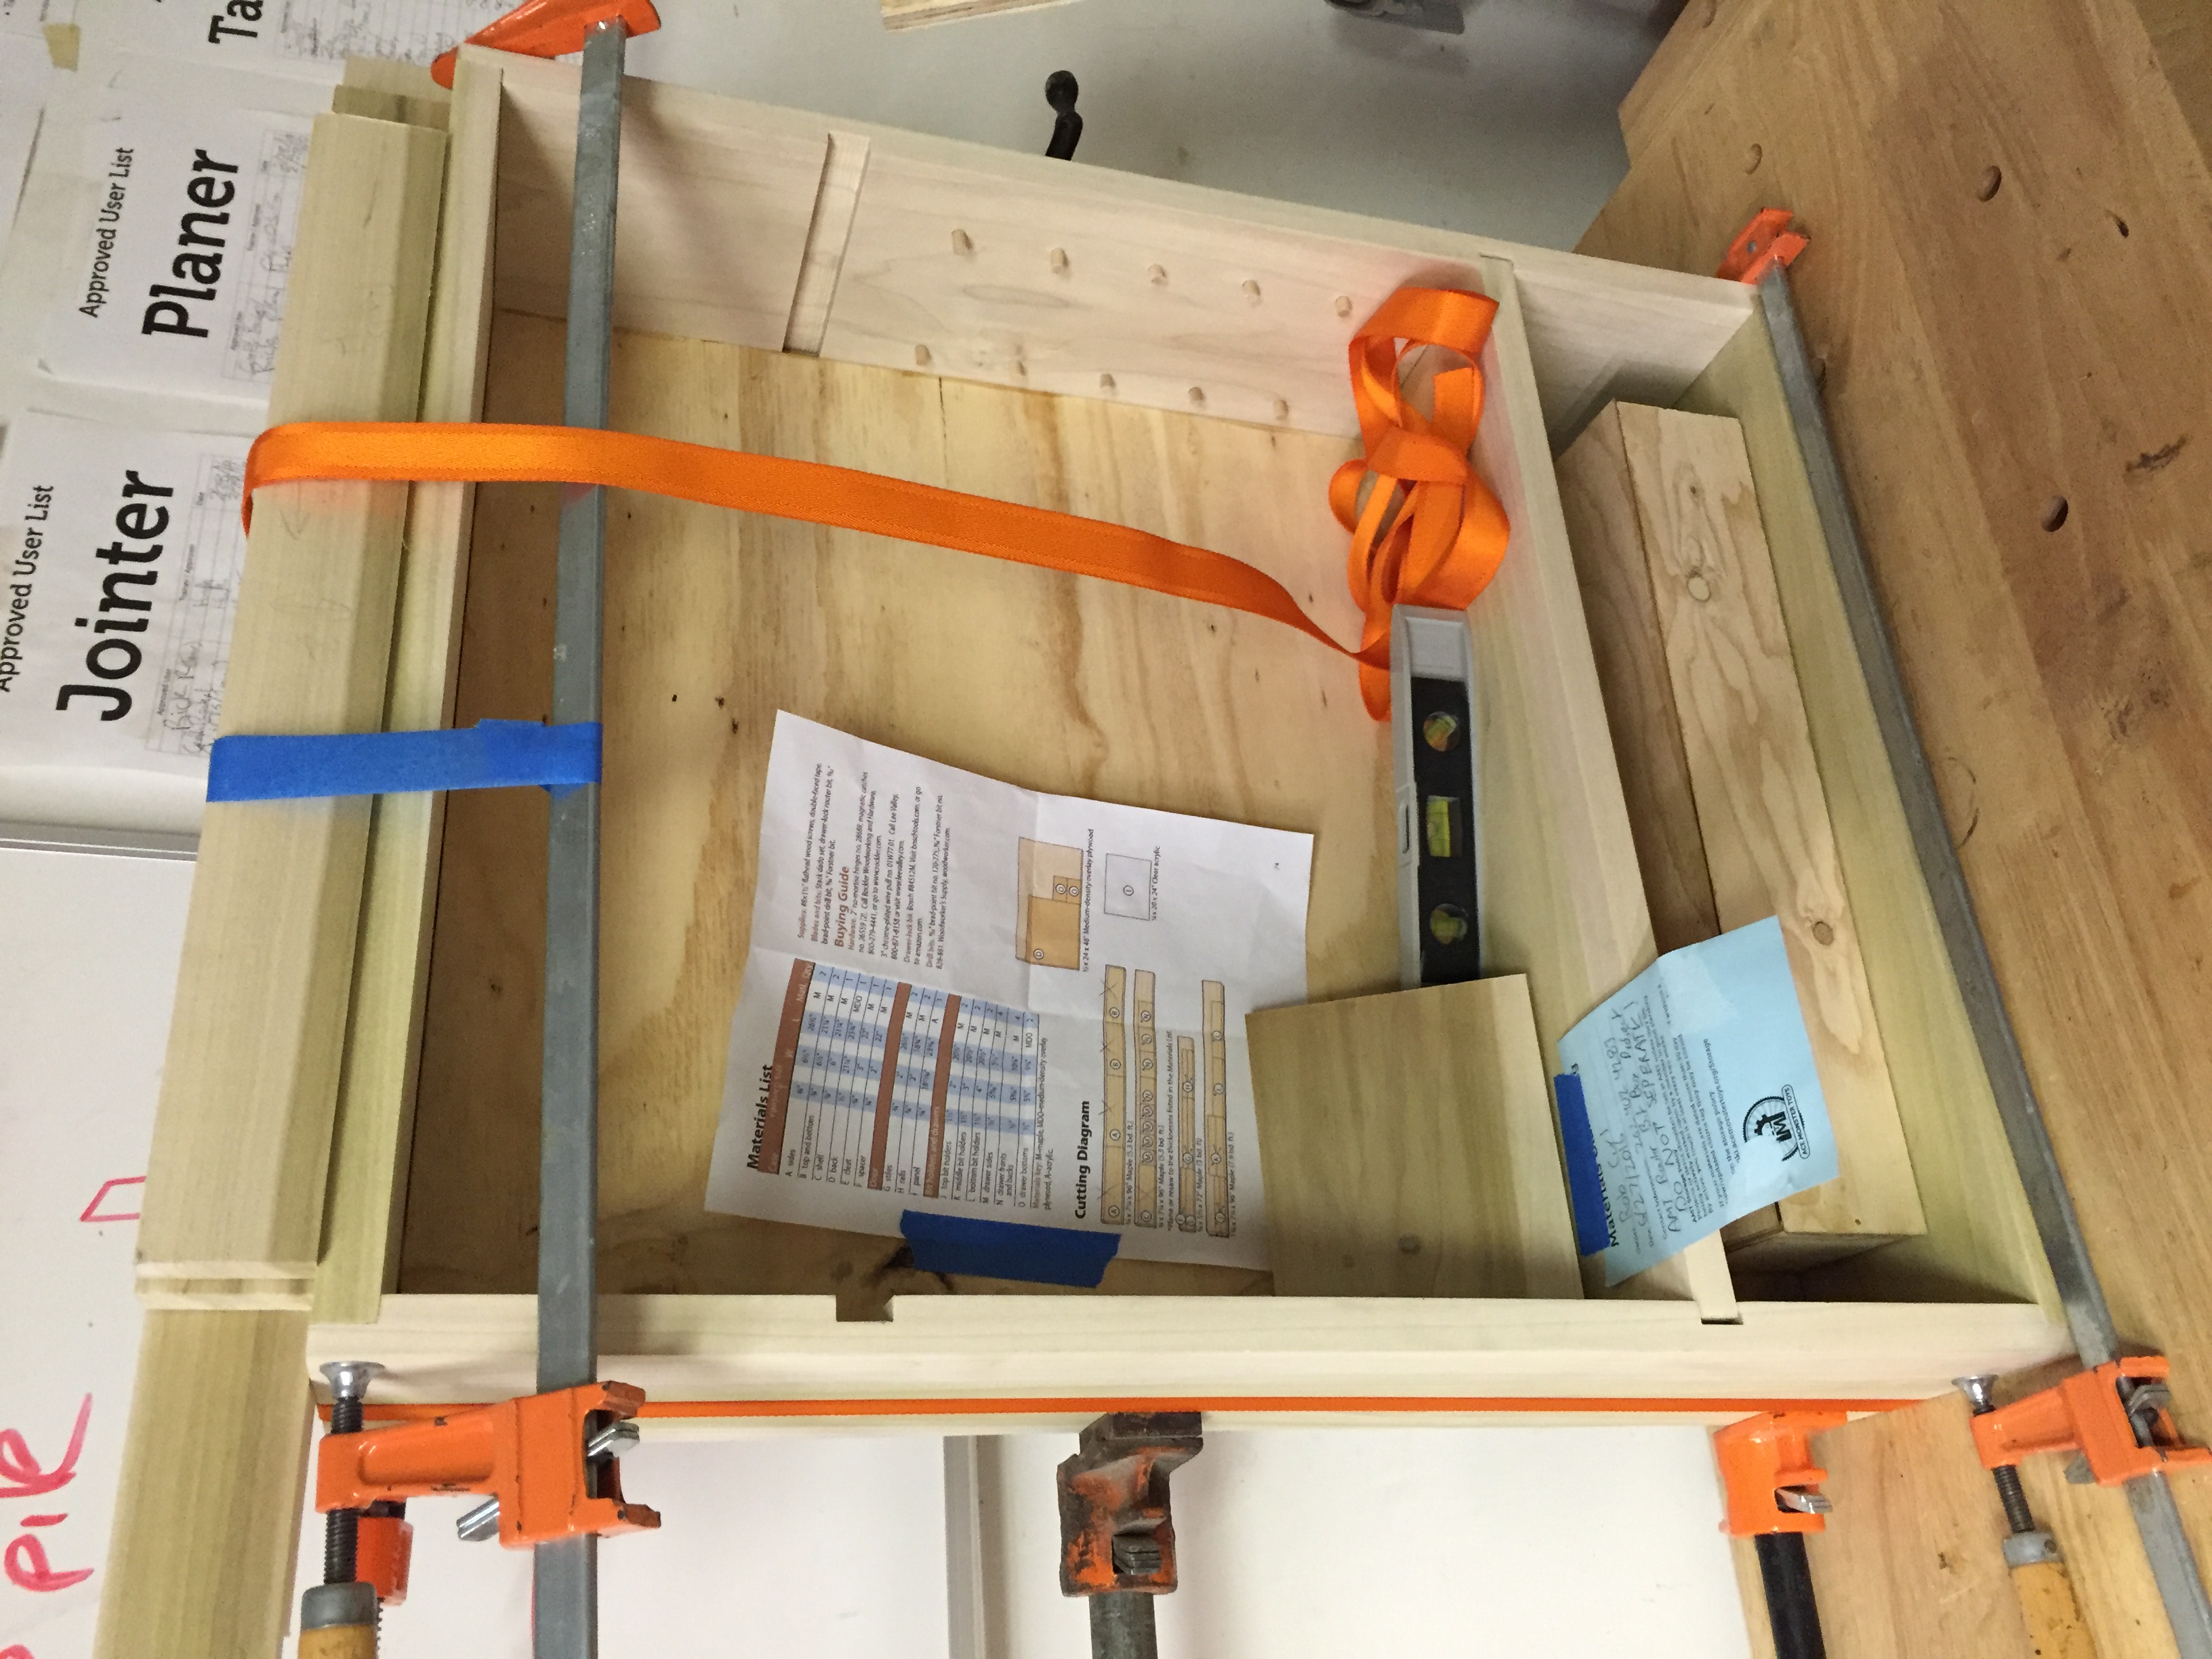
The glue up is finished! Looking at the level, you can see it’s pretty dead close to being straight and square even with the ridiculous clamp job we got going on. Now to come back and cut/dado the doors, drawers, and bit holders. Look for this to be finished by the end of the week, and to be up on the wall by the end of next week.
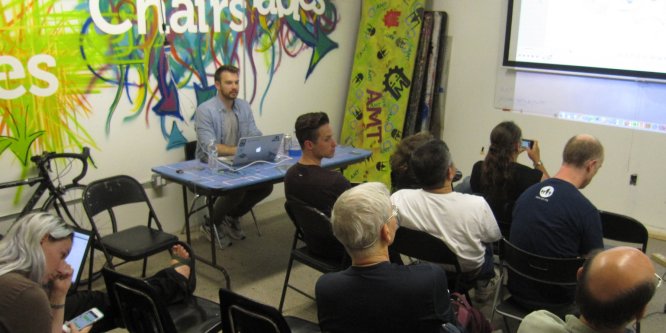
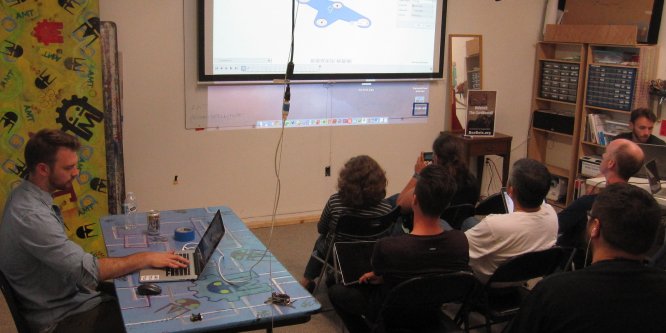
Taylor Stein (@taylor_stein) a Fusion360 evangelist from Autodesk came to AMT to discuss Fusion360, how it works and what it can do for hackerspaces. We had a full house of over 20 people who had questions about Fusion360 and how best to use it for what they are doing.
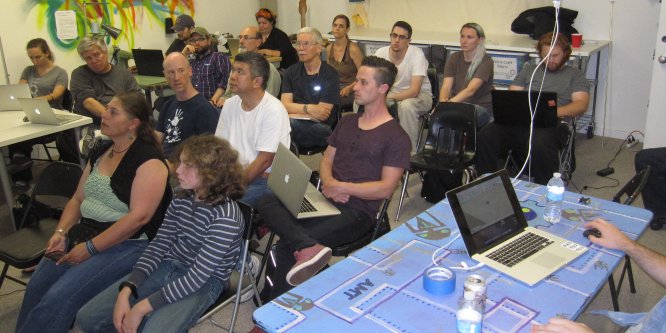
Fusion360 covers a wide variety of stuff from laser cutting to CNC routing to 3D printing that there was plenty of questions to be had.
Questions from how to export STL files for 3D printing, 2D layout, parametric variable and more where covered.
Taylor showed the way he teaches layout which is to do a quick sketch of the part and don’t worry about lining the parts up. After the initial layout, go back and use constraints and dimensions to make the shape just the way you want and the relationships between the various parts stay consistent. This is a different way of layout where the separate primitives like circles, rectangles and lines are defined in relation with each other so as you change one the others move with it. For 3D modeling it makes things flow far better than having to go back and change everything after one adjustment.
We covered so much material we never really dived into the 3D CNC CAM side of things so another event was scheduled – Monday July 25th Taylor will be back to talk CNC routing and how to do 3D toolpaths and other CNC related questions.
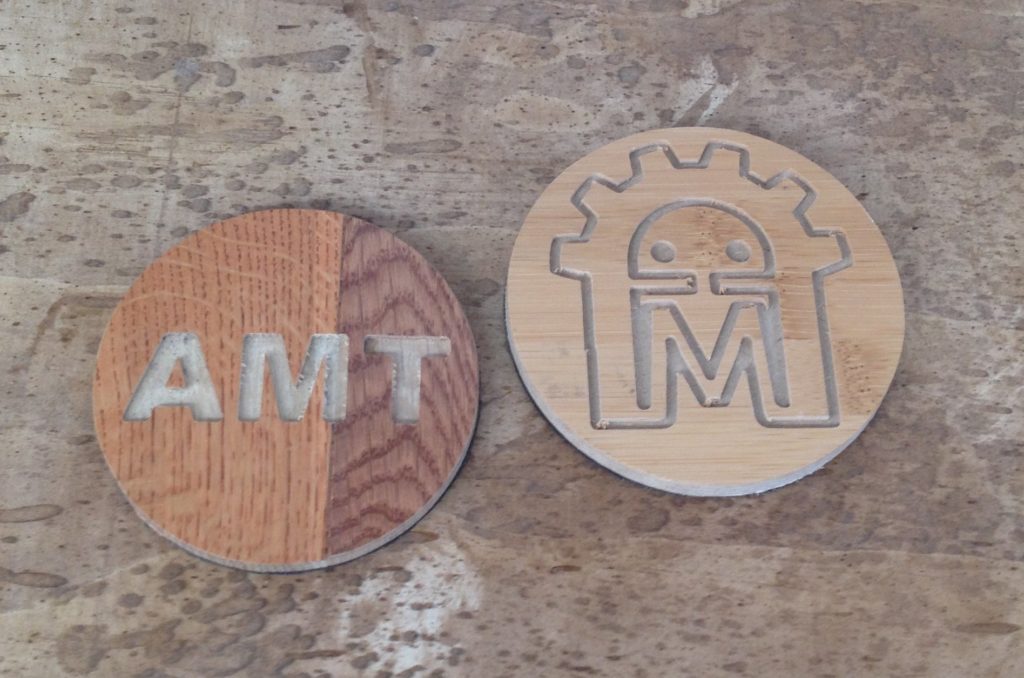
As Makers we see the potential in everything which leads to hoarding. I will admit to hoarding stuff far more than I should and one of those things I kept around longer than I need to was hardwood flooring samples. Such beautiful wood! We can make things out of this beautiful wood! And finally, years later, we did.
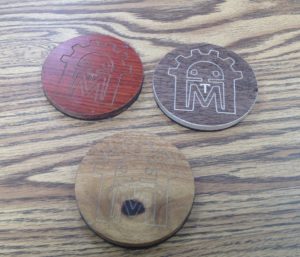
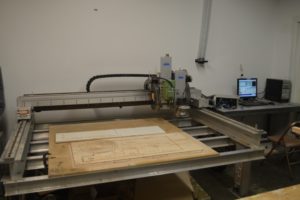
All these coasters where made on the big CNC router out of flooring sample boards. You can get these for free or really cheap off the interwebs, the downside is you are constantly emailed and called by flooring salesman in followup. My first attempt was in doing the full AMT logo in a fine cut using a 0.9mm bit. Having such a large machine use such a small bit was funny in that Laurel and Hardy kind of way you expect. I found that I was breaking bits constantly, even when changing around the feeds and speeds. Eventually I gave up and switched over to using just a 1/8″ down cut spiral bit for engraving the top with the logo and for cutting out the coaster when done. These are less fine detailed but do have the advantage of not destroying a ten pack of bits. I used spray adhesive on the back to glue down a shelf liner backing.
 That works… sorta and for a short time. Need to come up with a better solution for putting a non-stick backing on these guys. Overall I’m pleased that we still have most of them around AMT, I thought they would be gone in a few weeks but here we are months later and you can always find a coaster upstairs when you need one.
Now what to do with the box of flooring samples I still have….

Every cat needs a castle. I wrote up the project on my blog. http://pgrandin.github.io/blog/2016/04/27/the-cat-castle/
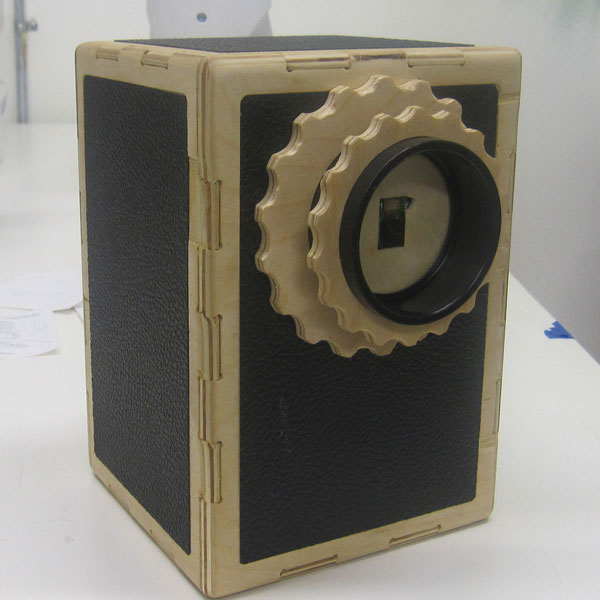

In 2015 AMT was hosting a Holiday party and cool things that involved the guests where needed, thus Edgy-Cam was born.
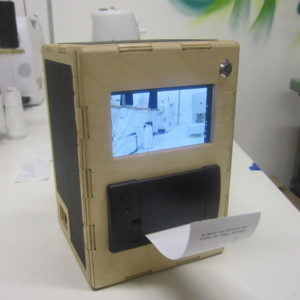 Edgy-Cam is a Raspberry Pi with a camera module and connected to a thermal receipt printer. Using the Canny Edge Detection algorithm, photos are taken with the camera, processed and turned into hand drawnish monochrome image that is printed out on the thermal printer. Like other instant cameras, but with some serious image processing going on. Every processed image is a monochrome 512×384 and given a unique filename and saved on the Raspberry Pi. Images can be retrieved later if people are interested.
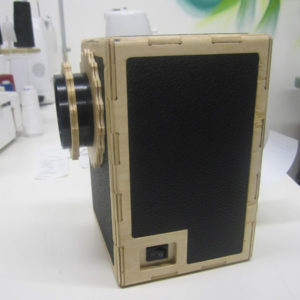 The case is made out of 1/4″ baltic birch plywood and was CNC cut at AMT. The black inlay is tolex, a vinyl like material and this is the same pattern as found on Marshall guitar amplifiers. After cutting and assembly, the case had the edges rounded over on the AMT router table. All case assembly, sanding and gluing was done in the AMT woodshop.
The display is a standard 4.3″ composite LCD monitor, mostly used for watching the rear view camera in a car.
The thermal printer is a standard 58mm thermal receipt printer with 5V TTL UART interface. It communicates with the raspberry pi (3.3V) via a serial connection that is run though a level shifter to make the 5V to 3.3V and back play well with each other.
All this is powered by a 8000mAh 11.1V lithium ion battery. The battery has enough juice to run for hours and take and print over a hundred photos.
Fun fact: The Canny Edge Detection Algorithm is named after John F Canny who is a UC Berkeley computer science professor.
The Edgy-Cam software is a python script that is run on bootup, and uses the SimpleCV library to supply the Canny Edge algorithm.

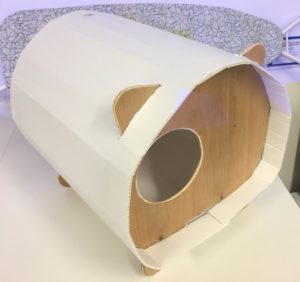
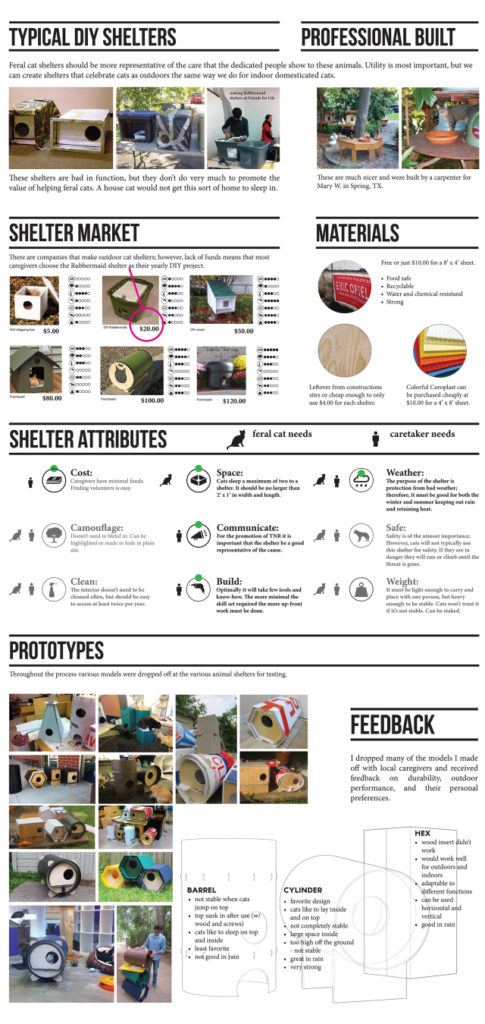
Ace monster Toys (AMT) is a group of individuals focus on teaching, creating and things with technology. Fix our Ferals is an organization focused on caring for and controlling the feral cat population. Here is how the two of us worked together to benefit the community during what we can expect to be a harsh El Niño storm season.
 AMT raised over $300 for materials to produce 30+ shelters via a tilt.com campaign. It took 4 days to raise the funds… exceeding our 30 day goal many fold. Cats really do win the internet.
https://www.tilt.com/tilts/making-feral-cat-shelters-help-us-help-them
These shelters are a combination of Coroplast, a corrugated plastic, and plywood cut on our our large Computer controlled router.
The shelters provide a warm, dry and safe environment for feral cats.

The 3 piece design is light and durable and can easily be opened to clean or aid the inhabitants. It also can be quickly assembled or disassembled. While disassembled it is 3 flat pieces that are easy to store.
You can download the files to make your own shelters here. You can produce these yourself if you have access the this type of equipment. These are all based on the design by Chris Peterson from corokitty.com This would not have been possible without his work and research.
Ace Monster Toys, an Oakland 501(c)3 Non-profit organization, is making and distributing a simple and aesthetically pleasing feral cat shelters to Fix our Ferals, another 501(c)3 Non-profit organization. Chris Peterson is an industrial designer from Houston,Tx
Fix our Ferals http://fixourferals.org/home/
Chris Peterson http://www.chriskpeterson.com/chriskpeterson/corokitty.html