Working with the CNC routers and the woodshop hand routers/drills frequently, it’s become apparent that AMT needs a new place to store our community bits rather than “randomly in plastic tubs” or “wherever we want”
Enter the brand new AMT Bit Box!
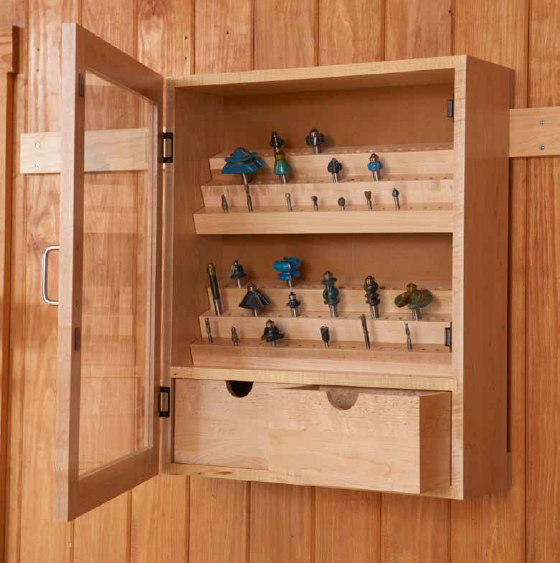
Based on a design found in Woodworking Magazine, the bit box is being made out of dried poplar, some half inch plywood, and a whole lot of quarter inch dowel rods.
The example above isn’t quite the final form. AMT needs less a retail style “display” case and more a functional set of modular shelves that can be changed as its needs change. Additionally, we need a badass logo on the front.
Let’s take a look at the build as it happens!
1. Size Cuts and Dado Cuts
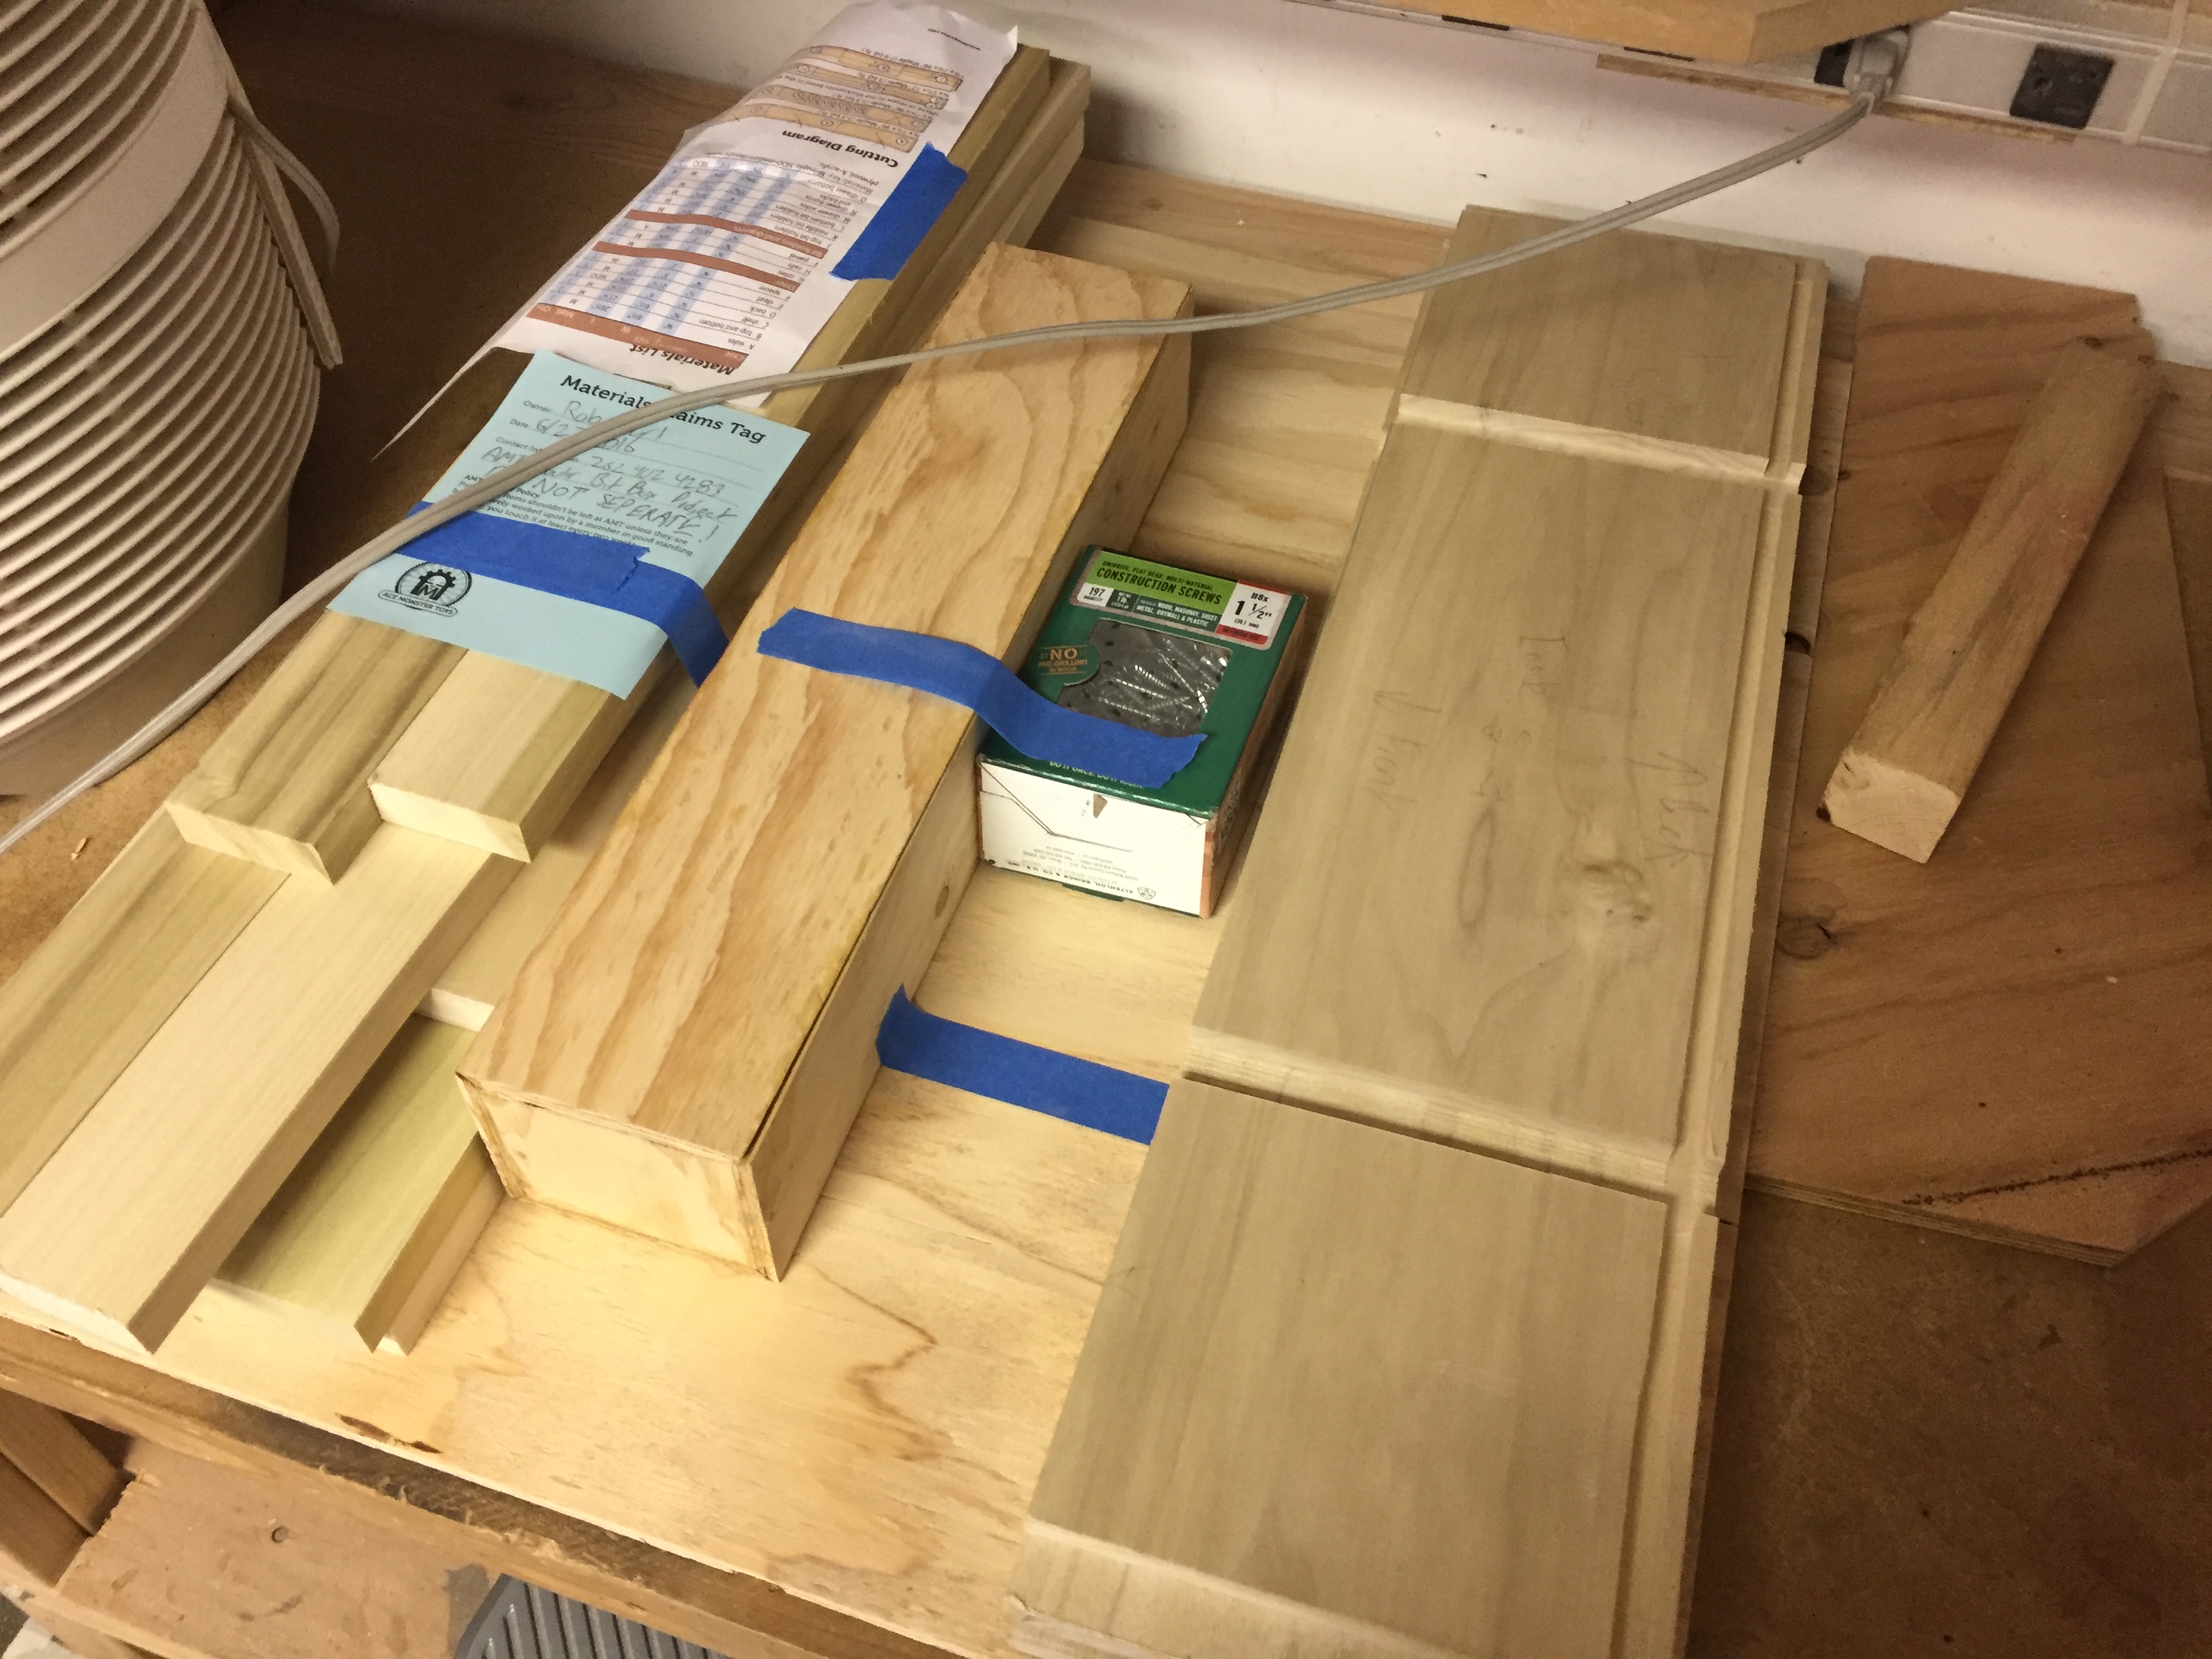
I didn’t take any pictures of the first few cuts on the table saw, but it’s pretty standard except for one thing: dado cuts. What is a dado cut you ask? Simply put, dado cuts use a special stacked blade system attached to the table saw to cut specifically dimensioned holes, grooves, and end sections. The cool perfectly lined sections you see on the side piece in this first picture are the result of dado cuts!
One problem: AMT doesn’t have a throat plate of the appropriate size for dado cuts! OH NO WE CAN’T USE THE TABLE SAW WITHOUT A THROAT PLATE BECAUSE DANGER WHAT CAN WE DO.
2. New Throat Plate for Table Saw!
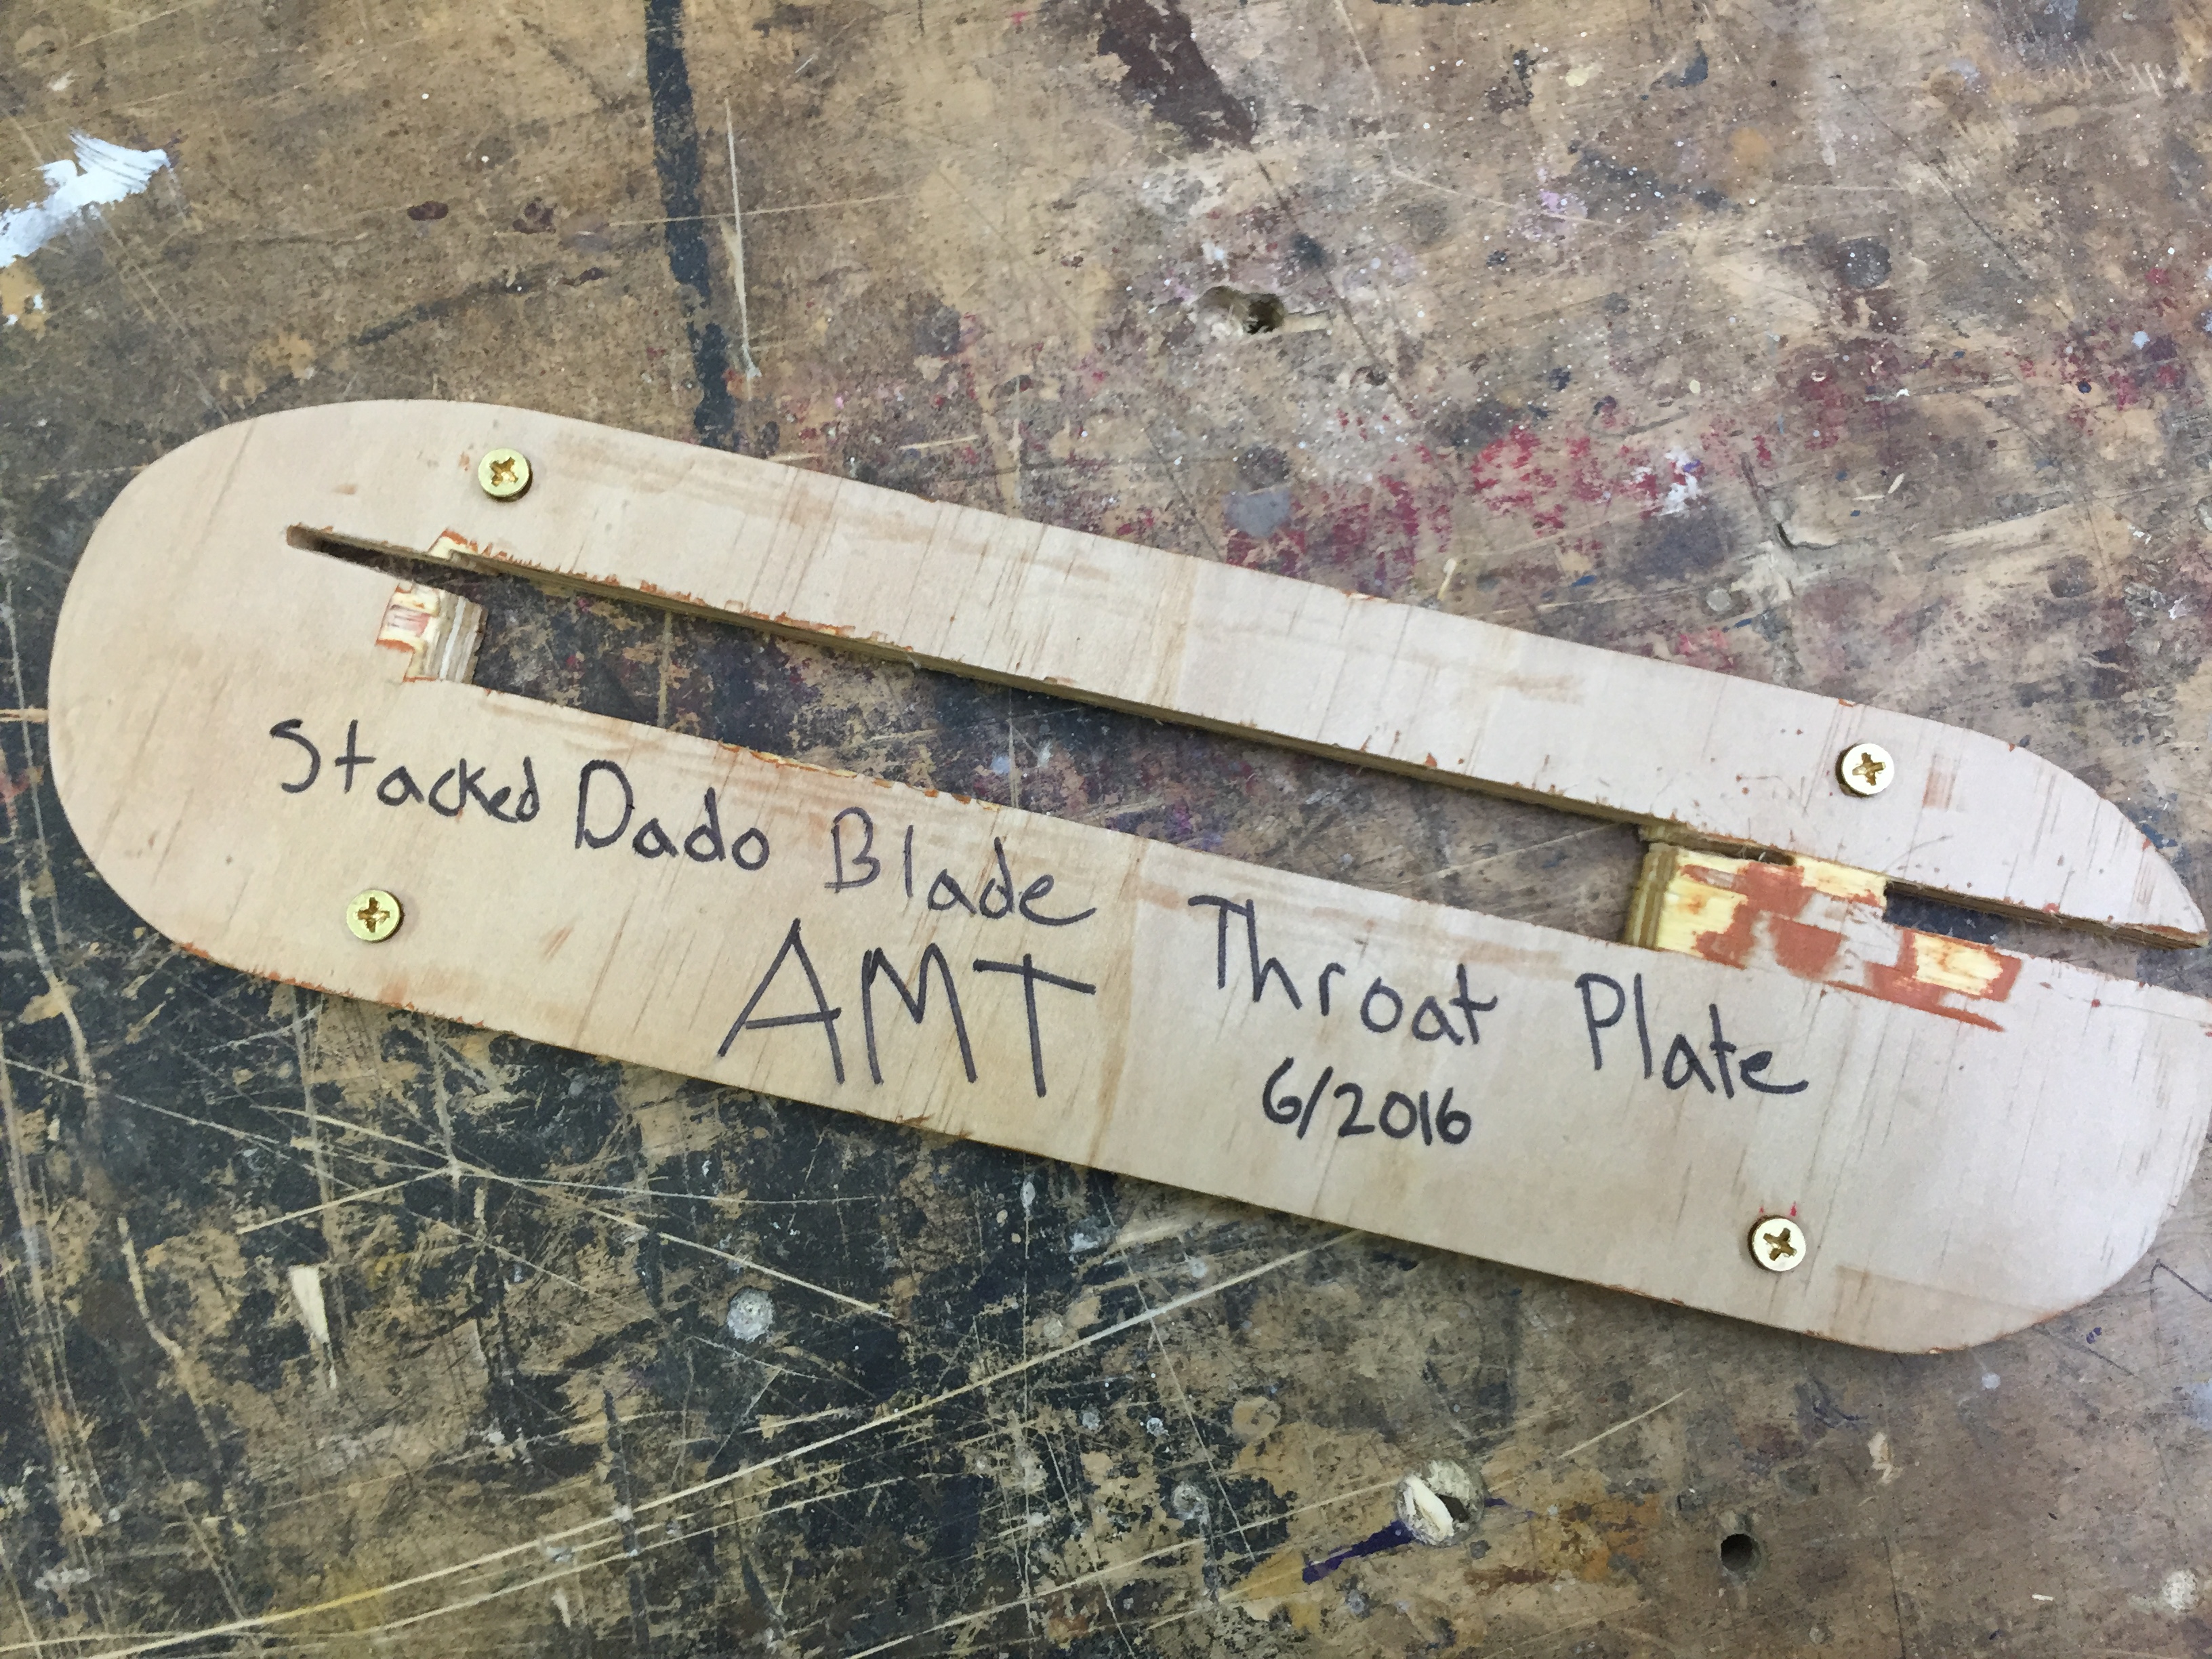
Oh wait naw it’s cool guys. I made one really fast, gave it a linseed oil coat and some wax. Now it lives in the shop steward drawer with the other appropriate throat plate sections
2. Checking the Squareness and Design Changes
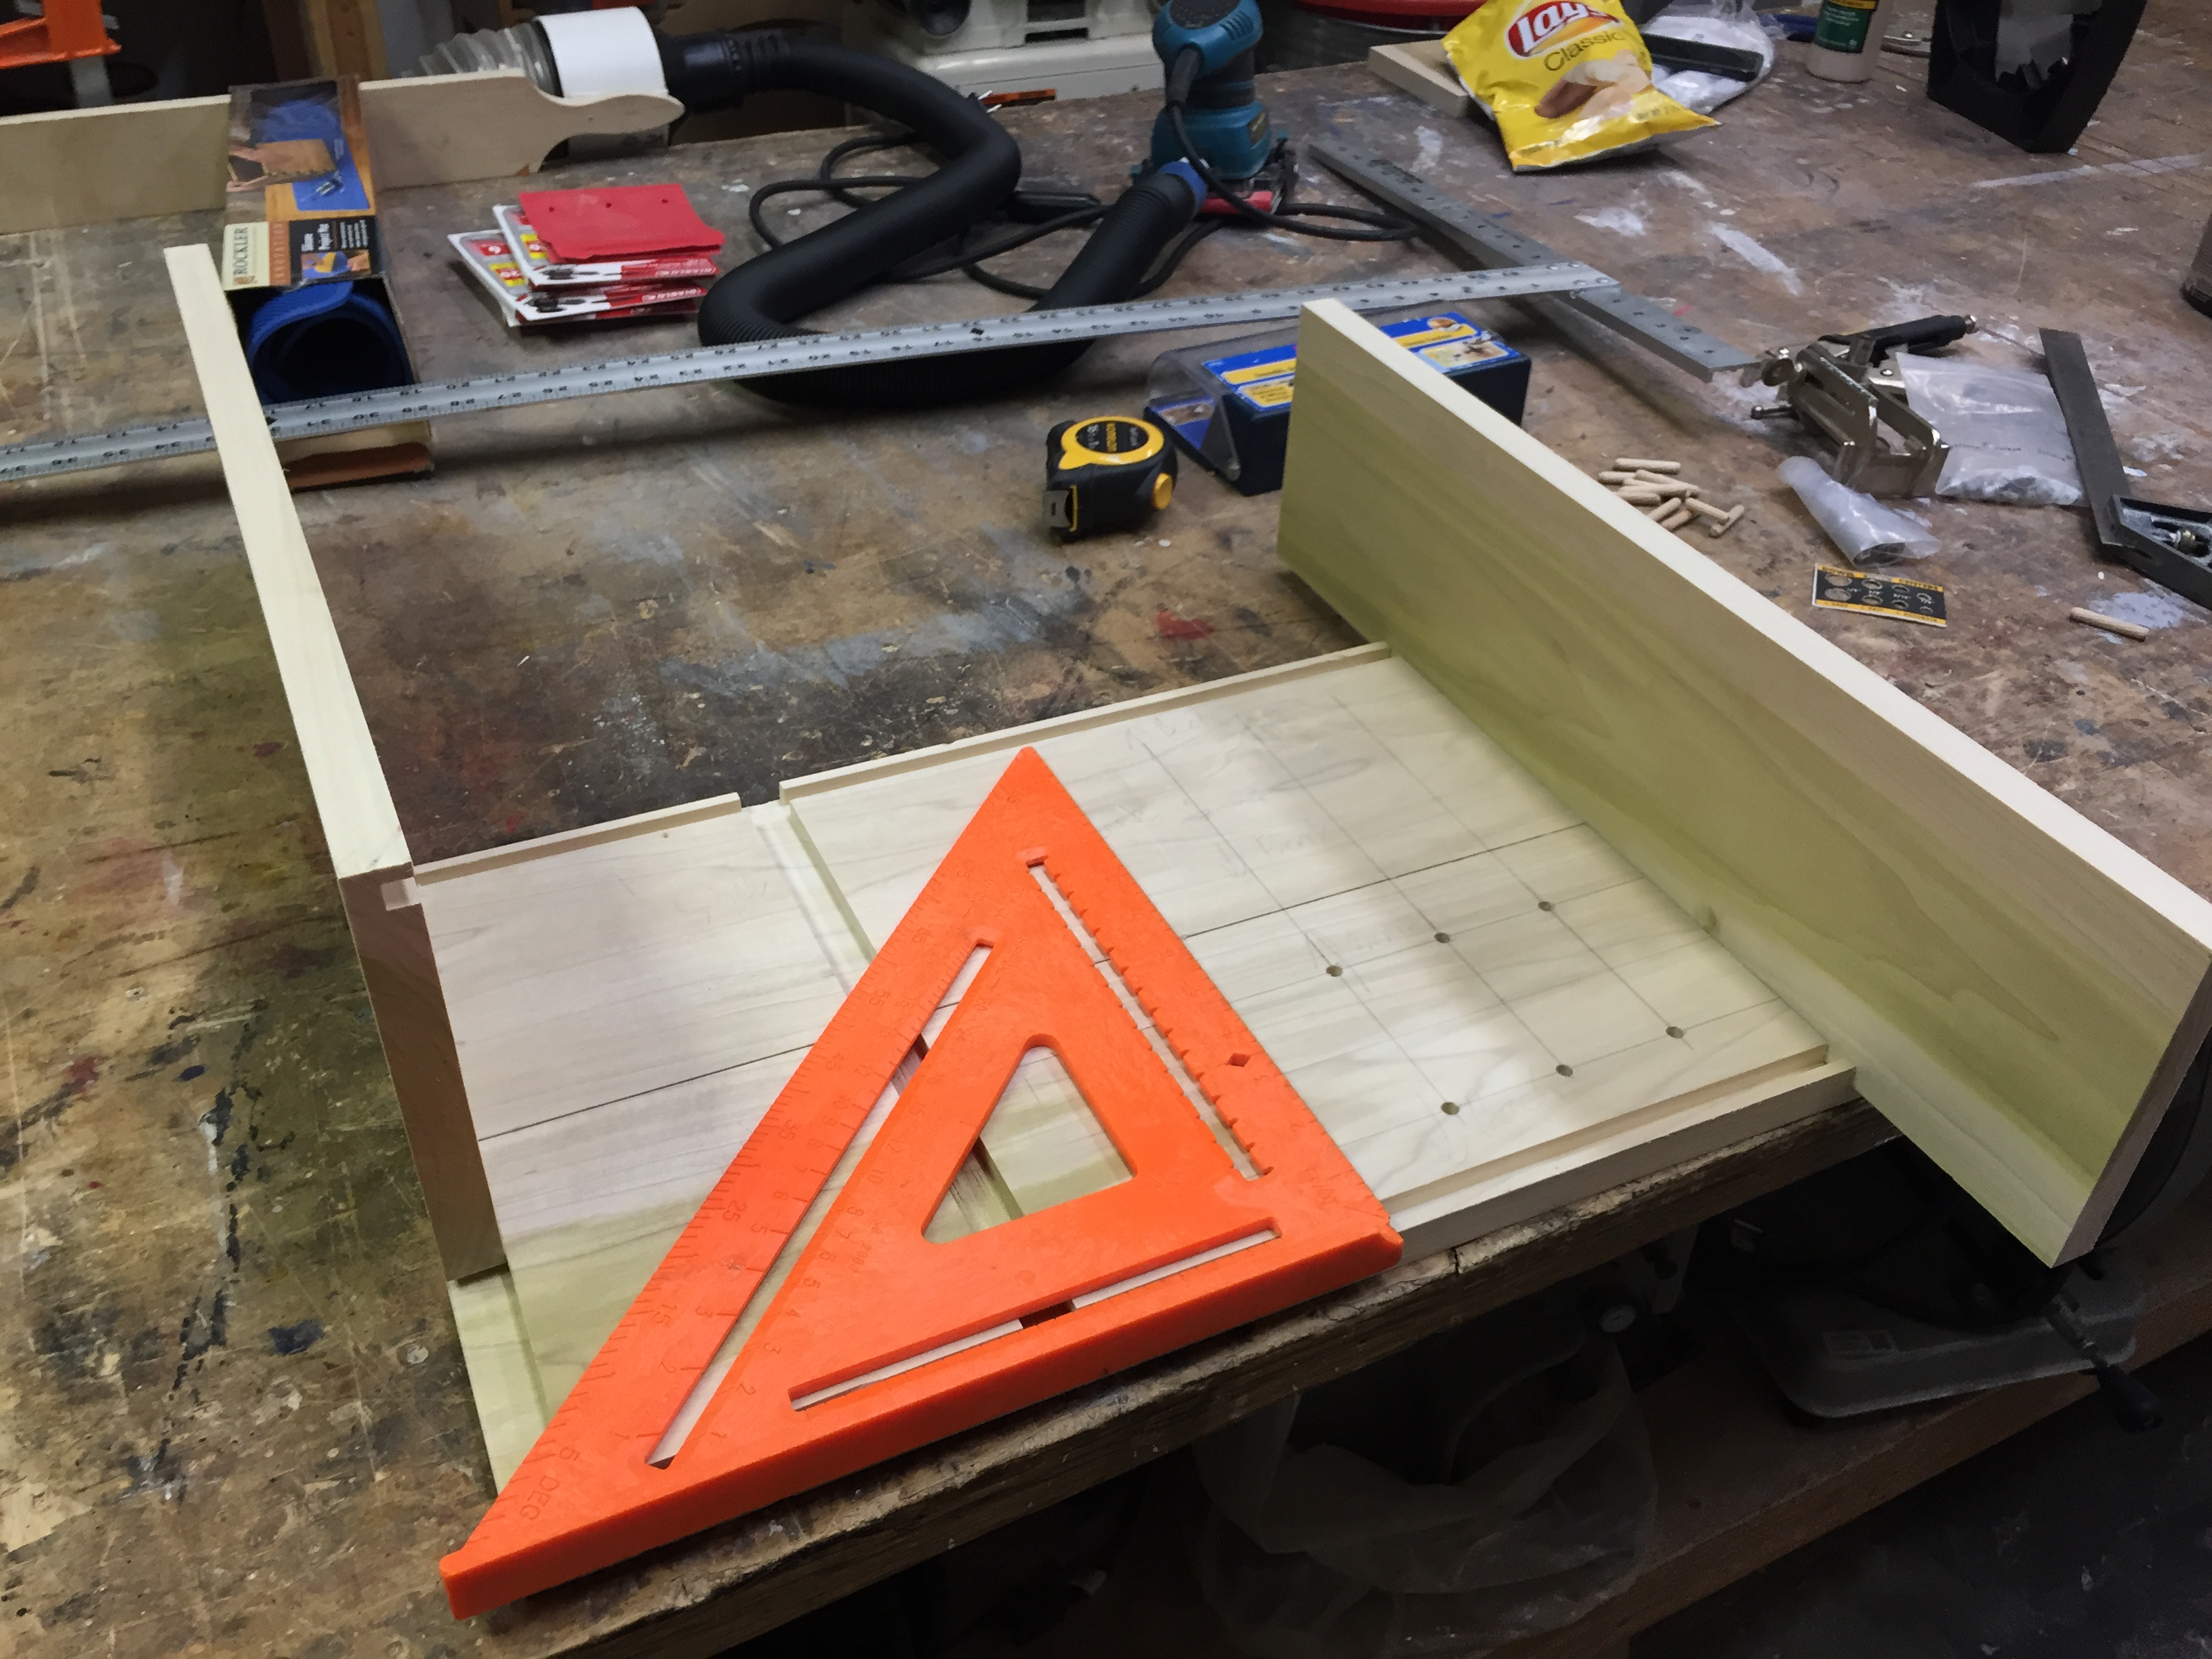
Here’s the pieces of the box being squared and checked for consistency and straightness. Making a GOOD, LEVEL, SQUARE box is actually one of the most difficult things a woodworker can do, which is why it’s such good practice for joinery techniques and other basics. You’ll also notice that by this point I had already drilled the mounting holes for the dowel rods. As I mentioned, I modified the original design to give us a more modular set of shelves to work with. There will still be a standard set of drawers just like in the original picture to hold random objects, but the lower and upper shelves will be removable while the bit holders themselves will rest on the dowel shots like the sleeves of your Ikea bookshelf. Want to make a new bit holder for the latest set of bits you’ve purchased? Need to store a specialized set of objects? Just cut a piece of scrap to size, mount the things you want to put in the box, and drop it on the dowels!
3. Use of Forstner Bits

The dowel holes were cut with the Forstner bit set that AMT has in it’s drill section. In the very near future, these might live in the box they were used to make!
For those interested in different types of bits, forstner bits (like any drill bit) makes a hole in wood. BUT WAIT! While a standard drill bit cuts using a spiraled tip, a forstner bit first centers itself using a small needle-like plunge tip and then cuts a very smooth, flat based hole.
To steal from a woodworking site that knows way more than I do: “Because they’re designed to produce a minimum amount of tear-out when exiting the material, Forstner bits are the best bit for drilling through holes. Forstner bits drill a flat-bottomed hole, making them a necessary tool for many hardware installations where a precise depth of mortise is required.”
4. Sandingsandingsandingsaning

All those big, flat pieces of poplar required about an hour and half of sanding with three different grits using my finishing sander and its new wonderful connection to the central dust collection system. That hose connector was about $20 at Rockler Wood Supply, while the connector bridging the hose and the central dust intake was about $5. Both were well worth the investment in saving my lungs, the shop air quality, and cleanup in general.
Shopping Link: http://www.rockler.com/dust-right-universal-small-port-hose-kit
Alternatively, you can roll your own using some PVC pipe, our friendly 3D printer, and some standard shopvac hose.
5. Glue Up Finished!
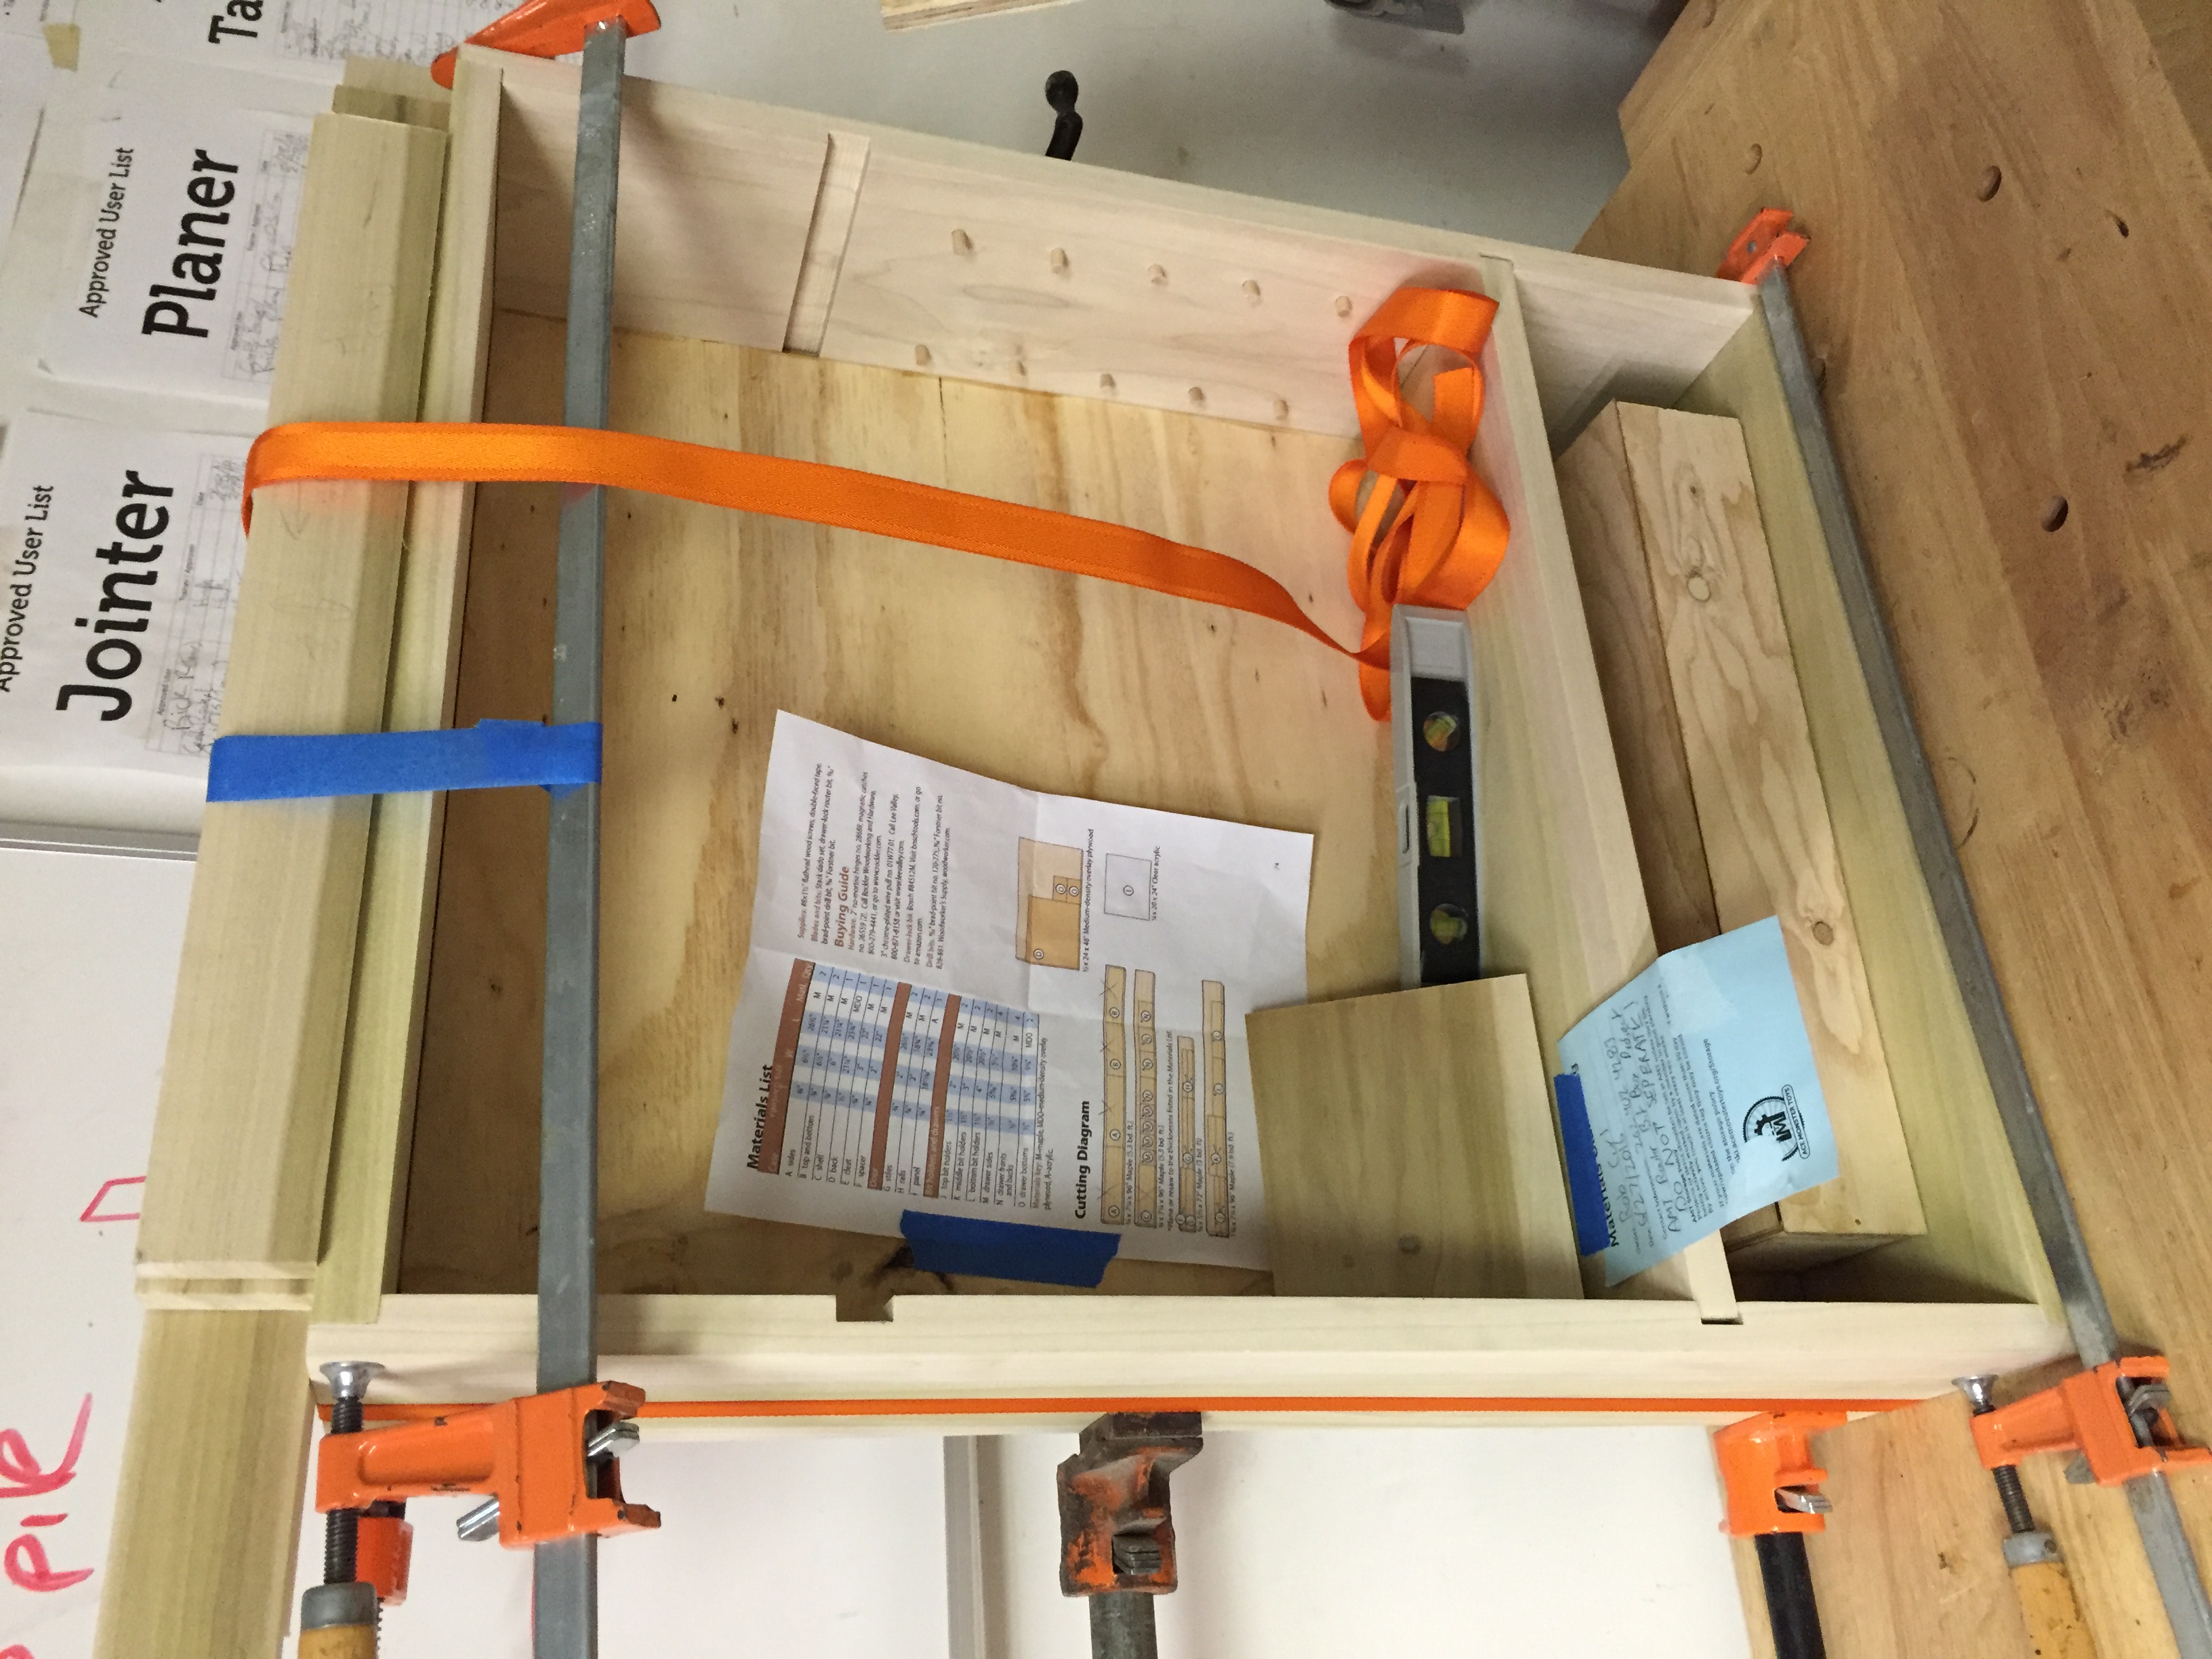
The glue up is finished! Looking at the level, you can see it’s pretty dead close to being straight and square even with the ridiculous clamp job we got going on. Now to come back and cut/dado the doors, drawers, and bit holders. Look for this to be finished by the end of the week, and to be up on the wall by the end of next week.
Awesome!
2nd the awesome!