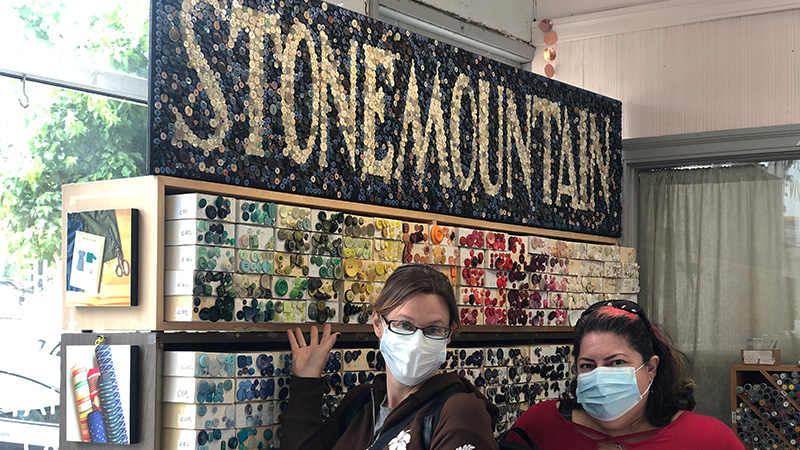
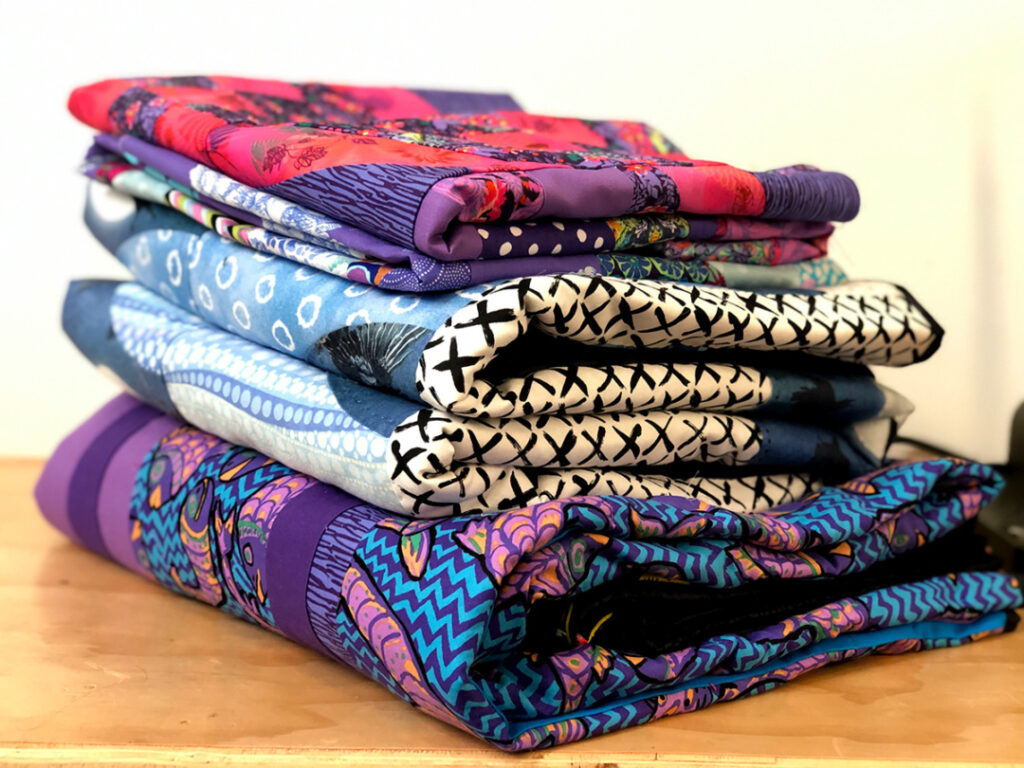
We’ll never pass up an opportunity to frolic with giddy abandon at Stonemountain & Daughter Fabrics! It’s a magical place teaming with vibrant fabrics, notions, and specialty sewing supplies.
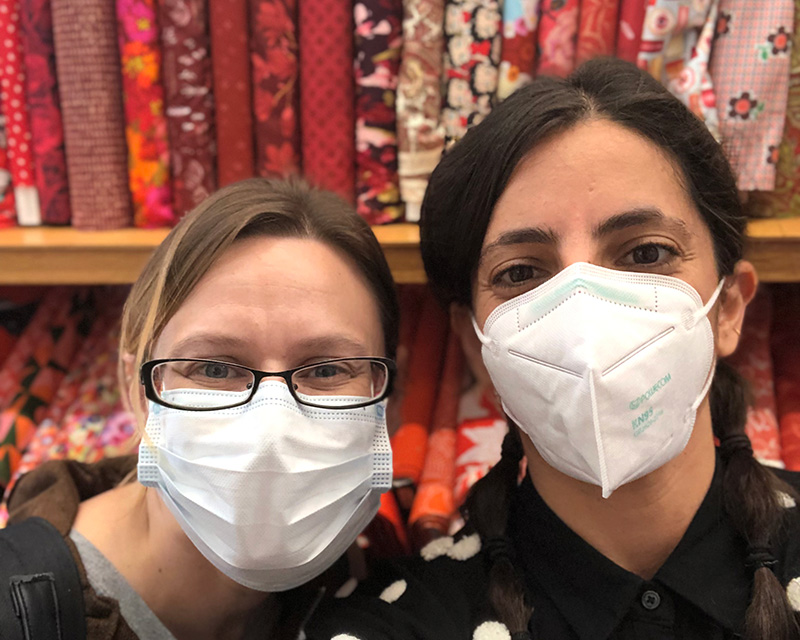
Liz and Jacky pose in front of vivid bolts of red fabric.
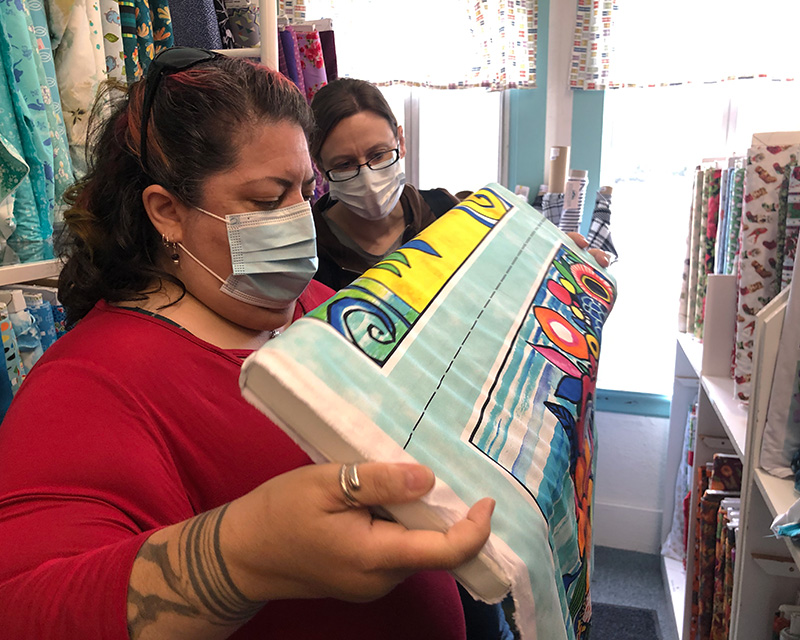
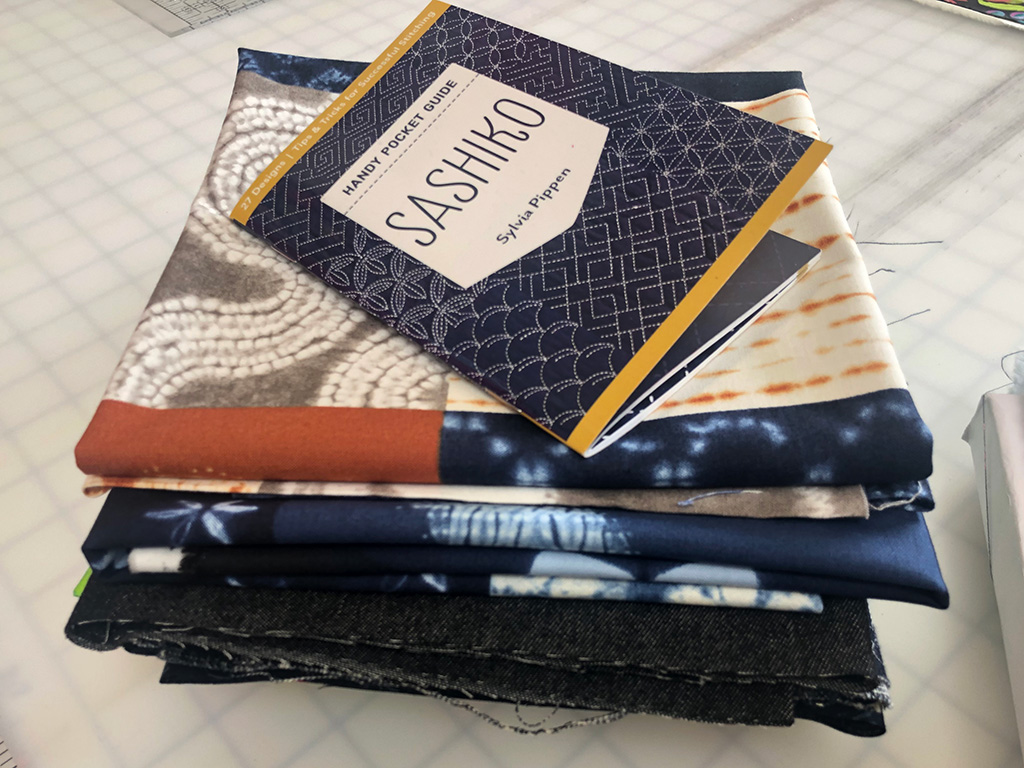
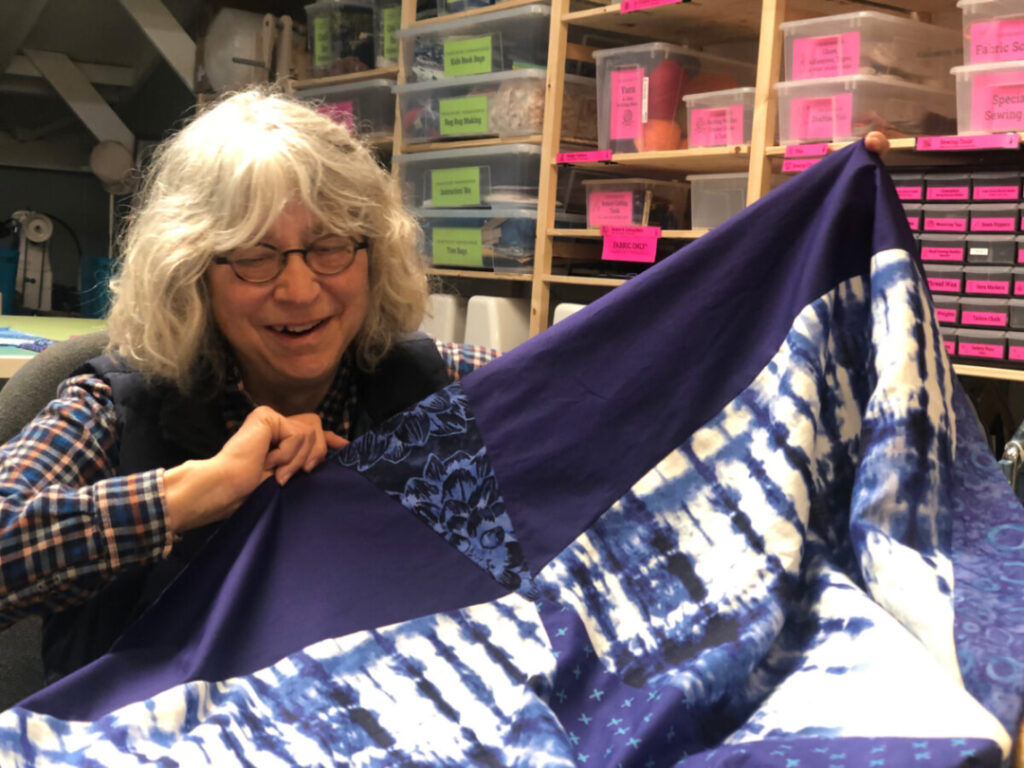
We went to stock up on fabrics for our beginner-friendly Tote Bag Project Kits, find inspiration for future textiles classes, and buy extra supplies for our first ever Visible Mending Workshop—inspired by Sashiko, a traditional style of Japanese embroidery used to preserve clothing.
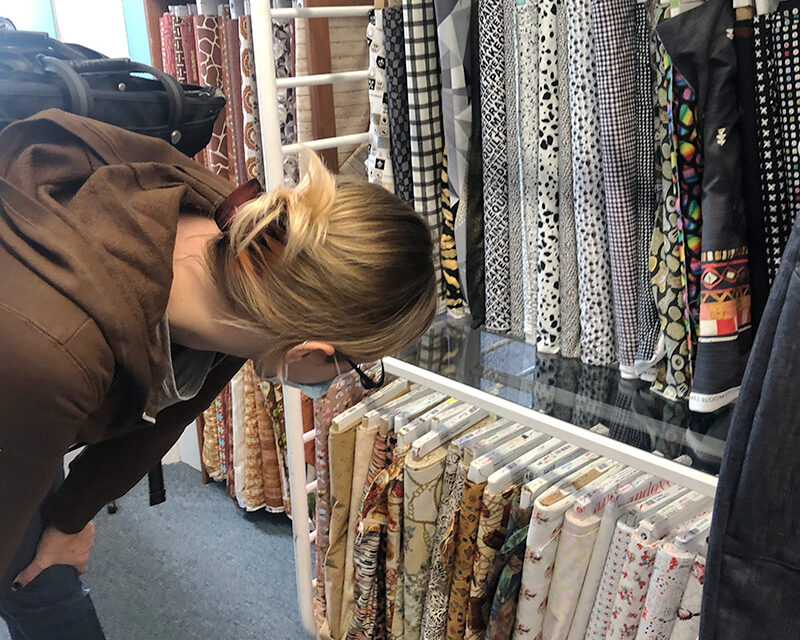
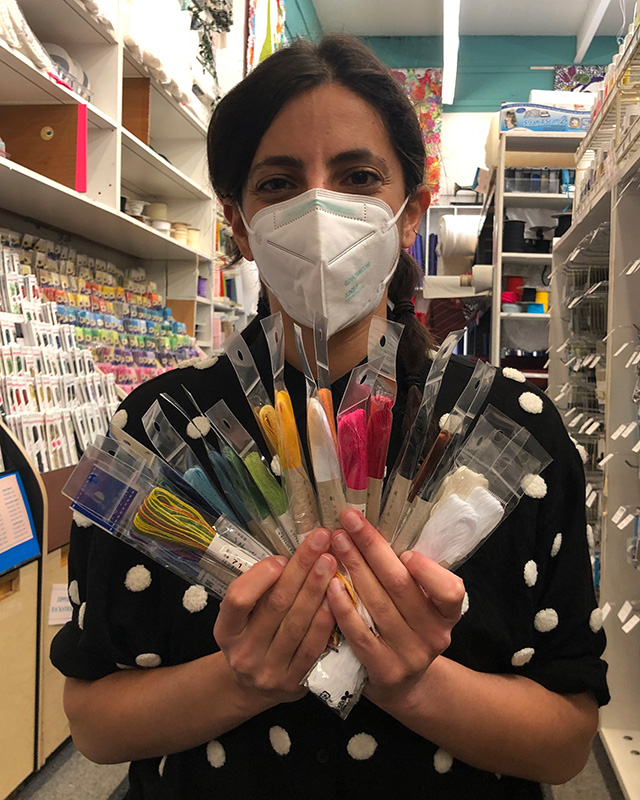
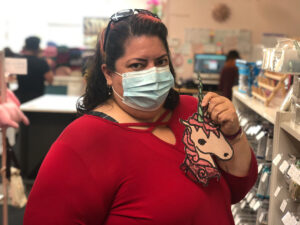
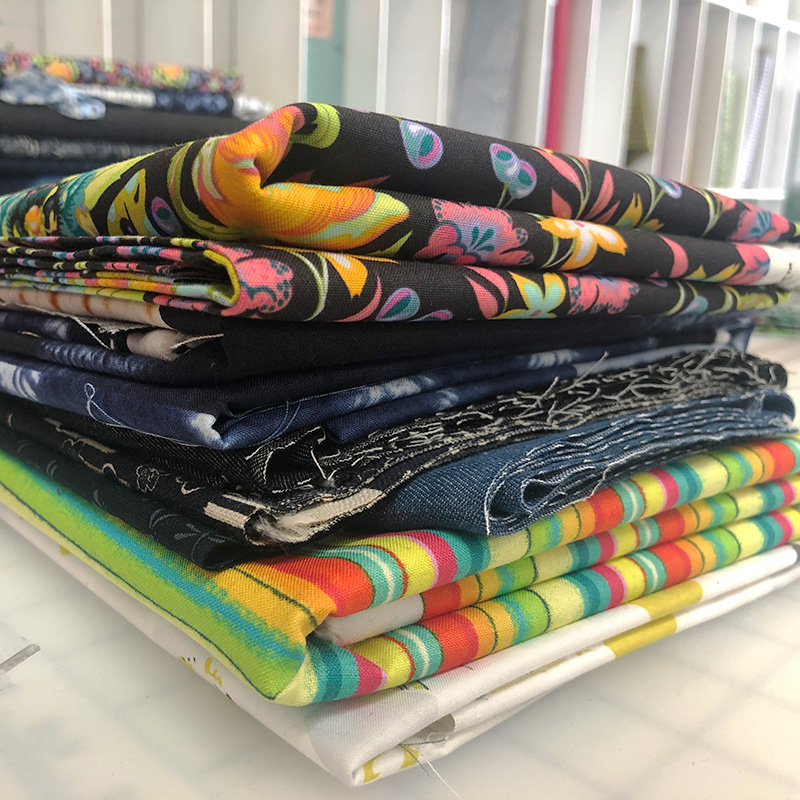
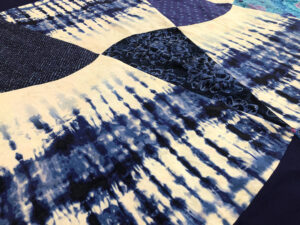
Liz browses for blue, black, and/or white denim and cotton fabric for students to use as patches at during our Visible Mending Workshop.Jacky shows off a cornucopia of colorful Sashiko embroidery thread.Liz and Rachel admire fabric with bright floral panels. Not exactly right for patches or Tote Bag Project Kits, but super pretty!Rachel discovers an amazing sequined unicorn patch on the way to the cut table.Found the perfect fabrics for visible mending and a “Sashiko” pocket guide full of incredible designs and helpful tips!And playful Fabrics for Tote Kits!
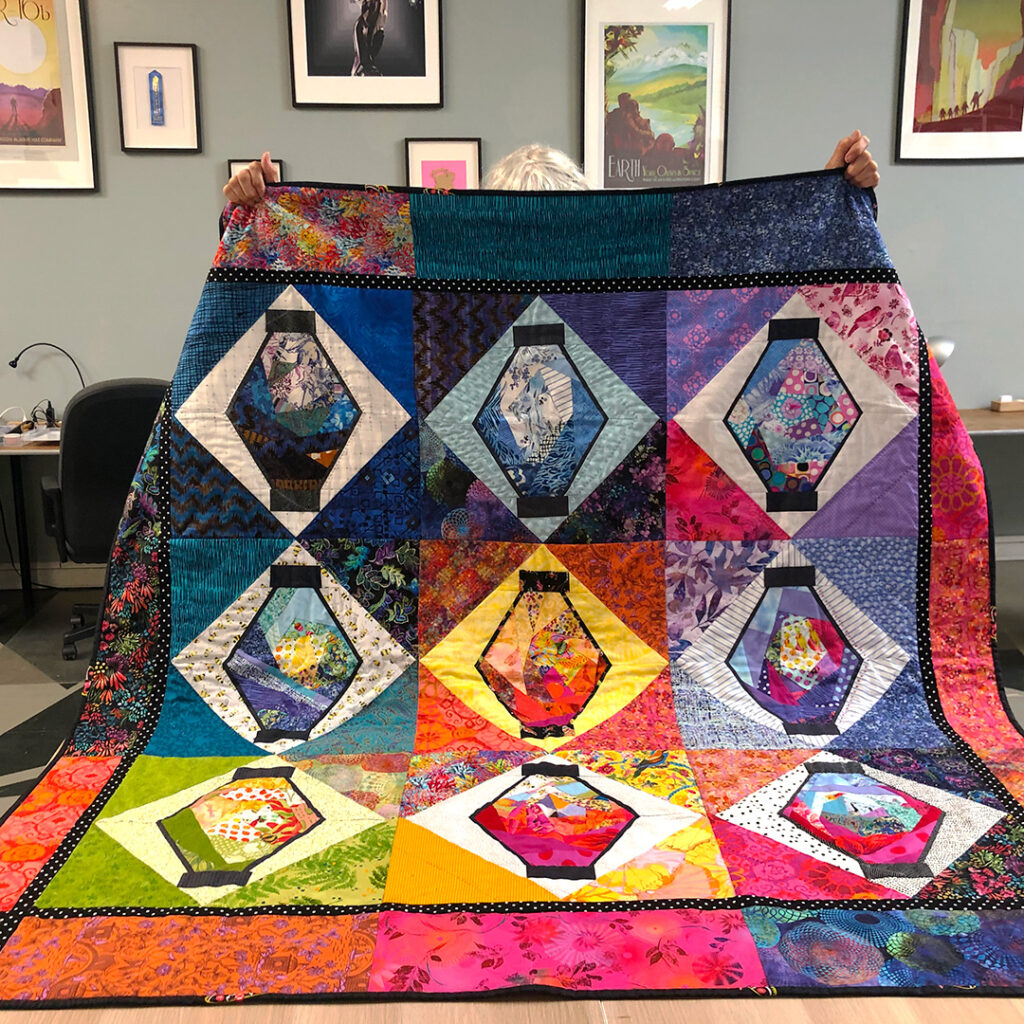
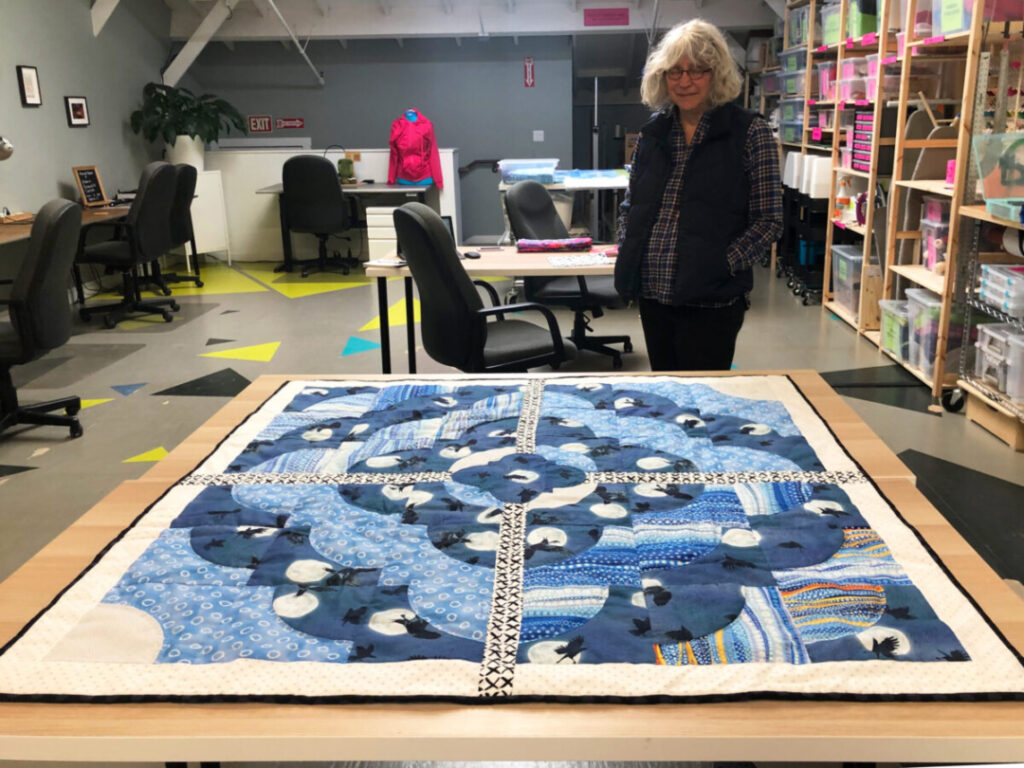
Terry showing off her favorite “Lantern Quilt” for a “Reddit-style quilt photo.”
Terry’s been sewing most of her life, but until last spring (2022) had never tried quilting. Now, one year later, she’s made 13 quilt tops and counting! When you ask what prompted her to start, she isn’t exactly sure apart from her “fabric hoarding” tendencies.
I’ve started thinking about my life as a maker life. Making things has always been my favorite part of every job I’ve ever had.
The inspiration for her quilts tends to come from the fabrics she’s collected over the years and her experiences both past and present. She made her first quilt at Ace from a stash of batik and paisley shirts she no longer wears but couldn’t bear to part with.
This block from Terry’s first quilt represents her past as a ceramic sculptor and features her “signature fabric” with a vessel motif.
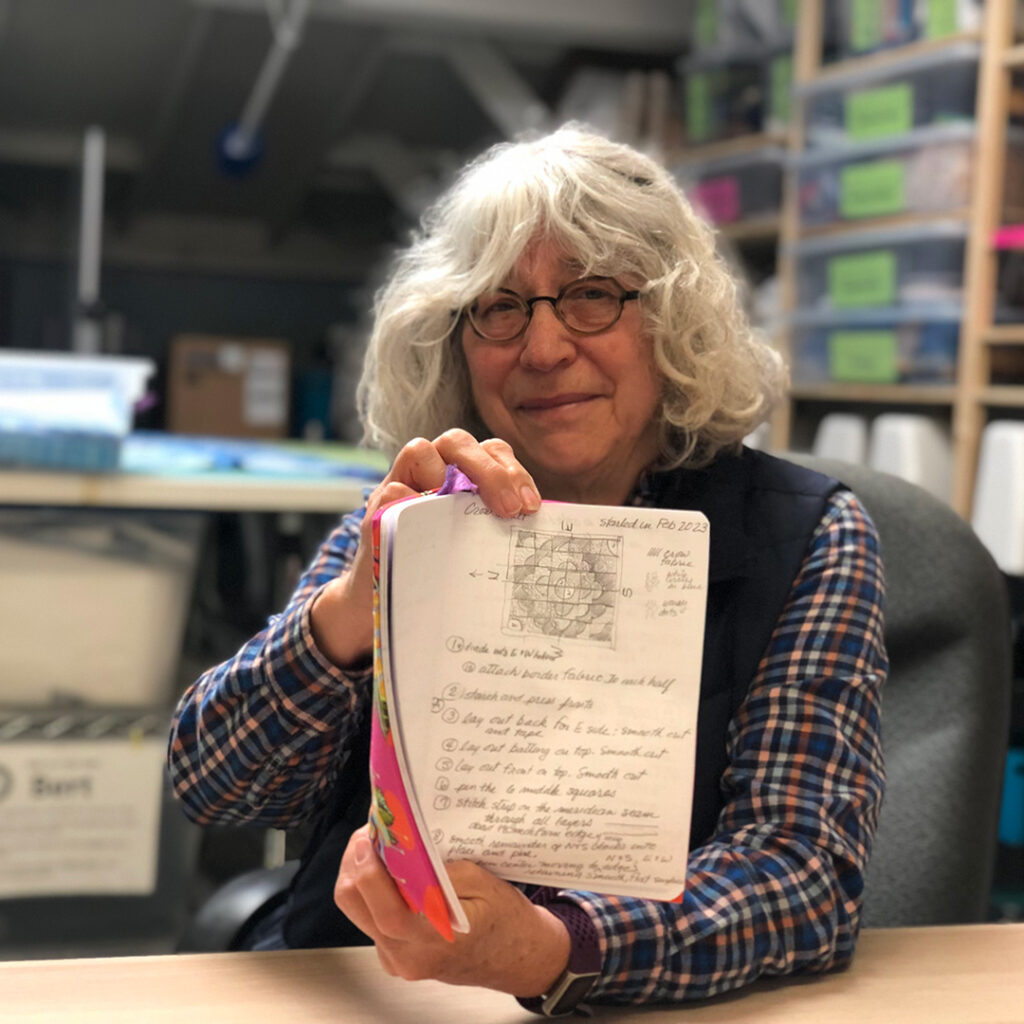
She uses a special notebook to sketch and plan the layout letting the basic shapes in the fabric dictate what “kind of quilt they want to be.”
Terry showing her preliminary sketch for her “Angry Birds” crow quilt.Terry talks about how the shape of this tie-dye skirt inspired the curved pattern for her quilt.You can really see the how the skirt shape and fabric influenced the design for this quilt top.
While she really enjoys the process of making quilt tops, she tends to procrastinate on assembly admitting to a closet full of UFOs (unfinished objects).
It took Terry two tries to get this quilt sandwich pinned.Terry’s “Racoon” quilt top.
What’s Next?
Terry is getting really into playing with embroidery, applique, and geometric shapes. She’s also planning a Scrub Jay quilt inspired by the birds she and her partner hand feed in their neighborhood.
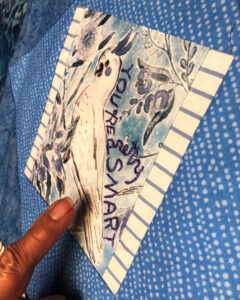
This embroidered quilt square represents Terry’s experience teaching her parakeet to say, “You’re pretty smart.”
Terry’s Tips and Takeaways for New Quilters
“Don’t go it alone.” Find community whether its online, at Ace, or a local quilting guild.
Try a smaller project like quilted oven mitts or throw pillows to learn the mechanics.
It’s helpful to have a space to work away from the distractions at home (like Ace).
Terry examines her finished “Angry Birds” crow quilt.
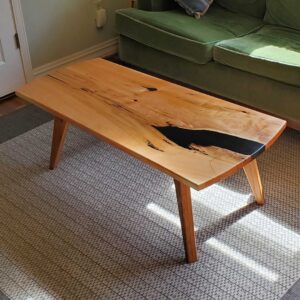
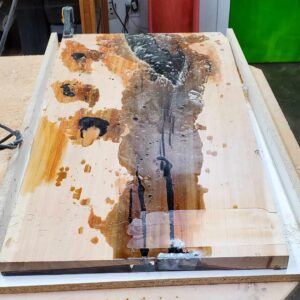
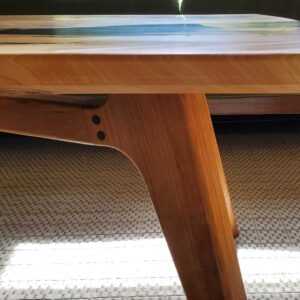
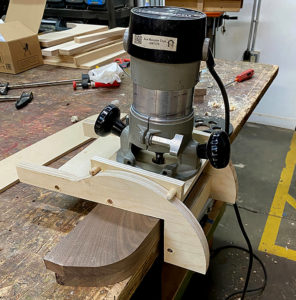
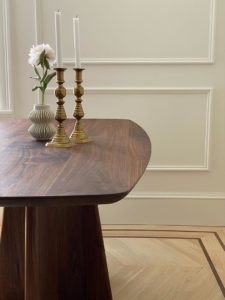
Martin has loads of furniture making experience, but this deep pour resin technique was totally new for him…
Martin’s finished deep pour resin coffee table
The idea for the project came from Martin’s friends who spotted a sleek resin pour table they liked on Four Eyes Furniture. They asked him if he could make them one so he watched a couple videos and decided to give it a go.
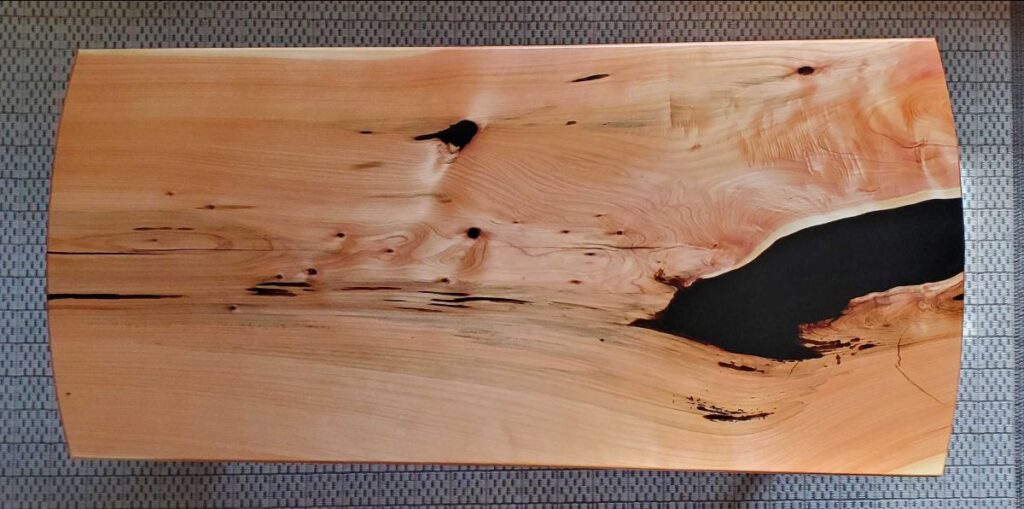
First, he selected a gorgeous slab of kiln dried Monterey Cyprus.
Gorgeous slab of Monterey Cyprus
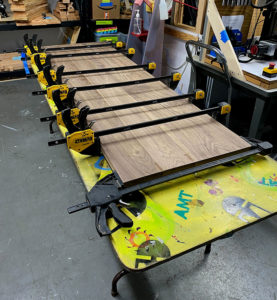
Then he purchased a gallon of Black Epoxy Resin and checked in with the Ace Workshop Community about using Clean Fab for the pour.
Waiting for the first round of epoxy resin to cure.
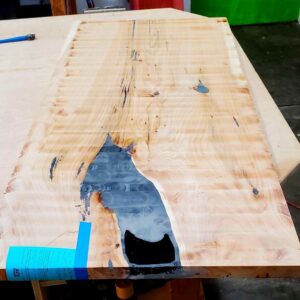
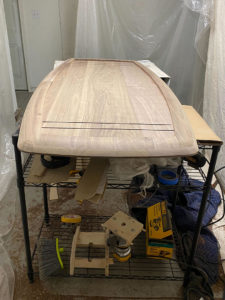
Martin filled the gaps in two rounds; first the top and then the bottom. Each pour took several days to cure before he hand planed it to remove extra resin from the surface.
Martin’s coffee table after hand planing to remove excess resin.
Martin’s tips and takeaways:
Resin costs $$$
It takes time, patience, and a little planning. Each pour takes several days to cure.
After the resin sets, planing the surface by hand is labor intensive. Be prepared to roll up your sleeves.
Monterey Cyprus Wood dust is particularly irritating so well fitting PPE is a must
He’d do it again, but mostly because he has extra resin…
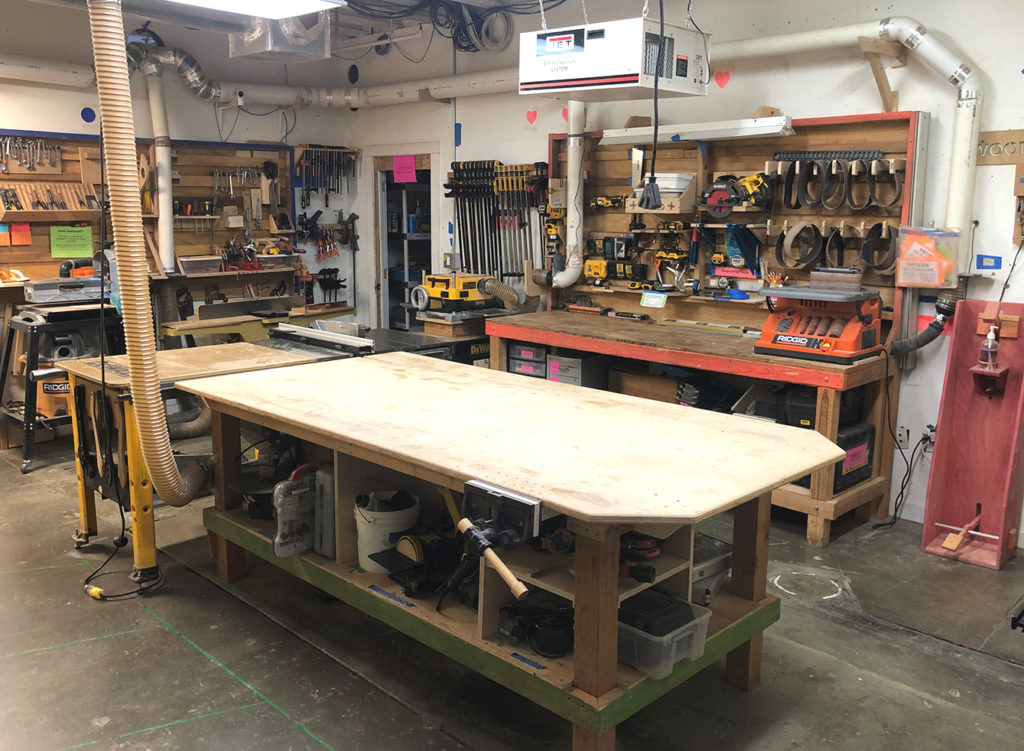
Renovated Ace Shop with brand new tabletop, dust collection, layout, and tool storage.
Every day we strive to create great experiences for everyone who walks through our doors- no matter where they are on their maker journey. Our inclusion-forward approach informs everything we do including how we design our spaces to welcome users across the skill spectrum. This is one of the many ways we take action to implement our mission in everything we do.
Relative to its small size, our shop houses an impressive collection of tools, workstations, and resources which presents unique challenges when it comes to usability and access for makers with diverse skill sets and experience levels. Finding sustainable solutions to address these challenges and create a great shop in which everyone can try new things, learn, grow, and share knowledge requires:
Approaching problems from an explicitly inclusion-forward perspective
Enthusiastically embracing change, innovation, and curiosity
Pro-actively experimenting with solutions
Seeking input, asking questions, and learning together as a community
Engaging in responsive problem solving as community needs evolve
While some of the recent changes are more noticeable like new table tops and work surfaces others are more subtle like adding a side stop to our spindle sander to prevent creep during use. Each adjustment and/or repair big or small was made intentionally in response to community needs, observed patterns of use/breakdown, and bolstered by input from users of all skill levels.
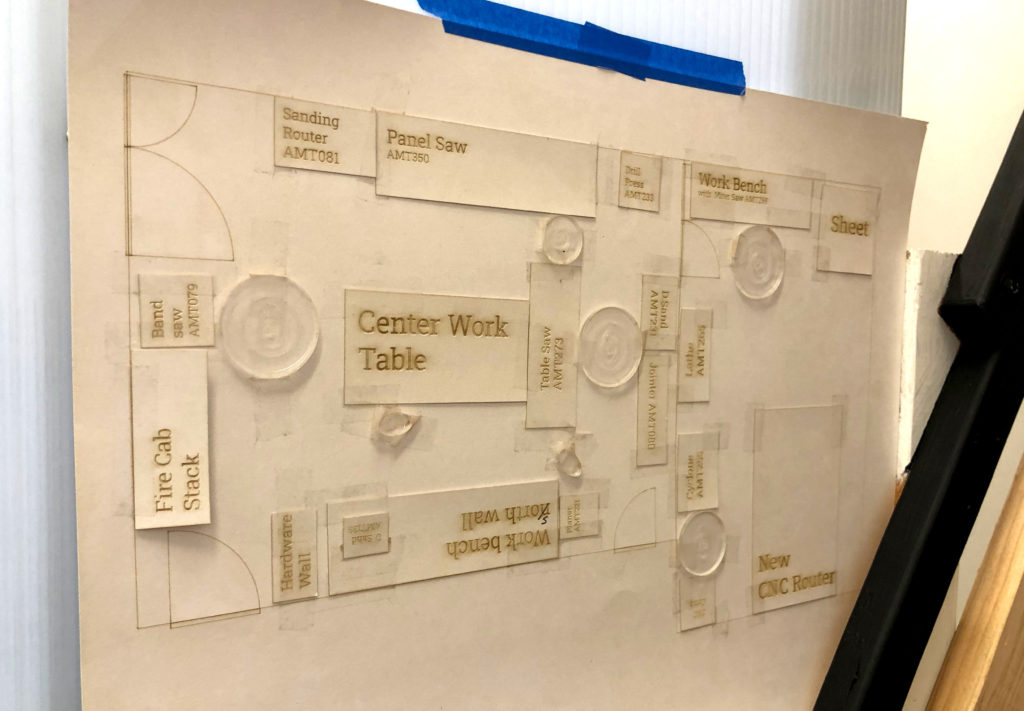
To scale plan for shop renovations made by the community at the 6/29/22 Ace Town Hall.
Optimizing Tool Use Space and Small Tool Storage
While our collective imagination is infinite, our space is limited… This reality was omnipresent during our recent project, the Great Tool Swap.
When it comes to using our shop we constantly negotiate overlapping “tool-use” spaces. In other words, where you stand to use tools like our table saw, drum sander, jointer, and planer blocks access to others and prevents concurrent use.
In order to maximize our tool-use space and maintain reasonable workflow we carefully examined how folks were using the shop, identified chokepoints, gathered feedback from the community, and ultimately decided to re-arrange our dust collection set-up and swap the locations of our drill press and bandsaw.
Changes to dust collection set up.
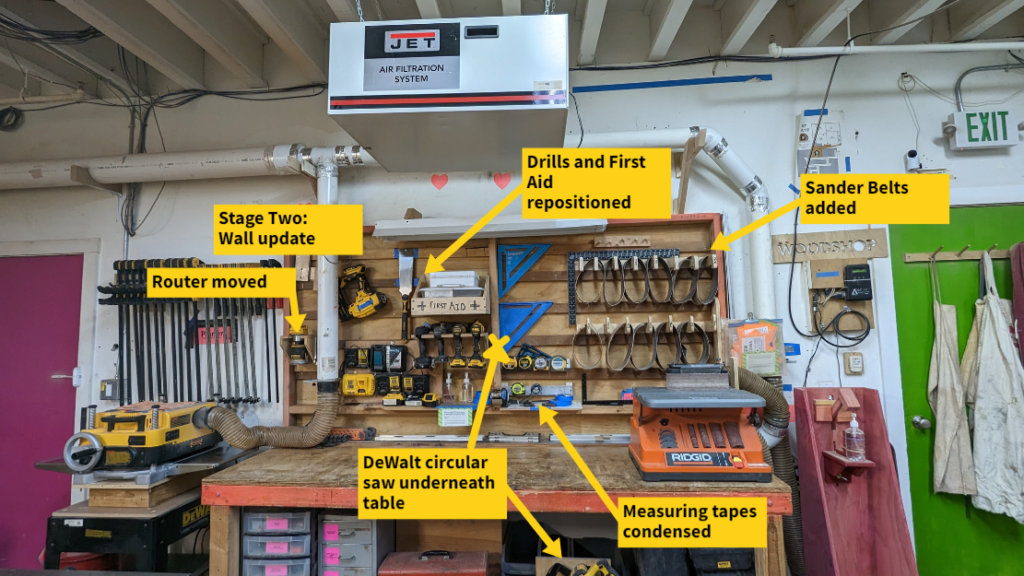
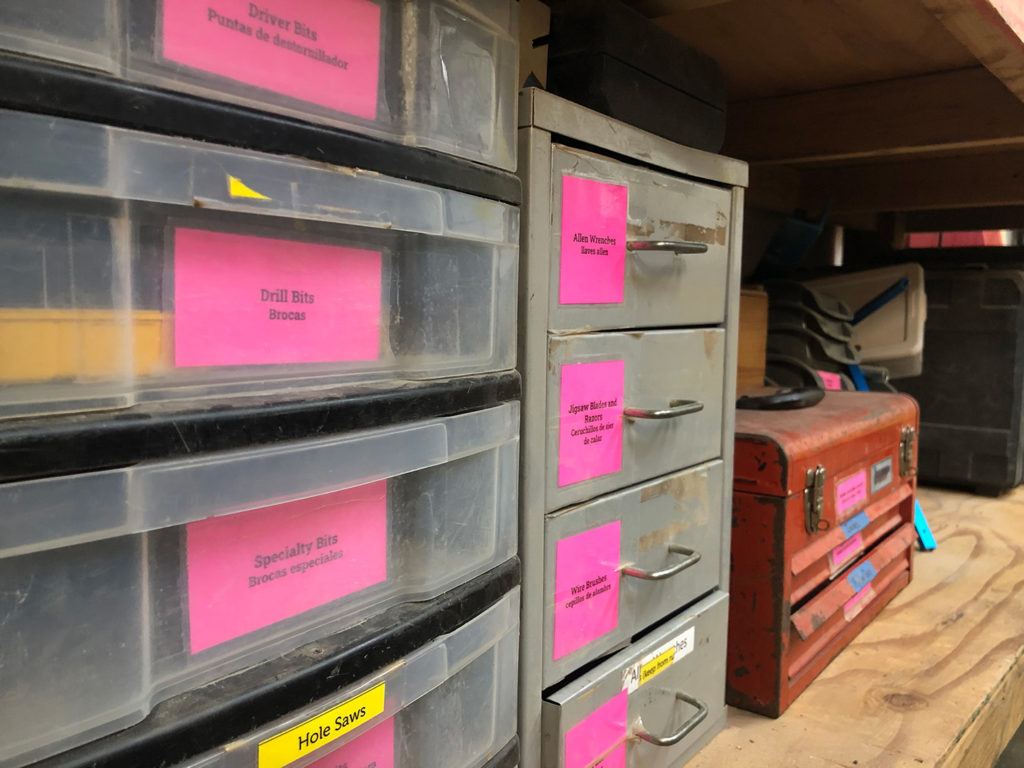
Beyond overlapping tool use spaces we also have limited storage for smaller tools and supplies like drill bits, saw blades, clamps, and gauges. Overly dense storage makes it hard for folks (especially beginners) to locate what they need and/or discover new tools. It’s also difficult to label dense storage effectively and for our community to keep it organized. By re-arranging vertical storage in the shop and finding new homes for small tools we were able to create a more user friendly visual system for tool storage.
Changes to small tool storage.
Embracing Entropy as an Invitation for Change
Permanent systems are a myth. Just because something has “always” been one way, does not mean it needs to stay that way.
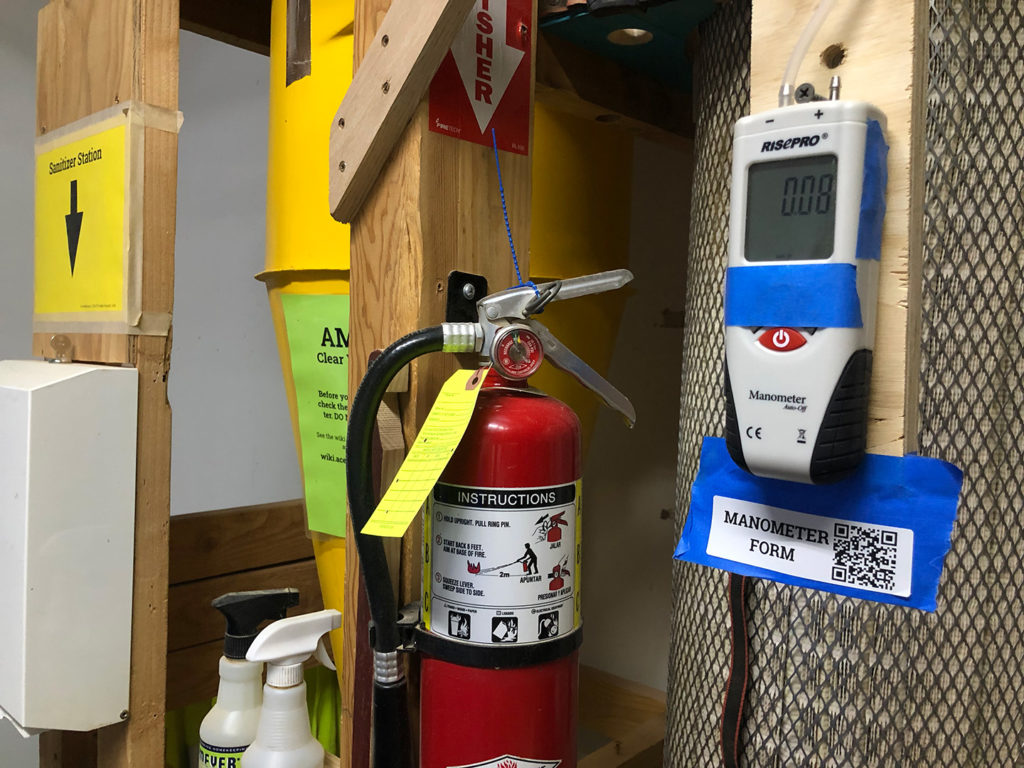
Sometimes systems work in theory but not in practice, become less functional over time because needs for change, or fail to fully resolve underlying issues. Instead of seeking permanent solutions, we look for sustainable ones. For example, when looking holistically at the shop we realized we were stuck in a cycle of reactive Air Quality Management resulting in unpredictable and frustrating shop closures.
We wanted to move toward a more sustainable, predictable, and proactive system so we installed a new manometer, a meter that measures air pressure differences, to measure the draw of shop ventilation. We also added a convenient QR code that allows shop users to easily update our air quality logs. This small change has improved our ability to track filter life and stay ahead of maintenance.
New manometer with a QR code to update air quality logs is attached to our Cyclone Dust Collector.
The Power of User Input
Expertise is valuable but it’s not the whole story when it comes to designing a shared workshop for the Ace Members we serve. Systems that might work for advanced users can discourage new users and/or put up barriers to access. Experienced users may notice issues that new users may not, but resolving those issues requires input and participation from beginners to be effective.
Relying on a narrow “expert is best” framework is also counter-productive to inclusive shop design because it can reproduce the systems of privilege and power that have limited who is normalized in technical spaces. Instead, we include the perspectives of new users as “expert” especially when it comes to navigating the workshop as a beginner.
For example, we learned specifically from new users that they were struggling to identify and find what they needed in the shop making starting out feel intimidating and overwhelming. To better welcome them we added more labels to our tools. We also created two Shop Basics and Tool Overview classes to better demystify shop etiquette and help new folks get oriented.
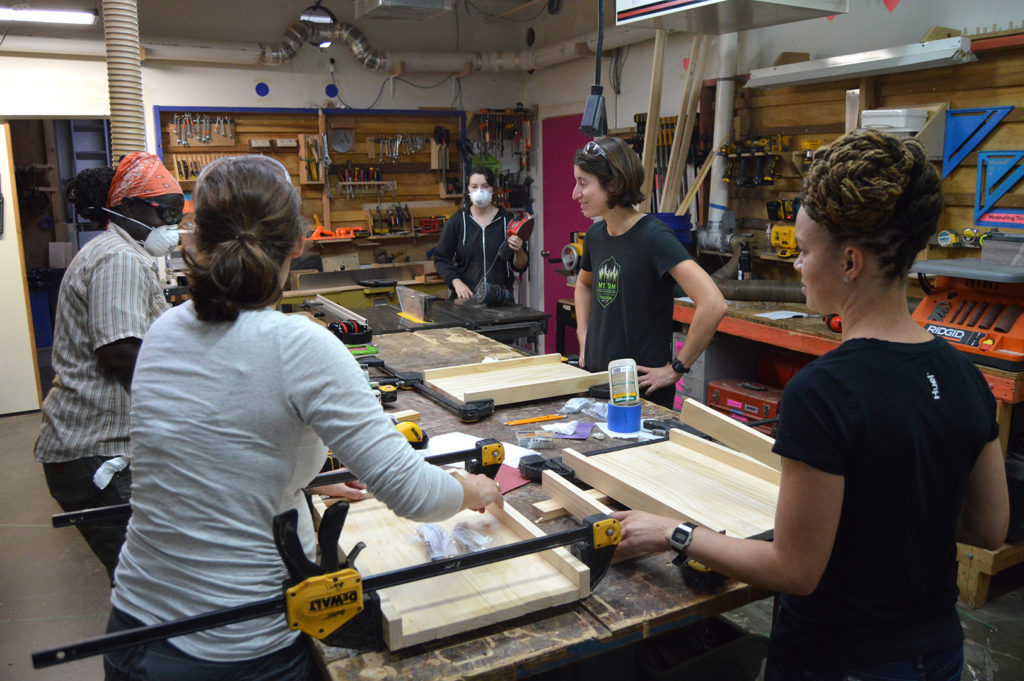
Items clearly labeled in both English and Spanish stored under a workbench in the Ace Shop.Folks enjoying their time in the Ace Shop.
And the Beat Goes On
Our community is always changing and our spaces need to keep pace with those changes in order to best serve everyone. Through our inclusion-forward approach to design, we ensure that the changes we make are more effective for everyone who walks through our shop doors.
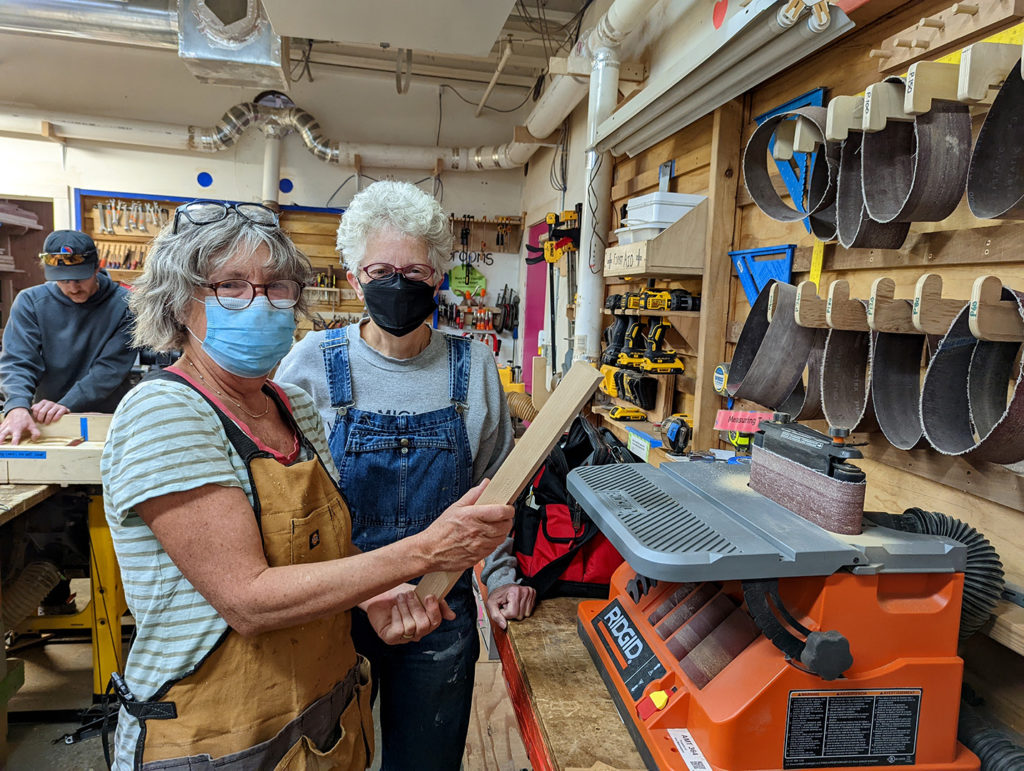
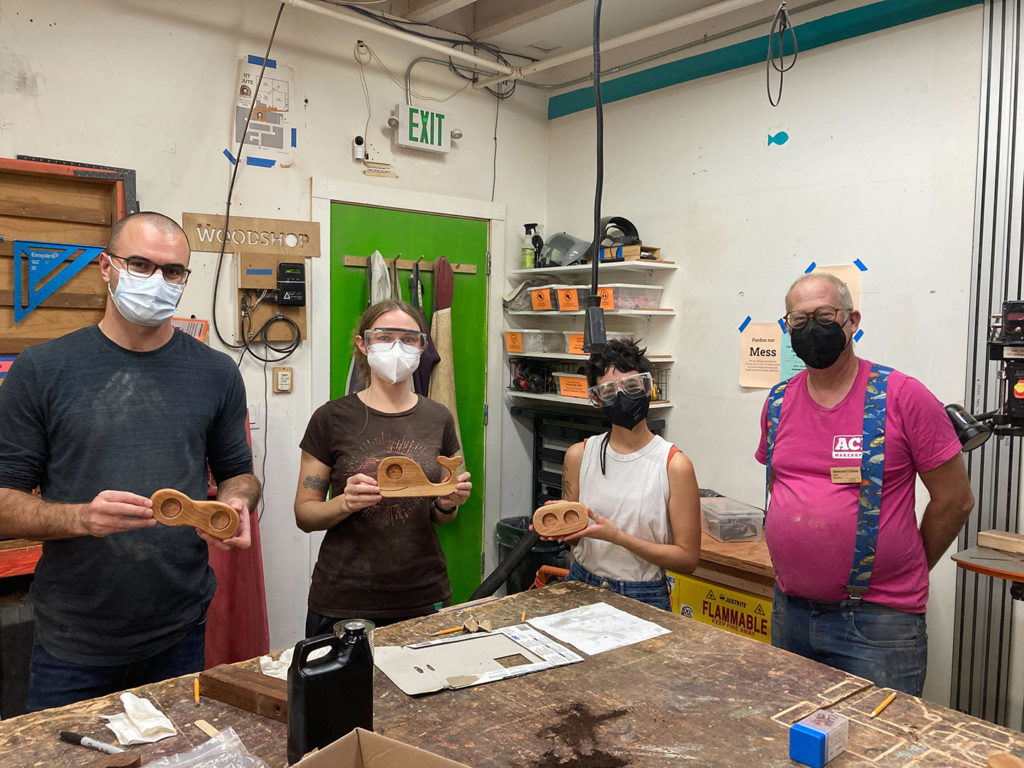
Students showing off their Sculpted Wood Candle Holders after class.Students making serving trays at a Dykes with Drills Workshop at Ace.
Our community conversation was a blast at the June 2022 Ace Town Hall! Our members and leaders met for an in-depth conversation about all of the awesome things happening at Ace this summer, including:
Our mutual aid initiatives
Working towards sustainability
Finding the leaders we need
The New Dirty Fab (roll-up of metal, workshop, and laser)
Our brand-spankin’ new CNC machine.
Here are some take-aways from our conversation.
This summer in Mutual Aid…
Two thumbs up for our 500 Filters Work Party Volunteers!
We chatted about our two major mutual aid projects this summer: 500 Filters and Book Bags for Kids. (see the calendar for the August Event!)
Q: Is there a slack channel to learn about these projects? A: Yes! #Greater-Community
Sustainability and Finding the Leaders We Need
“Are you leader curious? Are you team curious?”
Ace treasurer and treasure, Steven, kicked off our conversation with a report on “how we survived the Pando.” We also took a deep dive into how to find and recruit new leaders for our board of directors so that we can continue to survive, grow sustainably and thrive.
Q: Can we visit the board meeting? A: Yes, members can audit any board meeting
Q: Does it (board member) have to be an Ace Member? A: No, though in the course of onboarding and being an effective board member, a person becomes an Ace Member.
Q: Is there a financial commitment? A: Yes. It is not a set amount. It is what feels right for you and what you can afford.
Q: Can I grow into a leadership role? A: Yes! We (existing leadership) are down to collaborate and co-create a pathway to leadership that works for you.
Q: What training is offered for inclusive leadership? A: We offer a series of workshops every year that are designed to develop soft skills like Micro-inclusion for Leaders, Boundaries for Better Living, and Taking Care of the New Folks…When they are not like you.
We finished up talking about leadership with a discussion about what Ace members can do to get involved and/or support creating an “attractive leadership pathway.”
Bring up the topic on #general
Start a small group discussion (platform of your choice)
Book time with officers and leaders to discuss more in-depth
Ask for questions to be added to the next board meeting and attend!
Recruit directly
Dirty Fab (Roll-up of Laser, Metal, and Shop)
Tools ready for Dirty Fab?
The major thrust of our Dirty Fab conversation centered on the need for more instructors!
Q: What does Dirty Fab need? A: Dirty Fab needs people to teach!
Now that the Laser, Metal, and Shop programs fall under “Dirty Fab” we need folks to teach:
Metal Shop Basics
Metal lathe
Wood Lathe Basics
Any Metal Class Subject
The Brand New Ace CNC
Saying goodbye to our old CNC machine!
Ace is getting a new, higher-quality, CNC machine and will be donating our old one to either another organization or a local maker running a business.
Q: Why are we getting a higher quality CNC? A: The Ace CNC Router is the only public access CNC Router in the East Bay and it falls short of meeting the community’s needs. It is also a pain in the ass (P.I.T.A.) to maintain and our new one will help attract and maintain stewards and teams.
Q: Will people need to re-certify? A: Yes. When the new machine rolls out it will be a two-track approach. One for folks who are certified on the existing machine and another for folks starting from scratch.
To Be Continued…
We touched on many topics at the town hall, and there is so much to look forward to at Ace this summer, but there is always more to talk about. The conversation will, of course, continue.
As usual it was way more work than anticipated, but I’m quite pleased with the final result. I had a to build a ridiculous number of jigs and templates for this thing. –Frank
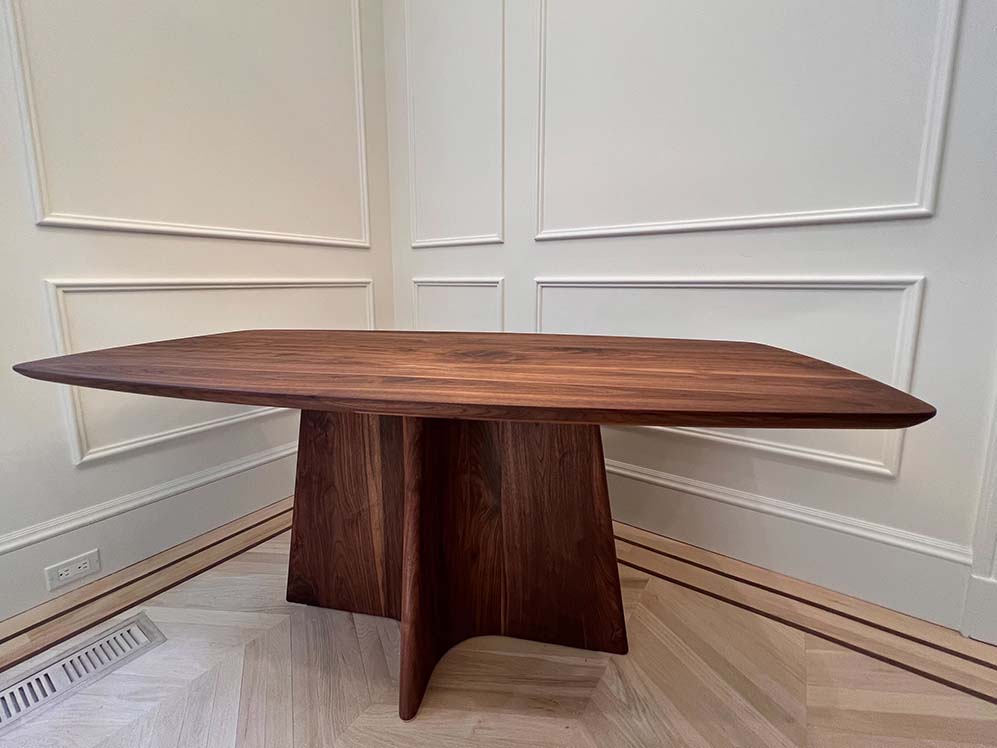
After 4 months of hard work, Frank, a new member, and carpenter completed an absolutely show-stopping dining table in the workshop and posted images of the final piece on the Ace Community Discussion Board.
Prompted by the Ace Community, Frank also provided insight into his process and the many tools he used to design, sketch, render, and build his dream dynamic, curvy table.
I’ve only been woodworking earnest for about the past year. I dabbled with it in college as well but just a bit. Most of what I know has been from the school of YouTube or from talking with people around Ace, and being a mechanical engineer has helped with some aspects.–Frank
Check out some highlights from his build:
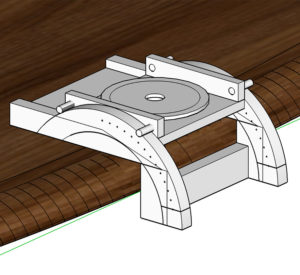
Frank built a “ridiculous” number of custom jigs for shaping the unique curves of his design. See how he takes his idea, renders it, builds it, and tests it below:
Rendered JigTesting the Jig
He also put together a super neat glue-up for the top of the table:
Super neat and tidy glue up
He even converted his living room into a stylish workshop and all that between his 10-month-old’s naps!
Frank’s living room converted into a workshop
The project may have been “way more work” than Frank thought it would be but, wow! Hopefully, he’s sending out dinner invites soon!
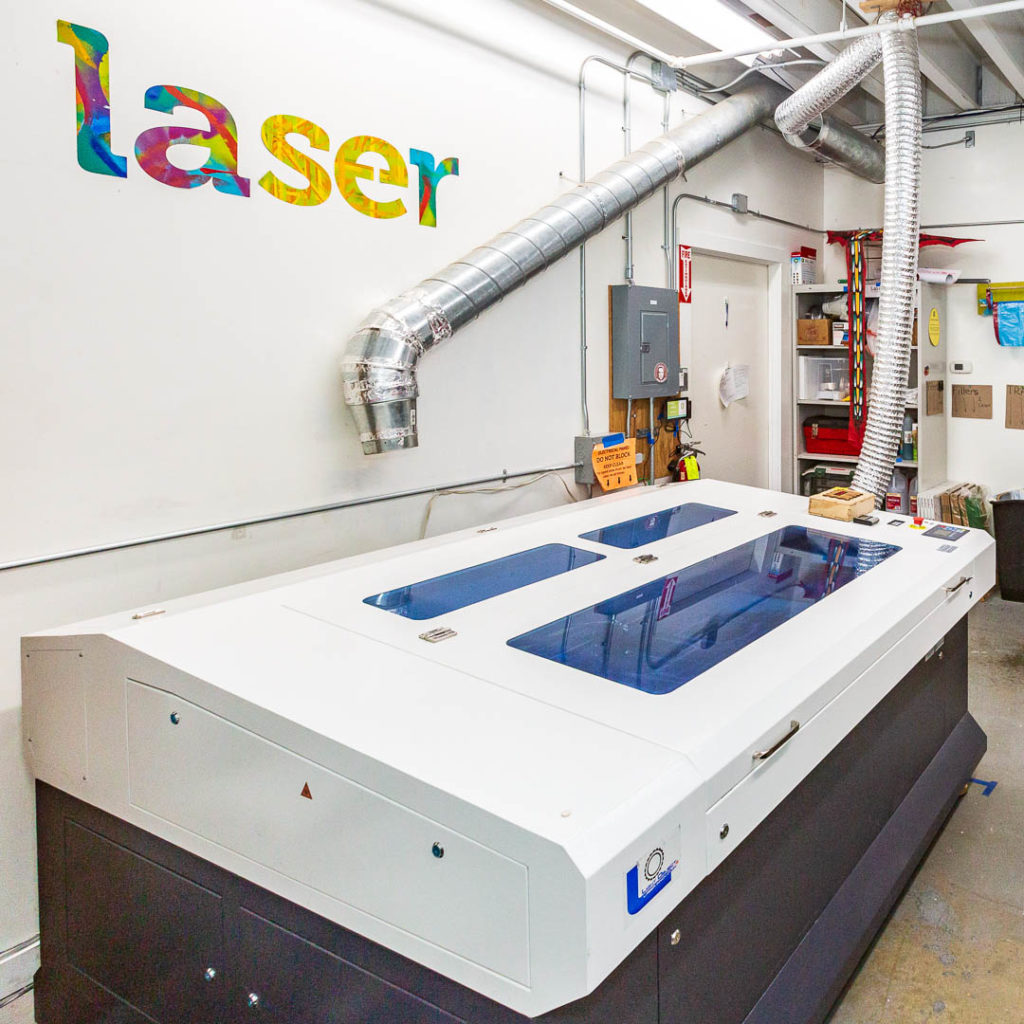
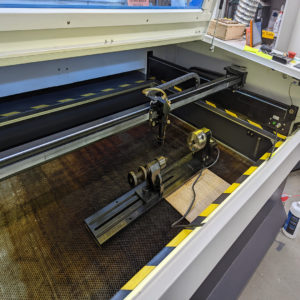
In March, intrepid makers David P., Goldie, Miriam, and Crafty came together to nerd-out over laser maintenance. Guided by expert Light Object Tech, Joel, they gave our hardworking Barracuda Laser a head-to-toe check-up and learned tips and advanced methods for how to continue to keep our laser in tip-top shape.
10:29:20 AM: Dag, nabit. Frosted window!
Crafty discovers folks using 409 and isopropyl alcohol on the acrylic windows of the laser making them all frosty and icky. Goldie springs into action and finds and orders an acrylic cleaner on Amazon.
10:30:57AM: Oooh! Maybe we’re promoting a new life form in there? – David
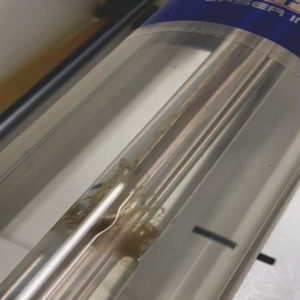
Red algae growing inside the water lines around the Barracuda Laser
The maintenance adventure got off to a rockin’ start when Crafty announced the discovery of an unexpected life form fluttering in the water lines around the tubes of our laser.
As it turns out, what looked like scorch marks in the laser tubes were actually algae! Because red and blue laser beams are truly monochromatic and super powerful, plant life like algae are able to super efficiently convert the rays into food during photosynthesis. Very cool from a scientific perspective but not so cool from a laser cutting perspective. Algae can impede water flow as well as create “hot” spots that may end up with arching.
Joel recommended checking the water lines every three months for signs of life and showed team laser how to properly flush the tubes with a bleach/water solution.
10:43:52 AM: Alignment!
The alignment was off but not bad. Joel gets everything ship-shape!
11:05:52 AM: Lotsa chunks raining down. – Goldie
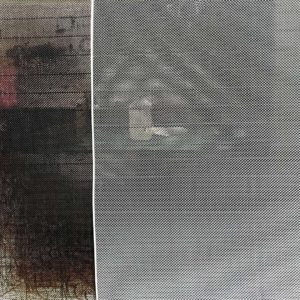
Next, the team scrubbed the busted, dirty honeycomb and laser bed. The honeycomb creates a flat medium for cutting and protects the laser bed from smoke damage. Over time, the surface has warped and the build-up began to transfer to the surface of the items being cut.
Goldie posted a super dirty image below of our old honeycomb (left) versus a brand new honeycomb (right). Unfortunately, the new one didn’t fit our laser and Ace is going to have to special order one.
Old honeycomb (left) vs. a new honeycomb (right)
11:38:22 AM: Omg. that is so gross. Post it. – Crafty/Goldie
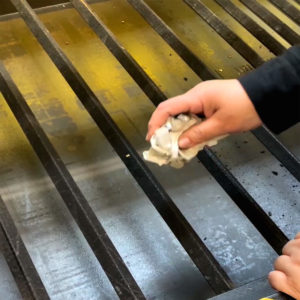
Crafty and Goldie also scrubbed the support rails before re-inserting the old honeycomb.
Crafty cleaning the laser bed
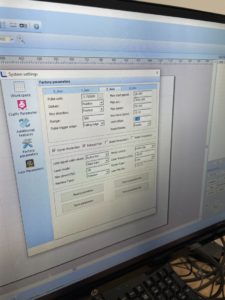
12:01:37 PM: Joel is currently optimizing our Parameter Settings… exciting!
There was an adjustment to the Z!
Default Factory Settings for us in LaserSoft
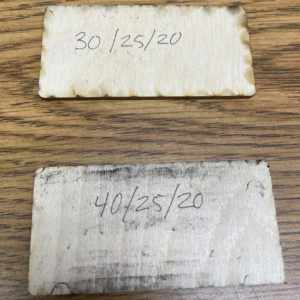
12:37:20 PM: The result is… A clean cut with more speed.–Goldie
The top is lower speed, and you can see flashback on the back. In the photo below, bottom is higher speed, same power, and a super clean cut!
(Note – the black soot is from us flipping the honeycomb – it’s not fire marks)
Comparing settingsSettings used for comparison
12:56:54 PM: We are starting the Rotary installation!!!! – Crafty
Our rotary setup is using the Y-axis to drive it instead of a separate driver. in order to compensate for the distortion, many parameters must be switched and then switch back again at the end of the rotary session. Rotary training is done! 120mm max diameter. Uses a chuck-style attachment with two options so very friendly for irregular objects.
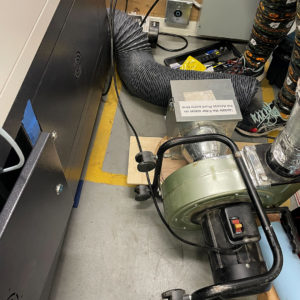
2:59:53 PM: Replacing the main vent hose now.
Discovered hole in it so it wasn’t nearly so efficient. Def. time to do a tear down on the fan as well!! Miriam lending a helping hand. Yay new hoses!
Filter box and fan assembly
2:59:53 PM: Annnnnnnd done! –Crafty
We found the bearing on the Y asses was loose and we need to tighen it. We guess it is a 2.1 or 2 mm allen key. At the end of the day everyone was dirty and tired, but after running some successful test-cuts, extremely satisfied. We also got a complement of replacement parts including the damaged valve and cone. Working on documenting things now.
Now, the Barracuda laser is back to peak efficiency and better than ever for clean and speedy cutting!