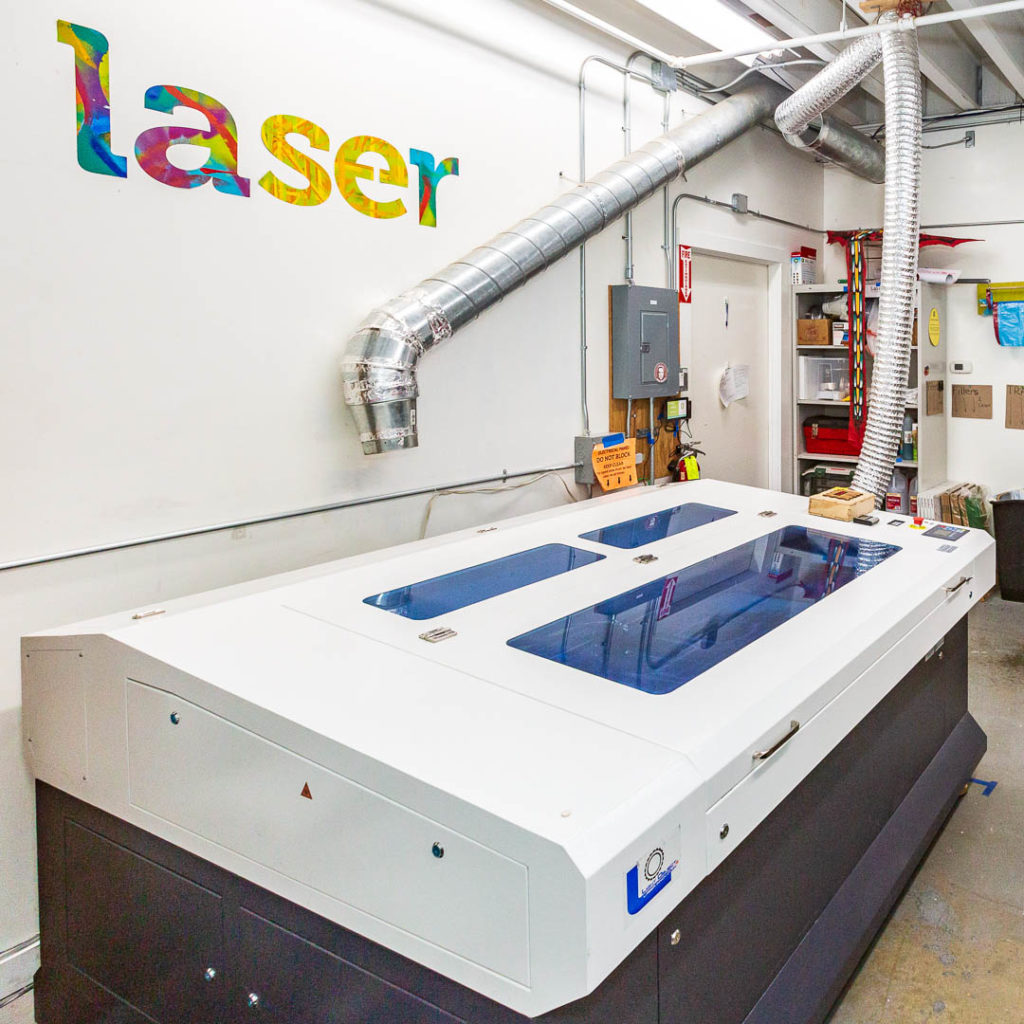
In March, intrepid makers David P., Goldie, Miriam, and Crafty came together to nerd-out over laser maintenance. Guided by expert Light Object Tech, Joel, they gave our hardworking Barracuda Laser a head-to-toe check-up and learned tips and advanced methods for how to continue to keep our laser in tip-top shape.
10:29:20 AM: Dag, nabit. Frosted window!
Crafty discovers folks using 409 and isopropyl alcohol on the acrylic windows of the laser making them all frosty and icky. Goldie springs into action and finds and orders an acrylic cleaner on Amazon.
10:30:57AM: Oooh! Maybe we’re promoting a new life form in there? – David
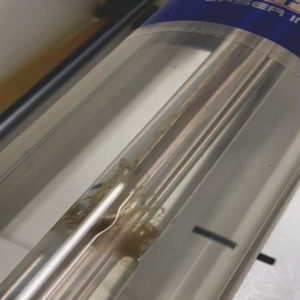
The maintenance adventure got off to a rockin’ start when Crafty announced the discovery of an unexpected life form fluttering in the water lines around the tubes of our laser.
As it turns out, what looked like scorch marks in the laser tubes were actually algae! Because red and blue laser beams are truly monochromatic and super powerful, plant life like algae are able to super efficiently convert the rays into food during photosynthesis. Very cool from a scientific perspective but not so cool from a laser cutting perspective. Algae can impede water flow as well as create “hot” spots that may end up with arching.
Joel recommended checking the water lines every three months for signs of life and showed team laser how to properly flush the tubes with a bleach/water solution.
10:43:52 AM: Alignment!
The alignment was off but not bad. Joel gets everything ship-shape!
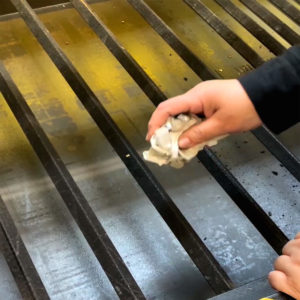
11:05:52 AM: Lotsa chunks raining down. – Goldie
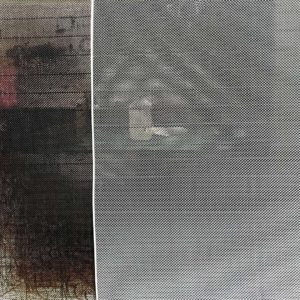
Next, the team scrubbed the busted, dirty honeycomb and laser bed. The honeycomb creates a flat medium for cutting and protects the laser bed from smoke damage. Over time, the surface has warped and the build-up began to transfer to the surface of the items being cut.
Goldie posted a super dirty image below of our old honeycomb (left) versus a brand new honeycomb (right). Unfortunately, the new one didn’t fit our laser and Ace is going to have to special order one.
11:38:22 AM: Omg. that is so gross. Post it. – Crafty/Goldie
Crafty and Goldie also scrubbed the support rails before re-inserting the old honeycomb.
12:01:37 PM: Joel is currently optimizing our Parameter Settings… exciting!
There was an adjustment to the Z!

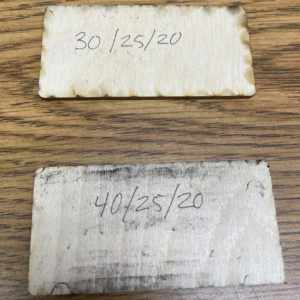
12:37:20 PM: The result is… A clean cut with more speed.–Goldie
The top is lower speed, and you can see flashback on the back. In the photo below, bottom is higher speed, same power, and a super clean cut!
(Note – the black soot is from us flipping the honeycomb – it’s not fire marks)

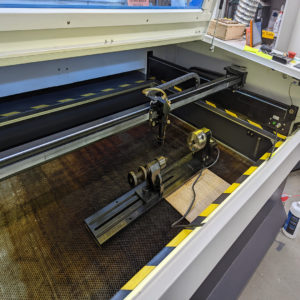
12:56:54 PM: We are starting the Rotary installation!!!! – Crafty
Our rotary setup is using the Y-axis to drive it instead of a separate driver. in order to compensate for the distortion, many parameters must be switched and then switch back again at the end of the rotary session. Rotary training is done! 120mm max diameter. Uses a chuck-style attachment with two options so very friendly for irregular objects.
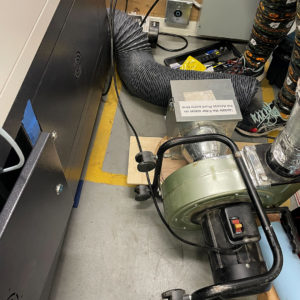
2:59:53 PM: Replacing the main vent hose now.
Discovered hole in it so it wasn’t nearly so efficient. Def. time to do a tear down on the fan as well!! Miriam lending a helping hand. Yay new hoses!
2:59:53 PM: Annnnnnnd done! –Crafty
We found the bearing on the Y asses was loose and we need to tighen it. We guess it is a 2.1 or 2 mm allen key. At the end of the day everyone was dirty and tired, but after running some successful test-cuts, extremely satisfied. We also got a complement of replacement parts including the damaged valve and cone. Working on documenting things now.
Now, the Barracuda laser is back to peak efficiency and better than ever for clean and speedy cutting!
Nice lively update! Made me read it even though I have had nothing to do with the laser . . . yet.