
Last night’s cool Fusion 360 class inspired me to follow-up on my parametric box article. I found a bug in one of my designs not long after posting it. Fixing the bug illustrates a few interesting Fusion 360 features in its own right, so I thought I’d give a bit more detail than simply uploading a repaired model.
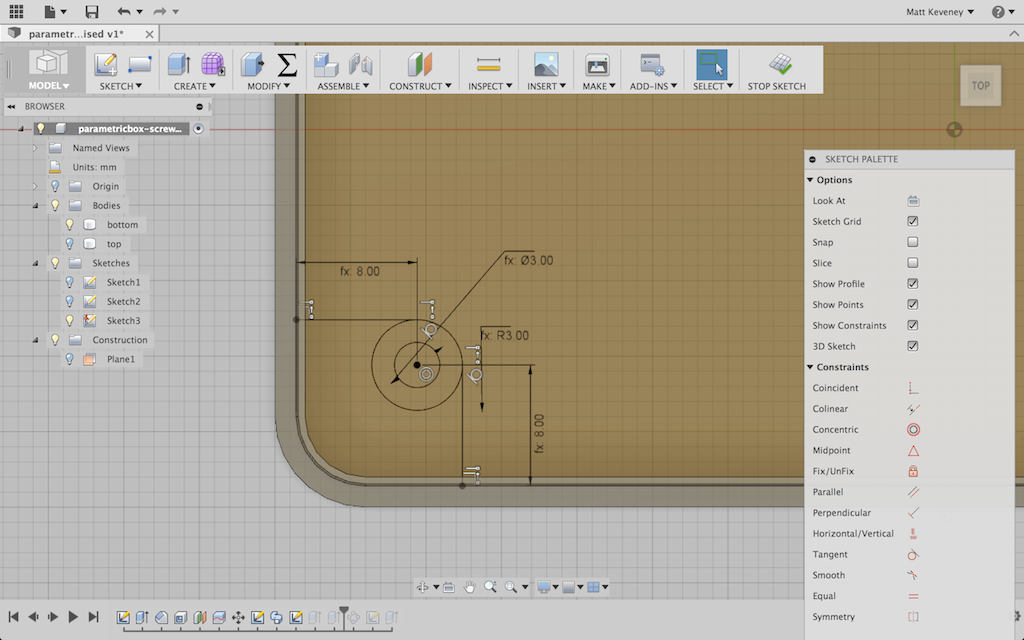
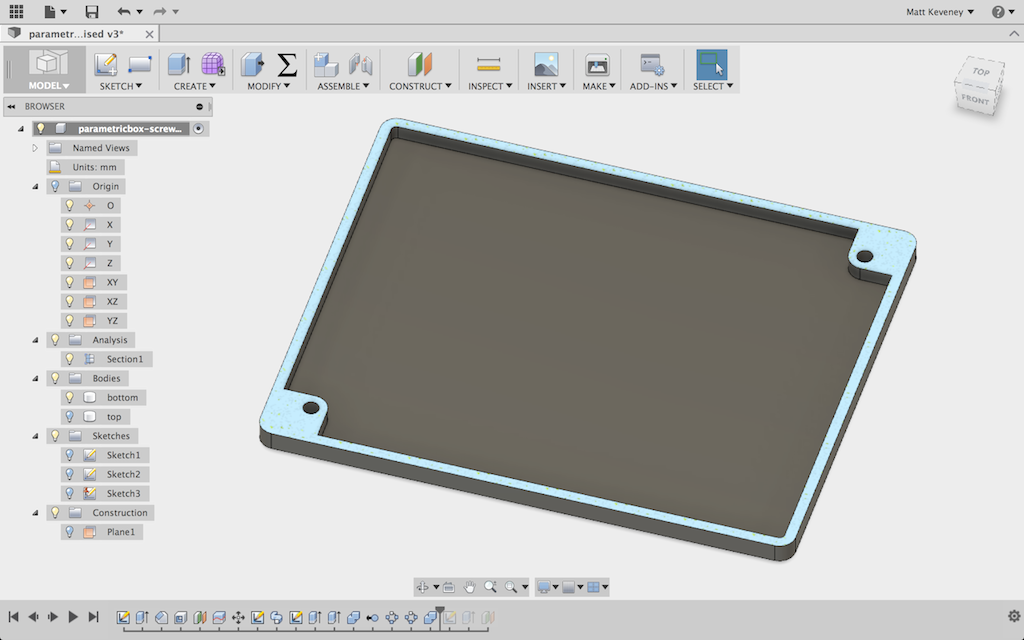
The version for screws is the one that’s broken. Recall that I created a sketch for the screw pillars on the bottom of the box and then extruded it upward to create the pillars and some support structure that attaches them to the sides of the box.
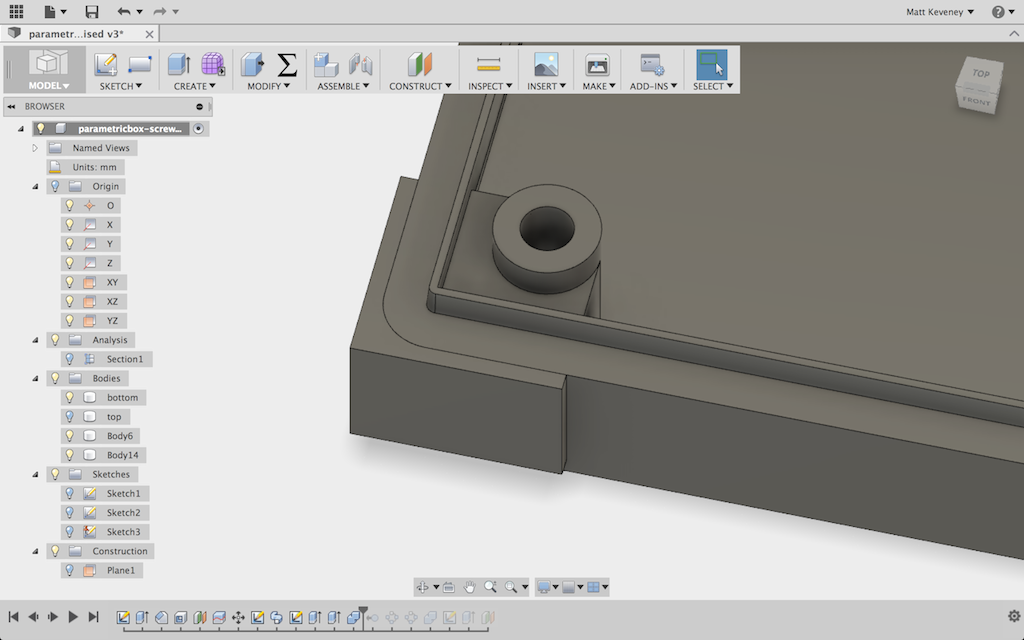
To better illustrate what’s wrong, I’ll create a section analysis. This gives us a cutaway view of the model, without actually cutting it into pieces. I can keep this analysis as part of my design and show or hide it whenever I like.
I start by creating a work plane parallel to the XZ plane, but offset 5mm up.
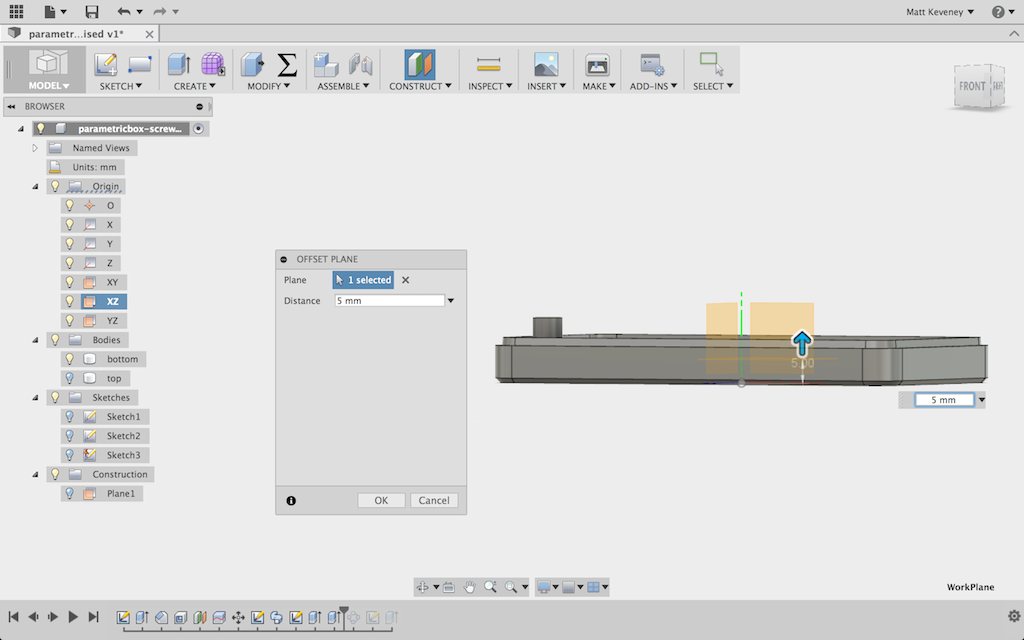
Then, I create a section analysis on that plane. This is found on the Inspect menu.

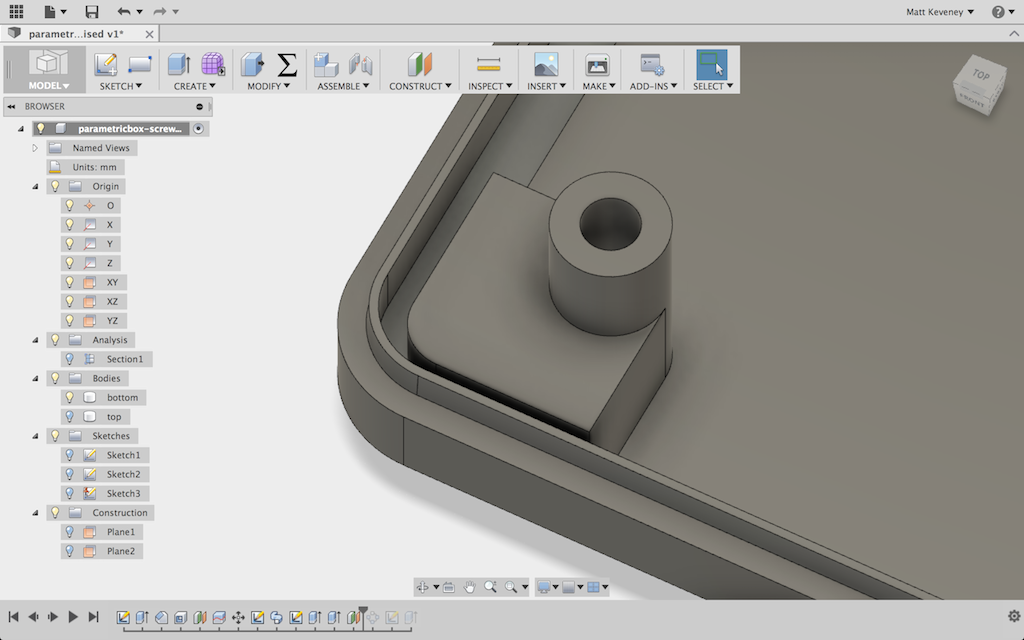
The resulting view clearly shows what’s happened. Note that the support structure does not reach all the way to the sides of the box. The chamfered corners of the box make the reinforcement just a bit too small to reach into the edges.
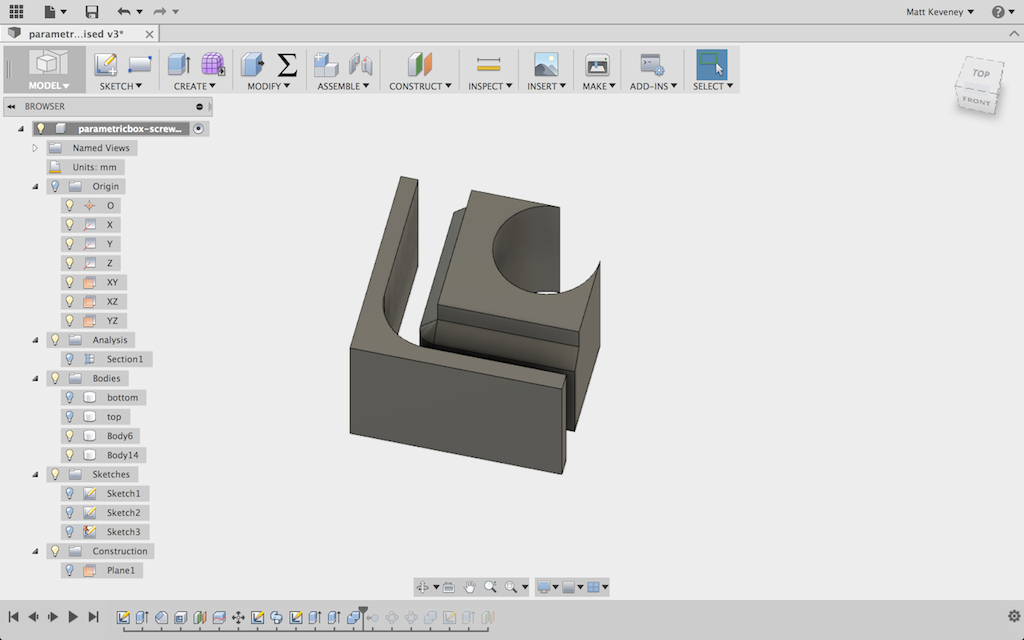
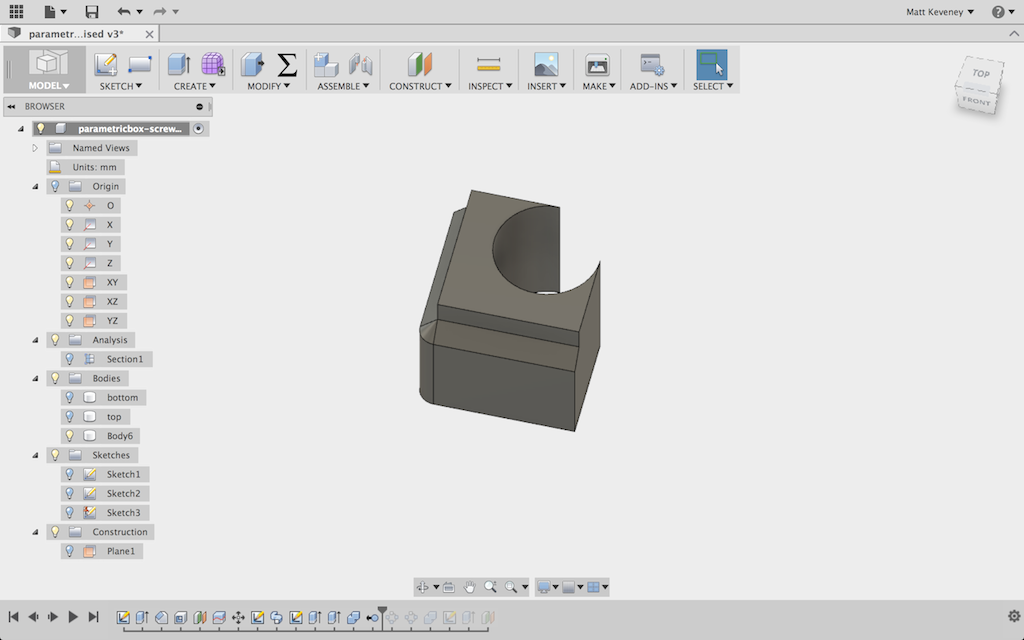
If I set the chamferDepth parameter to 3mm the problem is much more pronounced. I can even see it with the section analysis turned off.
So, how to fix this? The problem is that the sketch defining the profile for the pillar support ends at the perimeter of the inside box bottom.
I could simply extend it to the inside or outside wall surface, but then a portion of the extrusion would end up outside the box when defined with a large chamferDepth.
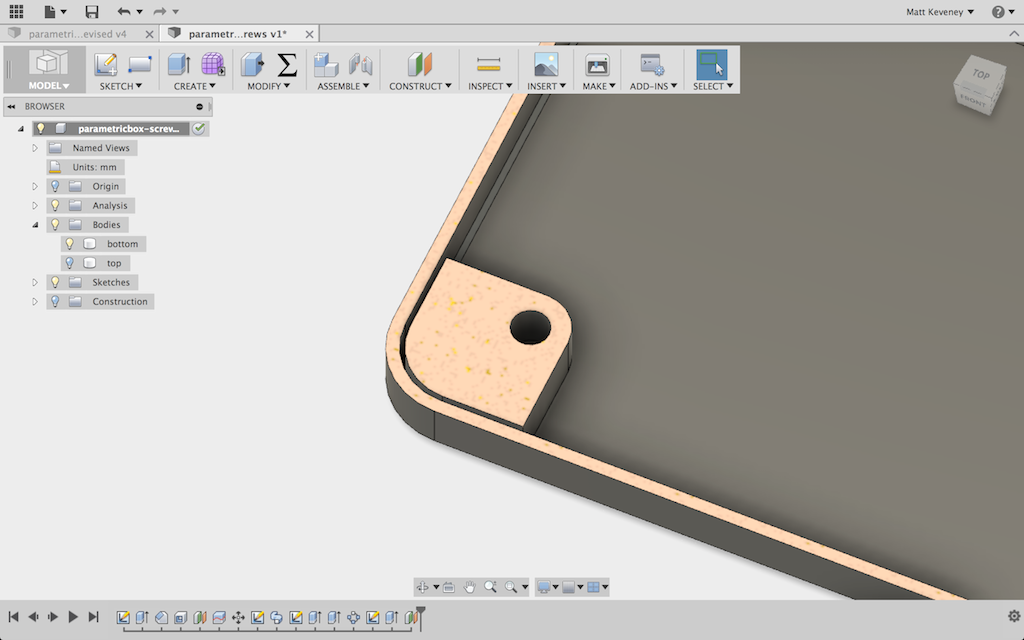
After a bit of experimentation I came up with the following. The reinforcement is designed to deliberately extend outside the outer perimeter of the box by 1mm.

Then, I extrude it to a separate body and cut it, using the box as the tool. I extended the body by 1mm in the last step to ensure that I always do get two pieces; otherwise the next operation is unreliable.
I then remove the outer portion, join the inner portion with the box bottom and duplicate with a circular pattern as before.
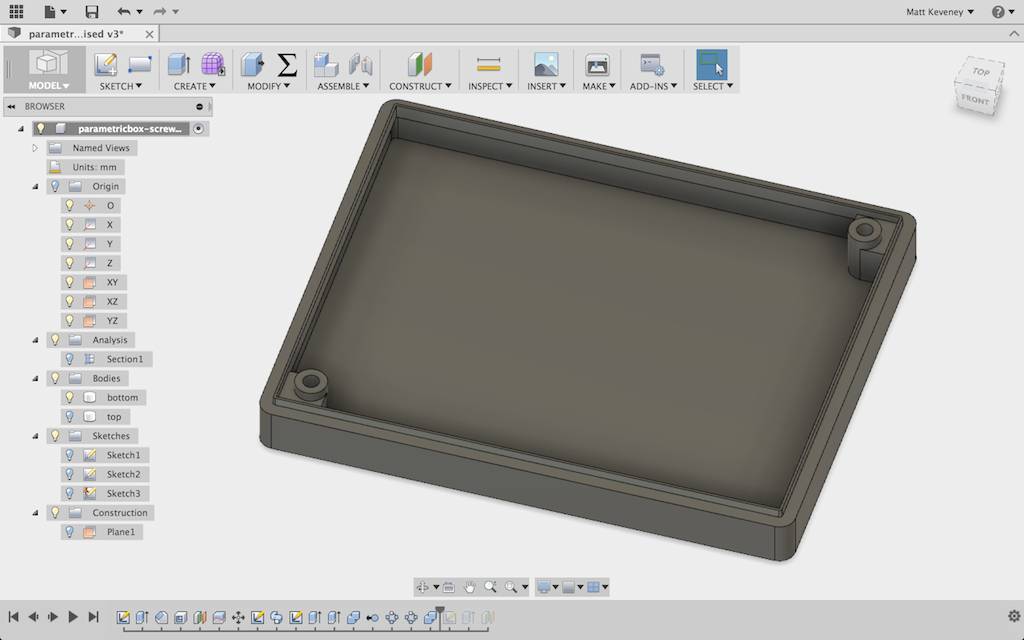
Unhiding the analysis now shows that the originally desired structure is in place.
 That all may seem a bit convoluted, but it now seems to work with any reasonable set of parameters. A much simpler solution would have been to eliminate the chamfer altogether, or make it a small fixed dimension that would have avoided the problem in the first place.
Download the fixed version here: parametricbox-screws-fixed.f3d
-Matt