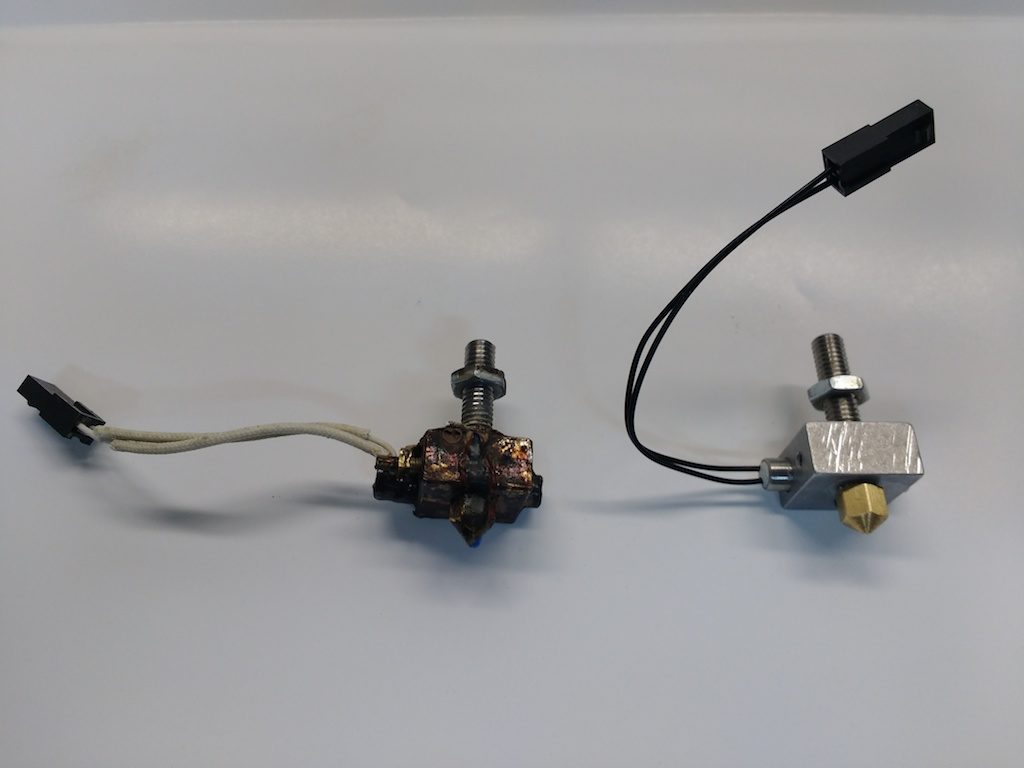
The thermocouple was the only part that actually needed replacing, but while I had everything apart, I also replaced the heater block, nozzle, transfer tube, heating element and thermal insulation. The old one was gunked-up with heaven knows how many years’ worth of melted-on crud.
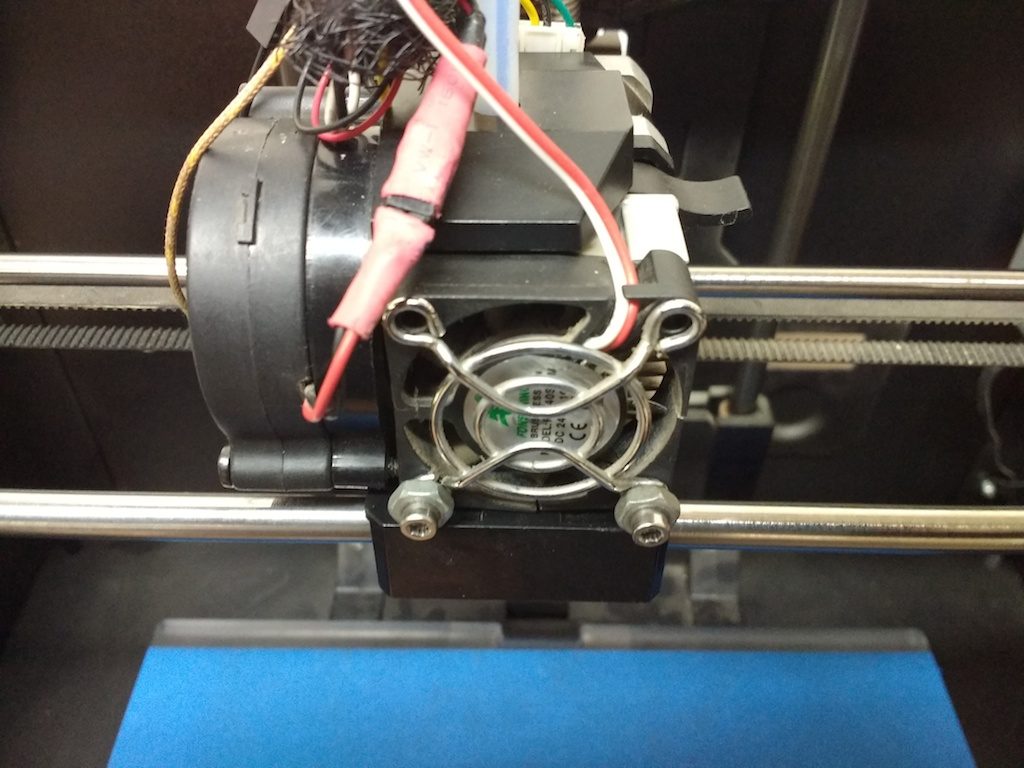
Another issue was the front fan. The Replicator 2 has two fans; one on the front and one on the side. The side fan blows cooling air onto the workpiece. It’s the one controlled by the setting in the Makerbot slicer. Typically it’s off for the first layer and on for the rest. (Turn it off for the whole job when printing with PET). Please use the slicer setting and do not unplug the fan to disable it!
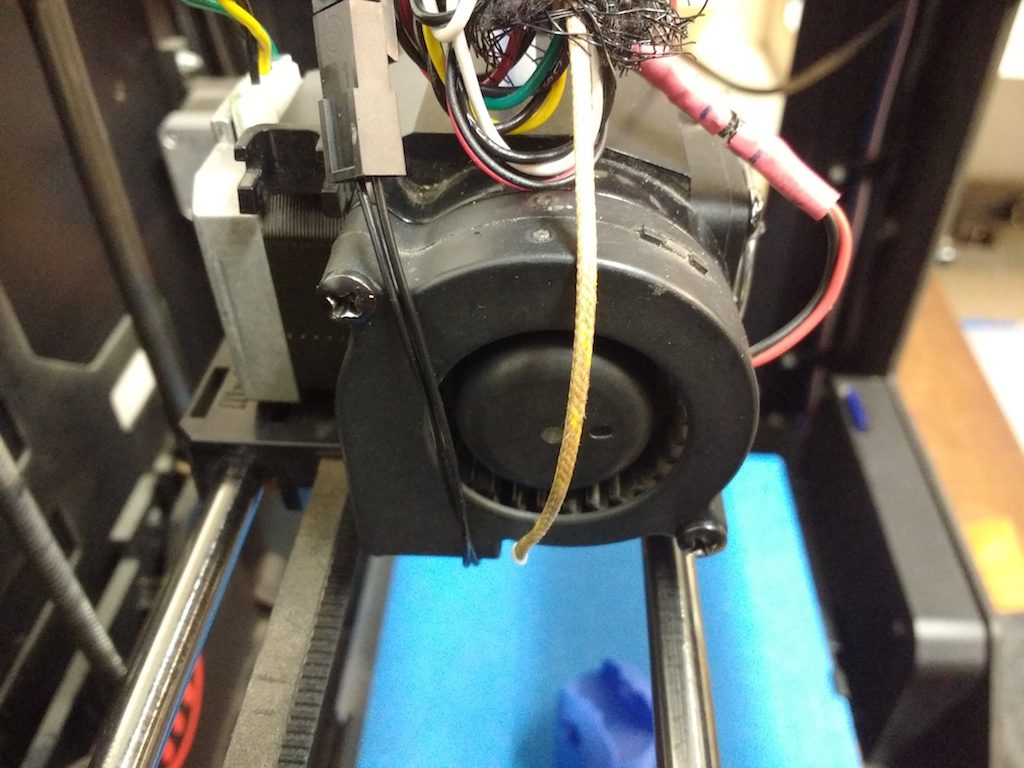
The one on the front should be on whenever the heating element is on. This one sucks air through the heat sink, disposing of the excess heat that travels upward from the heating element. It must be in working order or heat will build up and melt the rest of the extruder assembly! Make sure this fan comes on when you start your print job or change filament… anytime the nozzle gets hot. If the fan does not come on, please cancel your job immediately and contact me!
It turned out this fan had a shorted wire. I found a pigtail up in electronics with the right kind of connector and soldered it to the fan. The sharp-eyed will notice that the color coding does not match the wire it plugs into; rest assured it’s correct. There’s a broken blade on the fan, so I have a replacement on the way, but meanwhile we should be OK.
One more note: A few weeks back, someone mentioned on Slack that one of the ‘home’ switches was not working, causing a grinding sound at the start of the print job. I got the same sound to happen the other day (before the breakdown), when one of the loose wires on the extruder snagged on the left-front corner of the frame, right after the warm-up sequence. It sounds just like a failure of a homing switch. It could be that this is what broke the fan, but I can’t be sure.
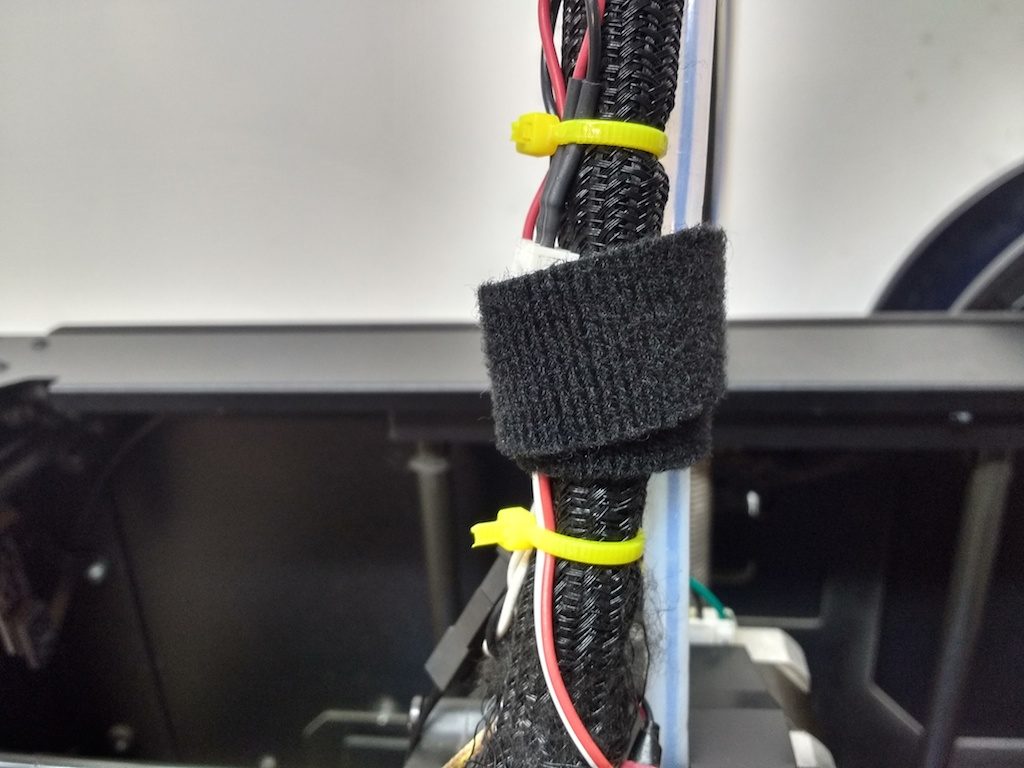
Anyway, I’ve added some wire ties to keep the wire bundle under control. You should not have to unhook any of the wires on the extruder under normal use. If you have to disassemble the extruder to clear a jam, snip the wire ties if you must, but please find replacements when you’re done. I’ll get a supply of them for the 3D printing station’s use.
The black velcro thing is used to affix the wire bundle to the filament guide tube. This helps support both during a job, and can easily be removed when changing filament.
In other news…
I just attempted a job on the Type A machines printer, and got repeated communication failures from Pronterface. This has always been an issue with pronterface, but seems to be much worse than before. I’m not sure what’s going on; still needs a bit of investigation.
But at best, the Type A is trickier to use than the Replicator 2, so I’m looking into a newer printer to increase our capacity. Meanwhile I’ve ordered a few parts that should breathe a little new life into the Type A:
- A new-style hotend with a finer nozzle. This will bring the resolution on par with the Replictor 2, and will handle higher-temperature materials like PET.
- An LCD panel with SD card reader. This will enable untethered printing and easier job setup.
All this can be had these days for a bit under $20.00, so it seems a worthwhile thing to try. Watch this space for news!
Thank you for the many replicator surgeries, and the patience! Sounds like they should work even better than when they were brand new!
See you soon Matt! Casper, Cyanne and Jaylen