
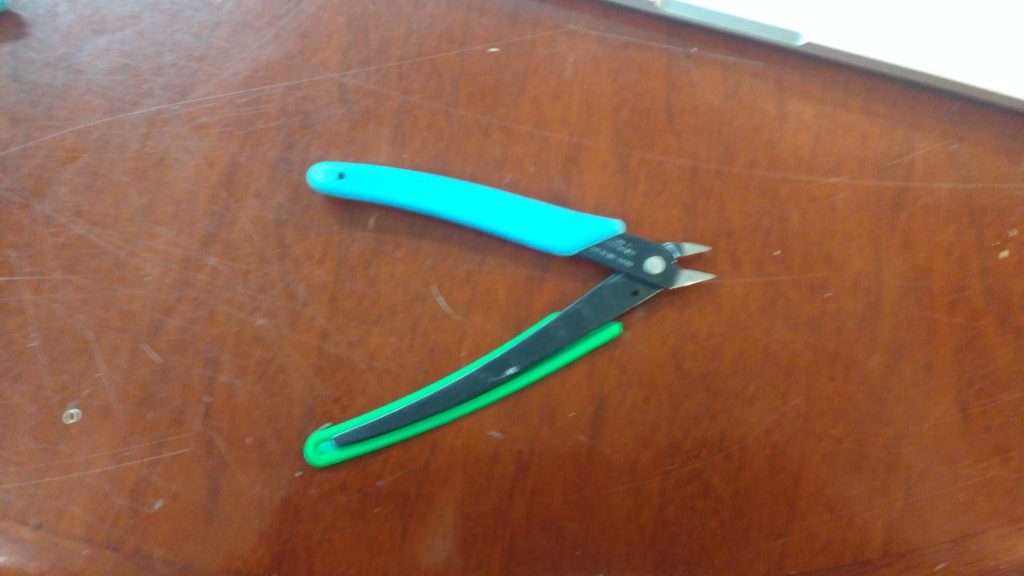
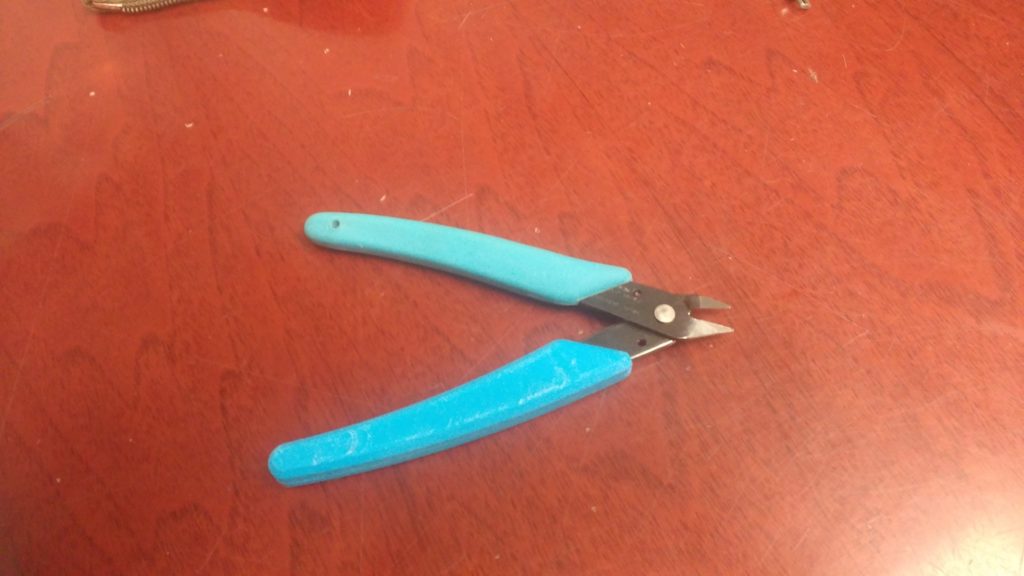
This is what our filament nippers looked like in 3D printing.
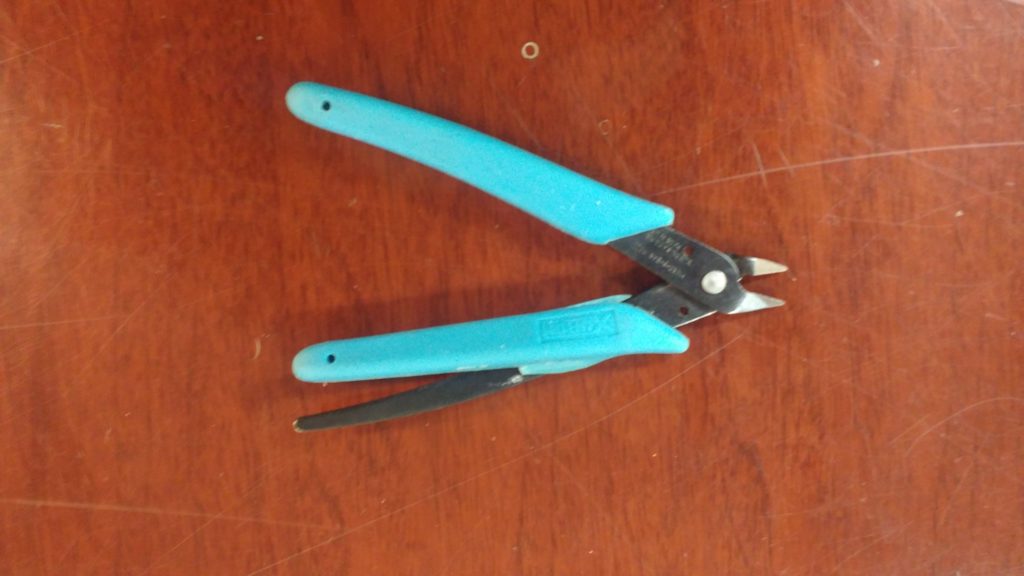
The work fine, but one of the rubber grips has almost split in two.
A few weeks ago, Evan made a valiant effort at saving them:
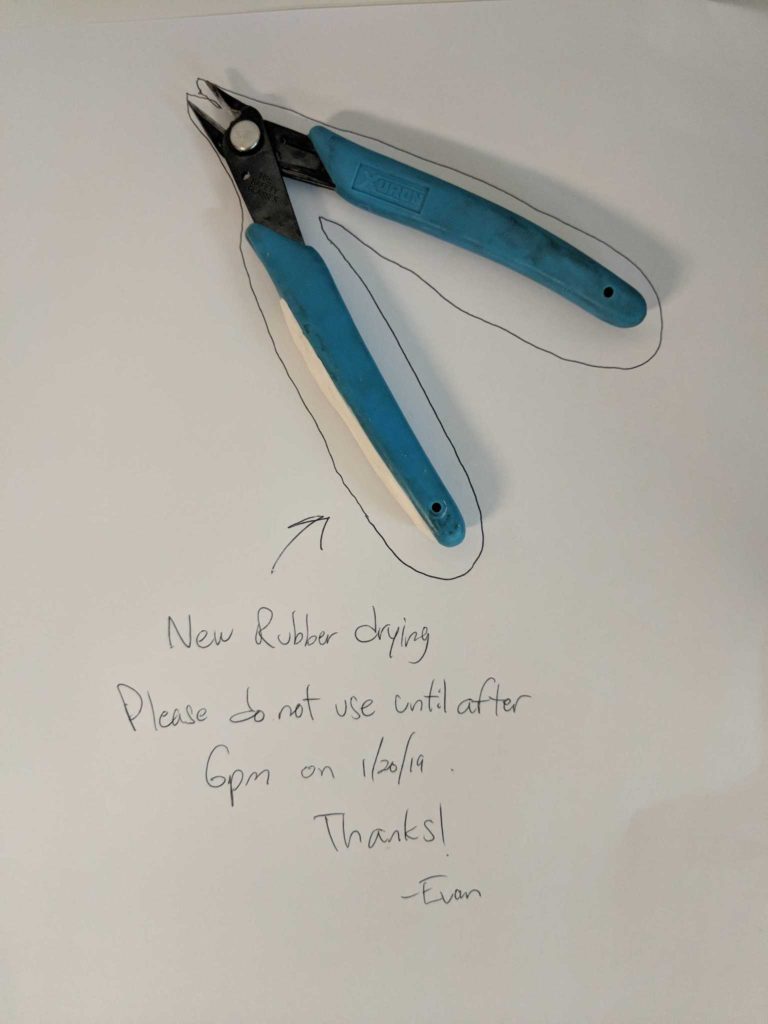
But, alas, the patch quickly broke off.
It’s a great excuse for another Fusion 360 3D printing article!
I’ll make the replacement in PLA. It won’t be squishy like the original, but it’ll be more comfortable than the bare metal.
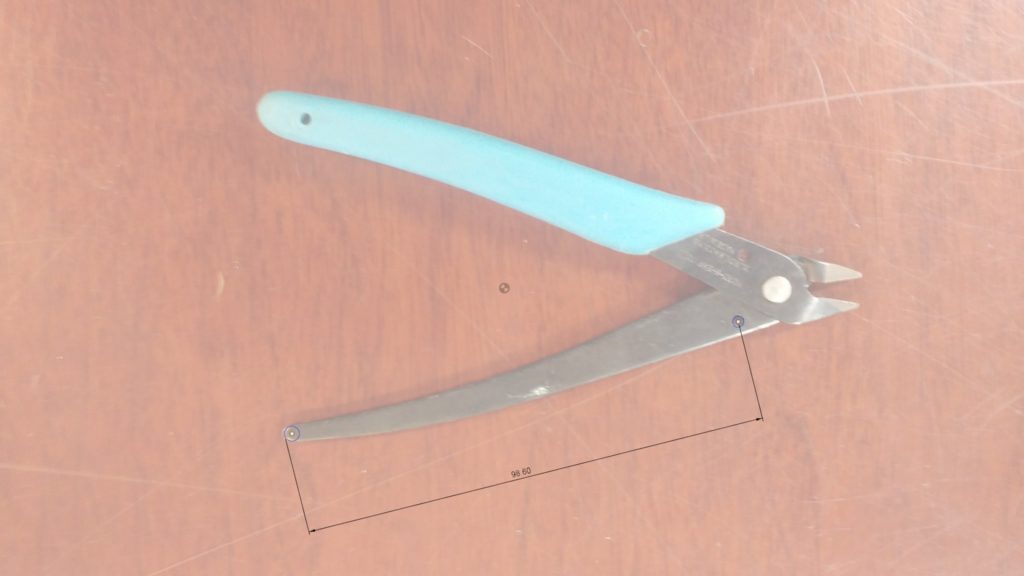
To model it, I took a photo; then used Fusion’s ‘attached canvas’ feature. The easy way to use this feature is to simply import the image, without entering any dimensions at all. Then, right click the attached-canvas object in the browser and select calibrate. Fusion will prompt you to select two points. I’ve chosen the little hole near the joint and the end of the tang, which measures 98.6mm
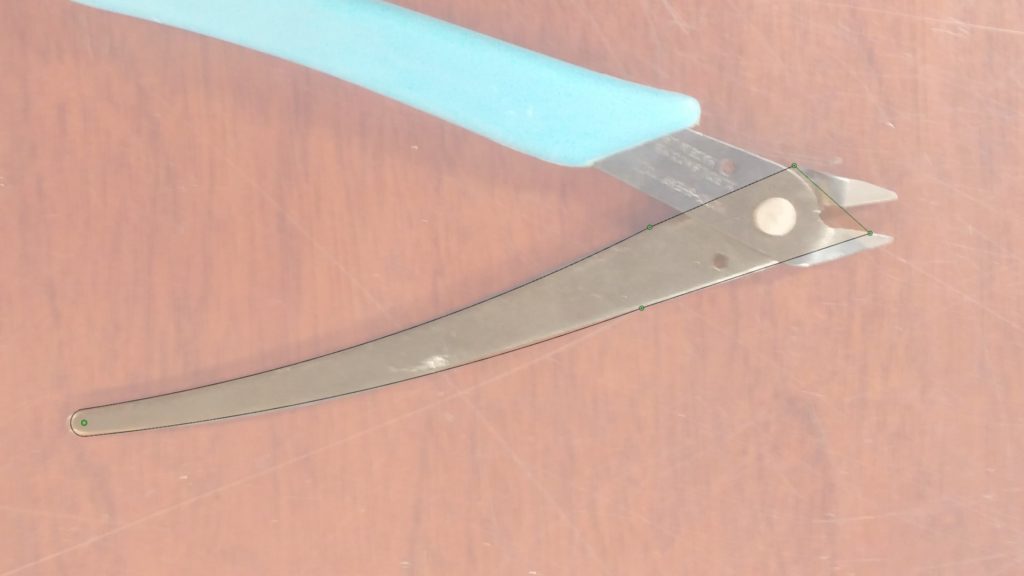
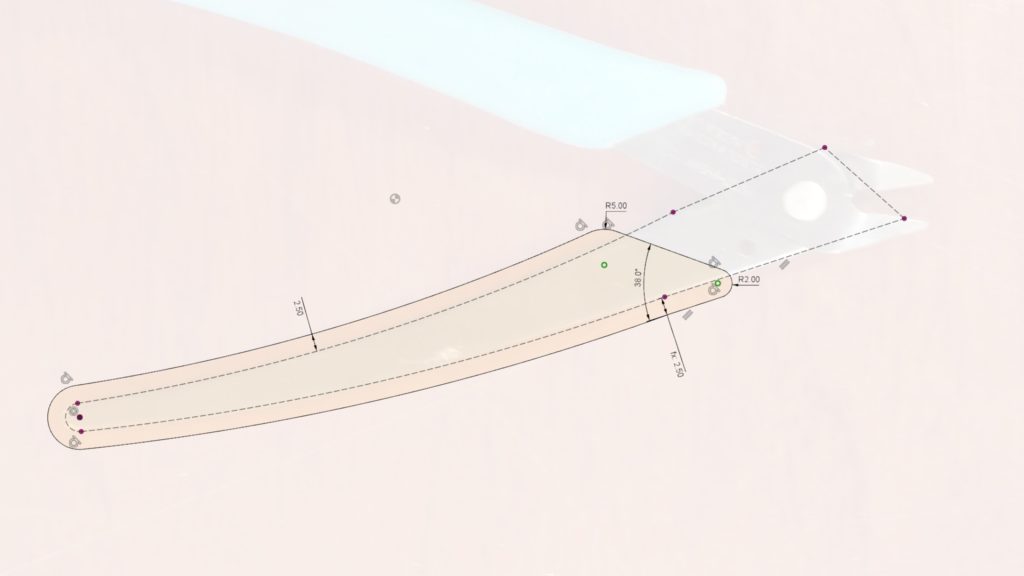
Now we can make a sketch of the profile. I fitted arcs to the shape as near as I can. I find this easier than using splines when the shape allows for it. I used the ‘Fix’ tool instead of dimensions, since the scaled photo is what really defines the size here. I did not bother modeling the business end of the tool.
Next I extruded this profile to a 2mm thickness.
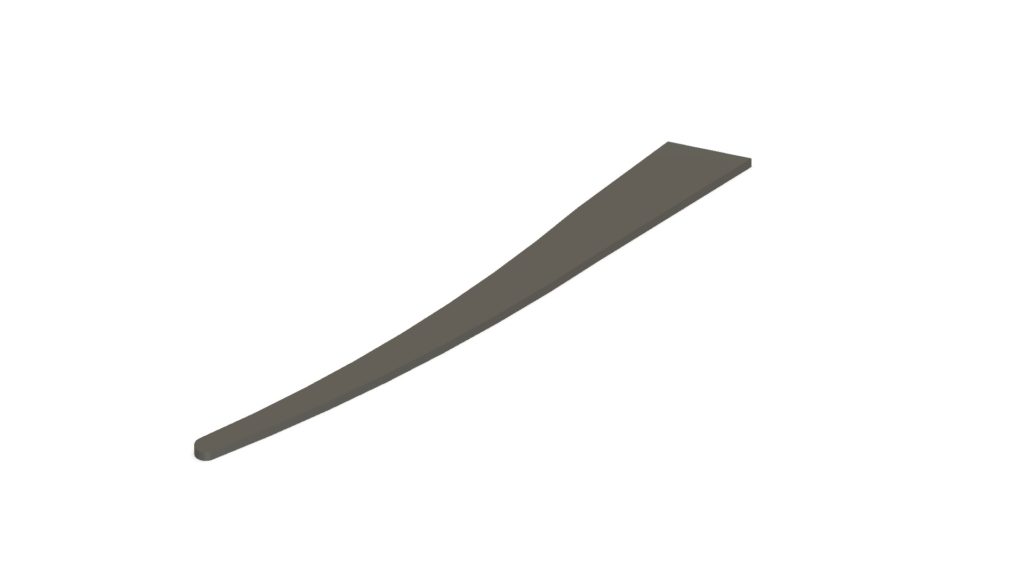
This was done in a component called tang. Next I created a new component called grip and sketched the outer profile. I projected the tang outline first; then offset the lower and sketched the upper end to eyeball-match the existing grip.
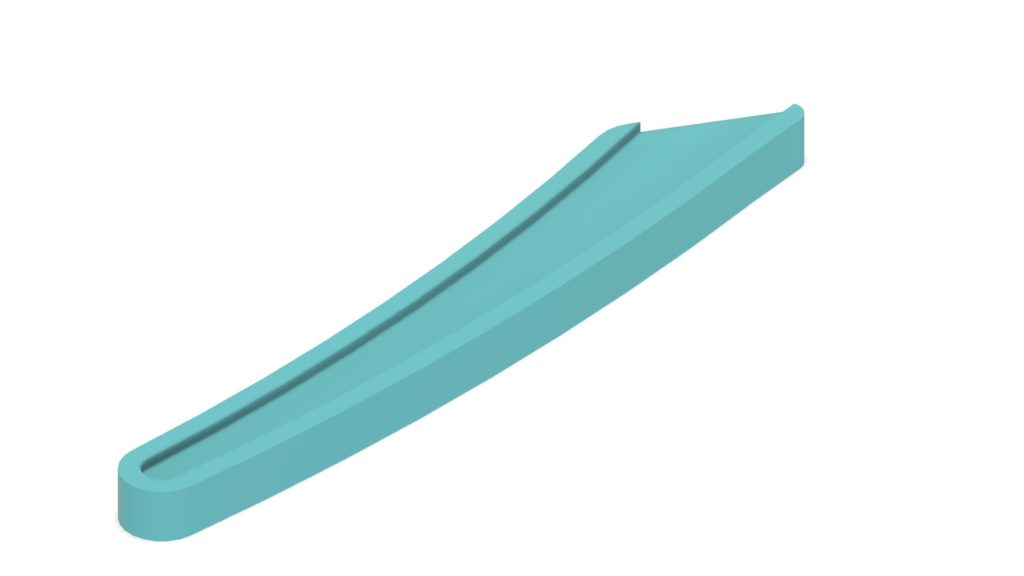
This was extruded ‘downward’ to create the basic shape of the lower half of the grip.

Next, I sketched a profile and cut away a depression for the inner part. This profile was offset from the tang outline very slightly (0.2mm) to allow for a reasonable fit. In this case, I may have to adjust the dimensions for fit a few times anyway, so this step could probably be omitted. Still, I think it’s good practice to explicitly design appropriate fit clearance for mating parts.
A chamfer on the bottom completes the grip. It’s not an exact match but it’s close enough.
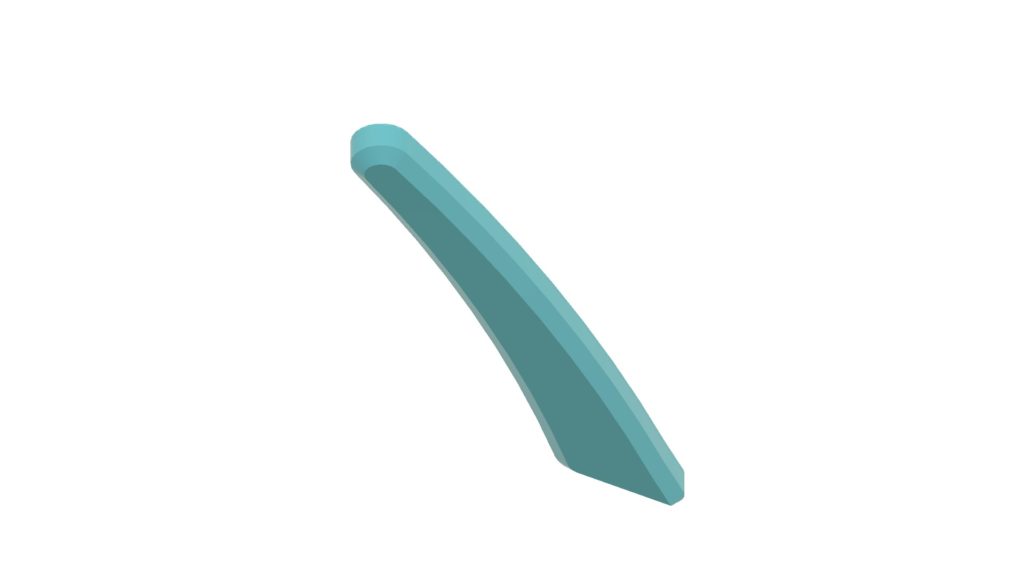
Finally, I mirror the body to make the top half of the grip. I’ll print in two pieces and glue them together to avoid using support material.
When I don’t know for sure that I have the size of something right, I often print an ‘abbreviated’ version to test the fit. This part’s small enough that I probably don’t need to, but just to illustrate the step, here’s what I do. Use the box tool, with the intersect operation. Drag the box until it surrounds the area of interest. Precise dimensions are not necessary here; we’re just isolating the feature to be tested.
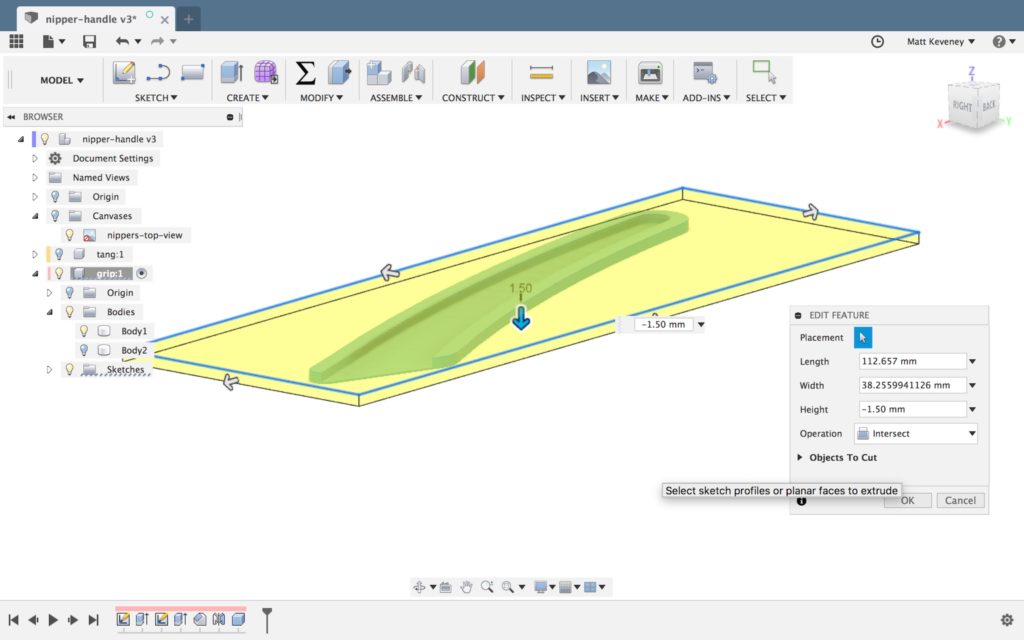
In this case, I’ve simply shaved off the bottom few millimeters. I can cancel the print after just a few layers and see how well it fits the handle.

Once I’m done testing, I can simply disable (or delete) the box feature in the history timeline.
Let’s print it and see what we’ve got!
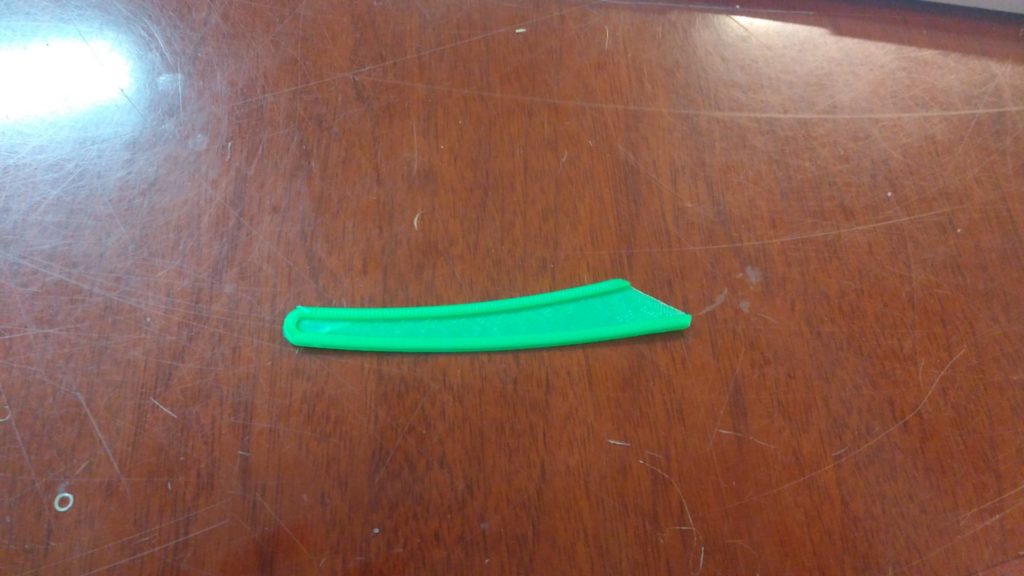
Hm… not quite. The inner curve seems right, but the outer is too tight. I’ll tweak the first sketch and try again.

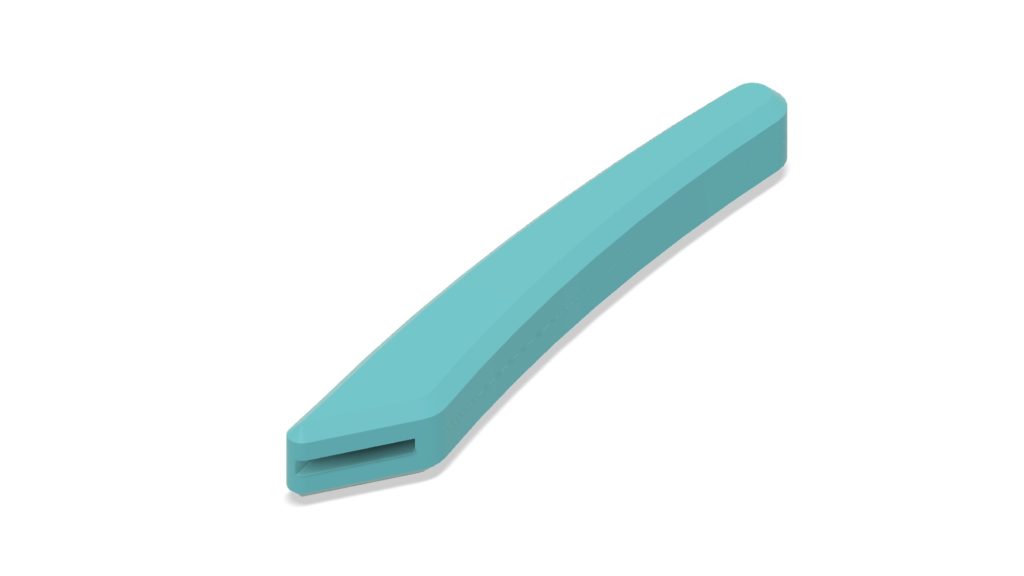
This one’s still not perfect, but I think it’s close enough. Here are the complete parts, fresh off the printer.
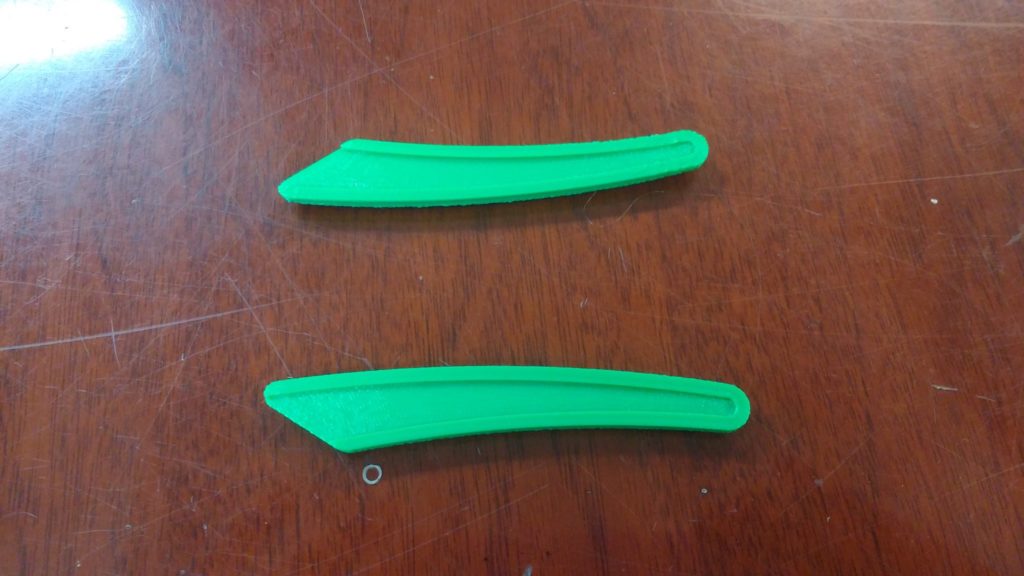
The fit is okay but there are a few minor issues: The parts warped very slightly when printed, and the cavity for the tang was just a hair too shallow.
A bit of glue and clamping would probably have solved the problem but I had to knock off for the day anyway, and took a bit of time the next day to reprint at my own shop. I even had some blue filament that’s a closer match to the original grip.
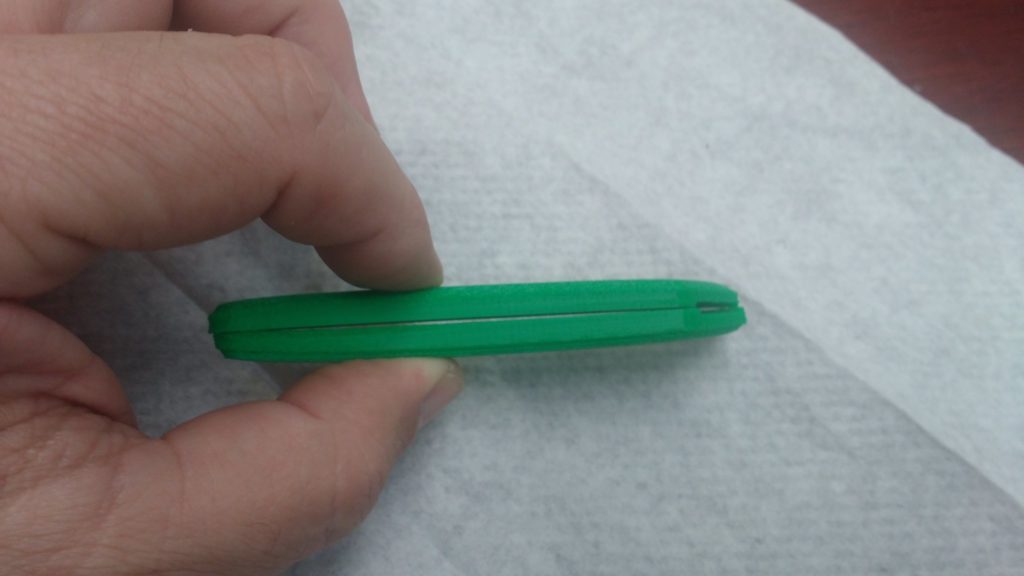
Here it is, glued and clamped up. I gave the mating faces a light sanding to help the glue stick better. I used thick, gel-style cyanoacrylate glue, which gives a few seconds to line things up before it grabs. It seems to work very well with PLA.

And here’s the result. Let’s hope it lasts longer than the original!
But wait… Has this all been worth it?
Well, probably not. I found brand-new nippers from a US vendor for $3.09 on eBay. They’re even cheaper if you order directly from the Far East.
Oh well. I think the techniques are worthwhile to know. The main thing is that it made for a good blog post!